This tutorial assumes you already know what Two-Way Sync is and how to configure it. If not, please review the How Two-Way Sync Works tutorial first.
1. Choose the Customers template
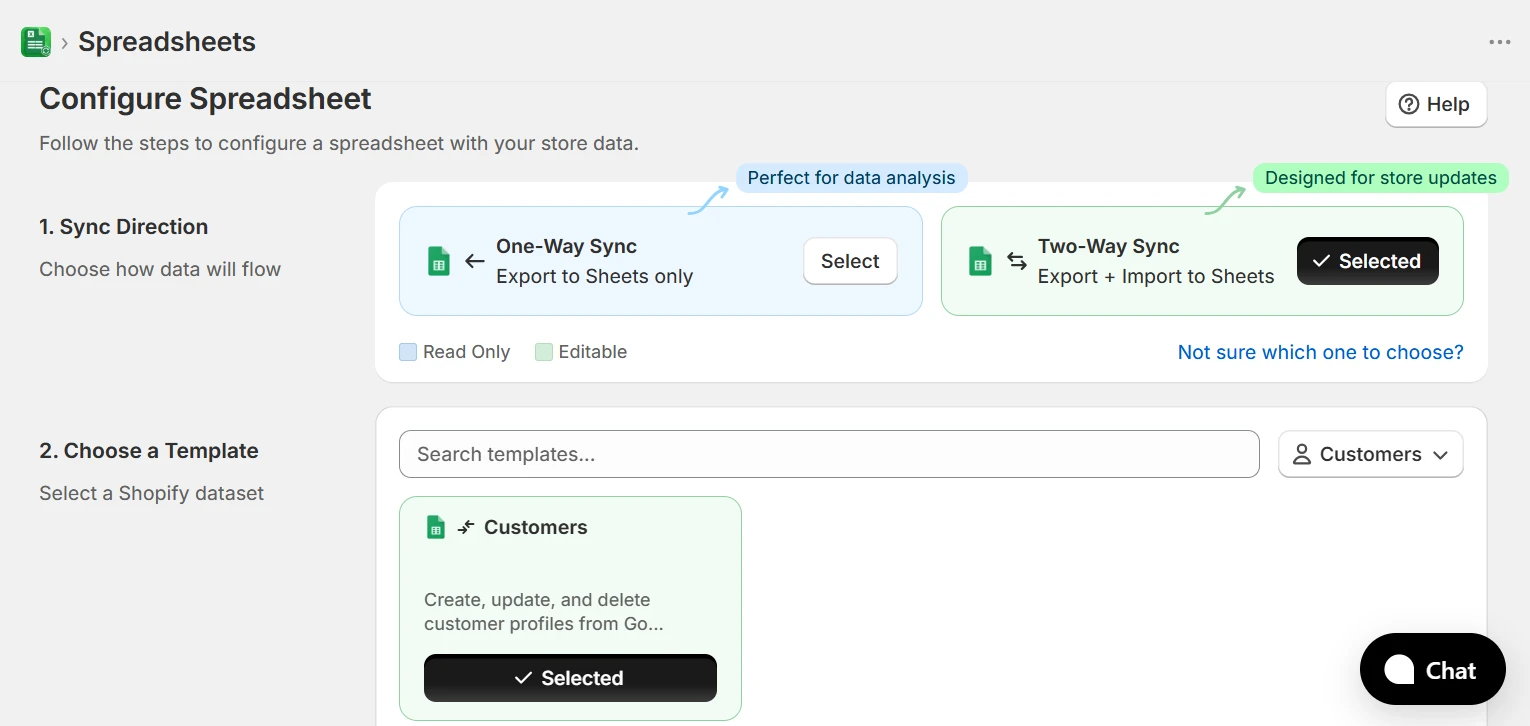
From the home page, select the Update Customers category in the template filter bar and click Create on the Customers template. If you are configuring a spreadsheet from scratch, click New Spreadsheet, select Two-Way Sync as the sync direction, and then choose the Customers template.
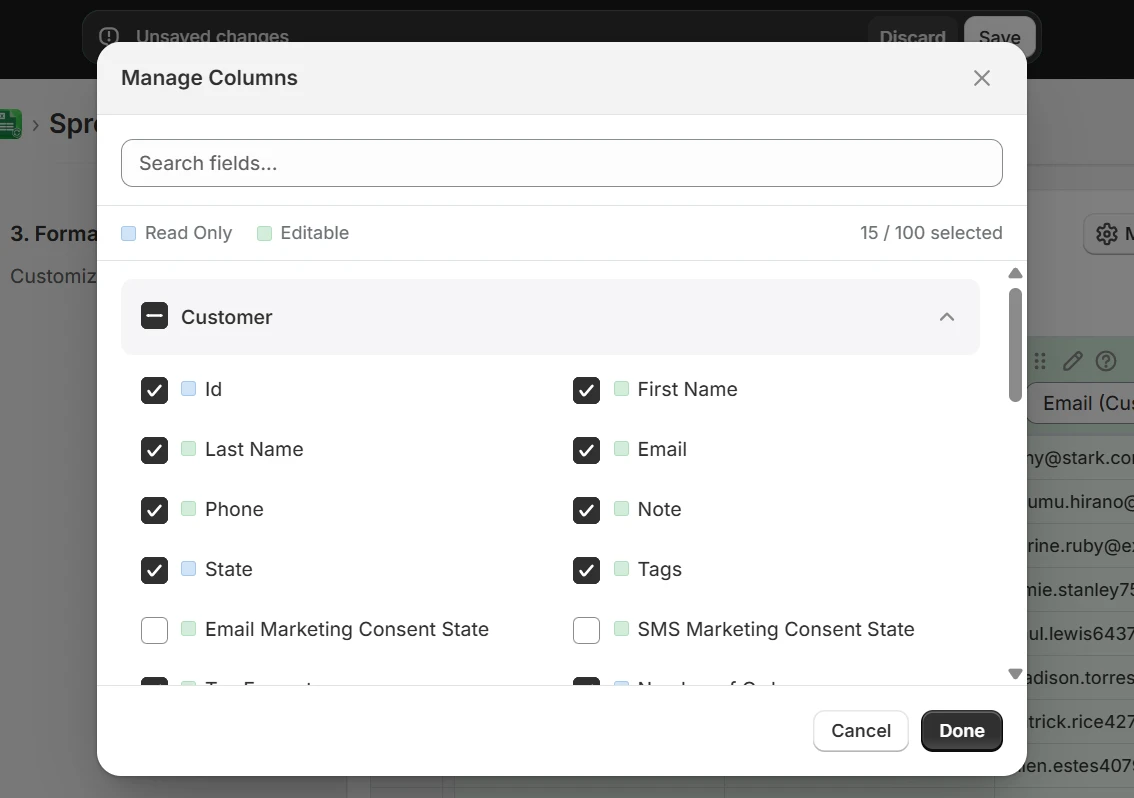
In the Format Data step, open Manage Columns to choose which customer fields appear in the spreadsheet. Check the fields you need; at minimum keep Id, Email, First Name, and Last Name.
After selecting your columns, use the Preview button to see a live preview of your customer data with the chosen fields.

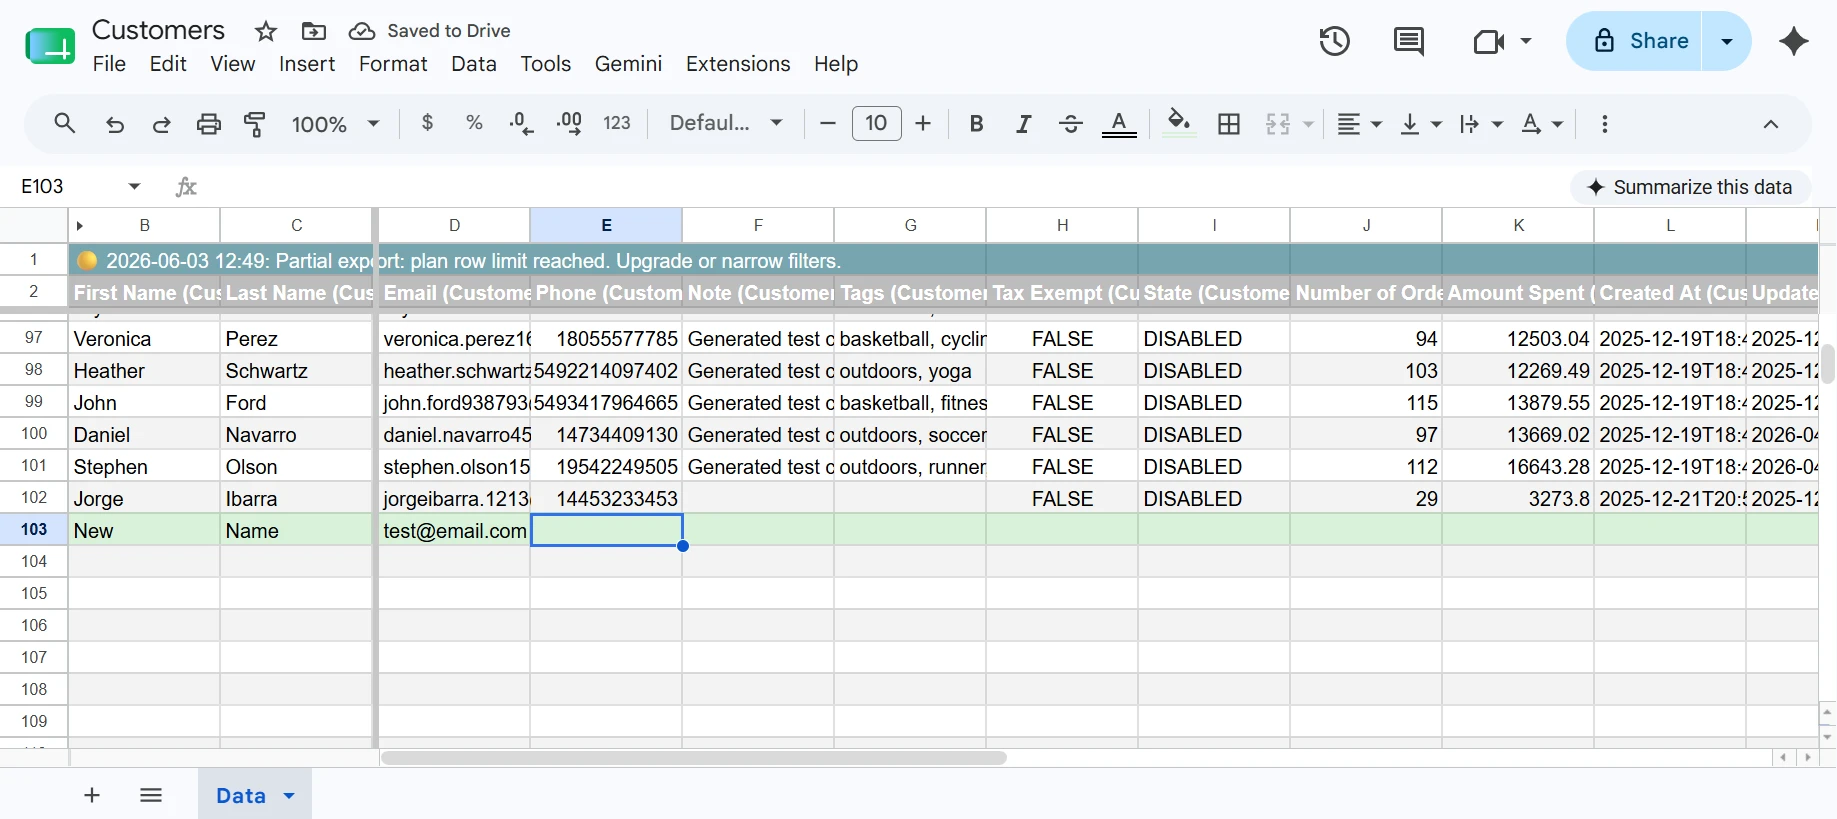
2. Add new customer rows
To create new customers, add rows to the sheet and leave the Id (Customer) column empty; eCommix detects the missing ID and treats the row as a create operation. The only required field is:
- Email (Customer) — The customer's email address. Must be unique in your Shopify store.
All other fields are optional. The most commonly used ones are:
- First Name (Customer) — The customer's first name.
- Last Name (Customer) — The customer's last name.
- Phone (Customer) — A unique phone number in E.164 format (e.g.
+15551234567). - Tags (Customer) — A comma-separated list of tags (e.g.
wholesale, VIP). Tags help you segment customers in Shopify for reports, discounts, and automations. - Note (Customer) — An internal note visible only to your store staff.
- Tax Exempt (Customer) — Set to
trueto mark the customer as tax-exempt.
3. Validate and import
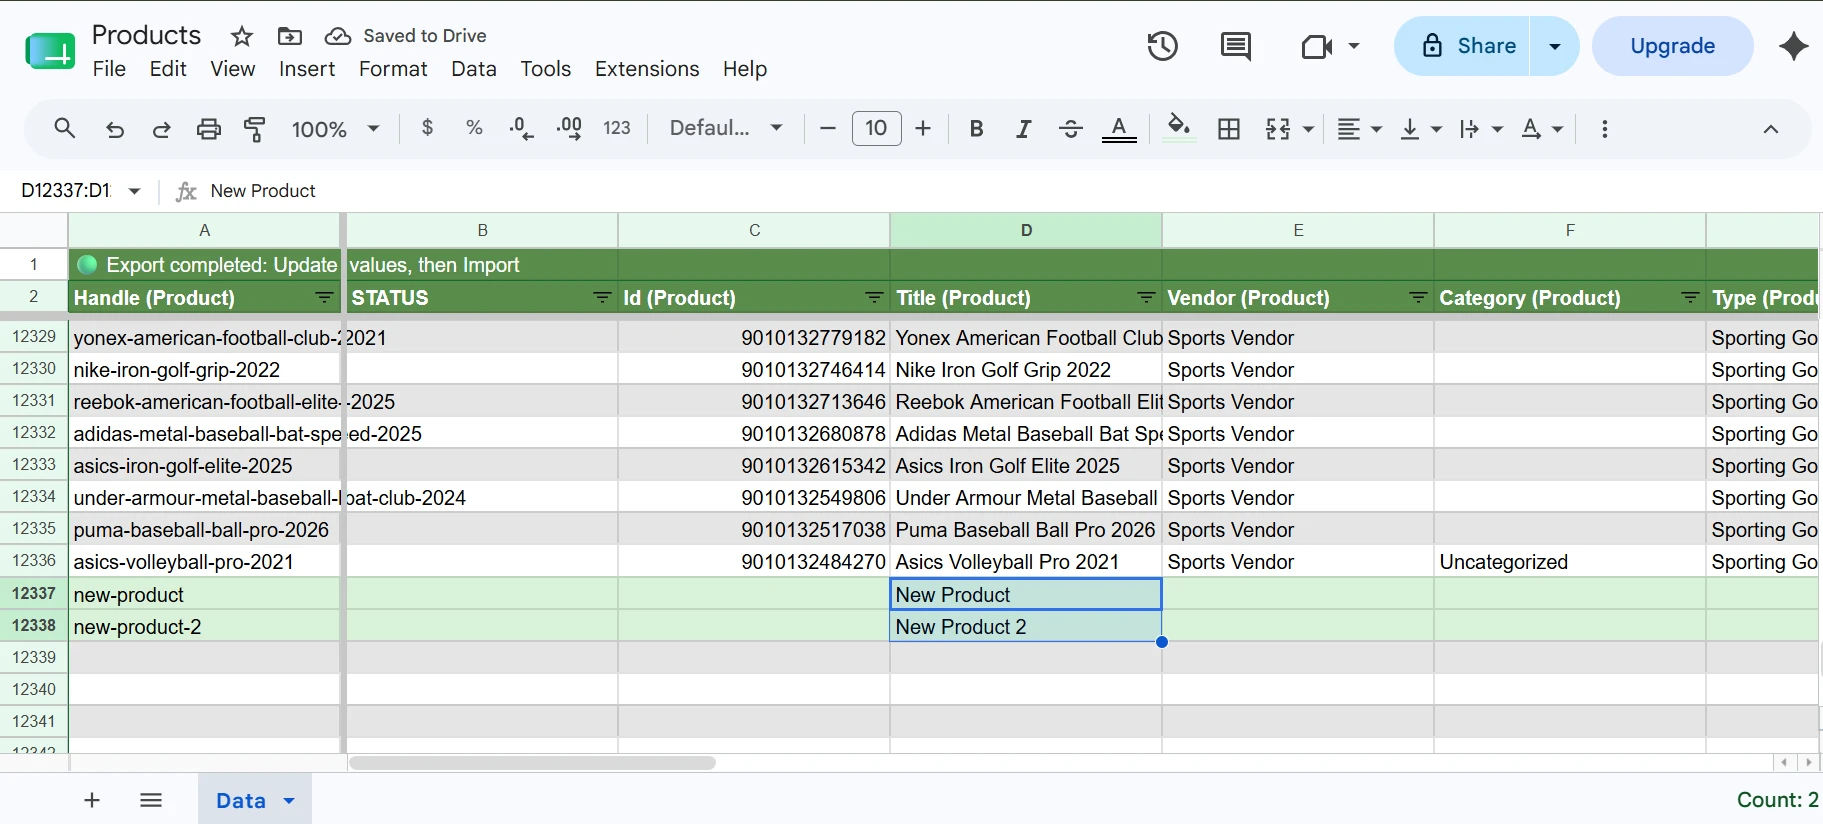
Go back to eCommix, click Sync, then Validate to preview the changes. Rows without an ID turn light green to confirm they will be created. Once you're satisfied, click Import to apply them. The full flow is covered in the How Two-Way Sync Works tutorial.
Once the import completes, the STATUS column for each new row will show CREATED, confirming the customers were successfully added to your Shopify store. The Id (Customer) column will also be filled in automatically with the new Shopify customer IDs.
4. About tags
Customer tags are one of the most useful fields when bulk-creating customers. They let you:
- Segment customers for Shopify discount codes (e.g.
wholesalegets 20% off). - Trigger automations in Shopify Flow or email marketing tools.
- Filter customers in reports and the Shopify admin customer list.
Enter multiple tags as a comma-separated list in the Tags (Customer) column, for example: VIP, repeat-buyer, newsletter. Tag names are case-insensitive and spaces around commas are ignored.
5. Marketing consent
If you need to set marketing consent when creating customers, add the Email Marketing Consent State (Customer) column via Manage Columns. Accepted values are SUBSCRIBED, UNSUBSCRIBED, PENDING, and NOT_SUBSCRIBED. Leaving the field empty defaults to NOT_SUBSCRIBED.
Similarly, SMS Marketing Consent State (Customer) accepts the same values and controls SMS opt-in. A phone number must be present in the row for SMS consent to be saved.