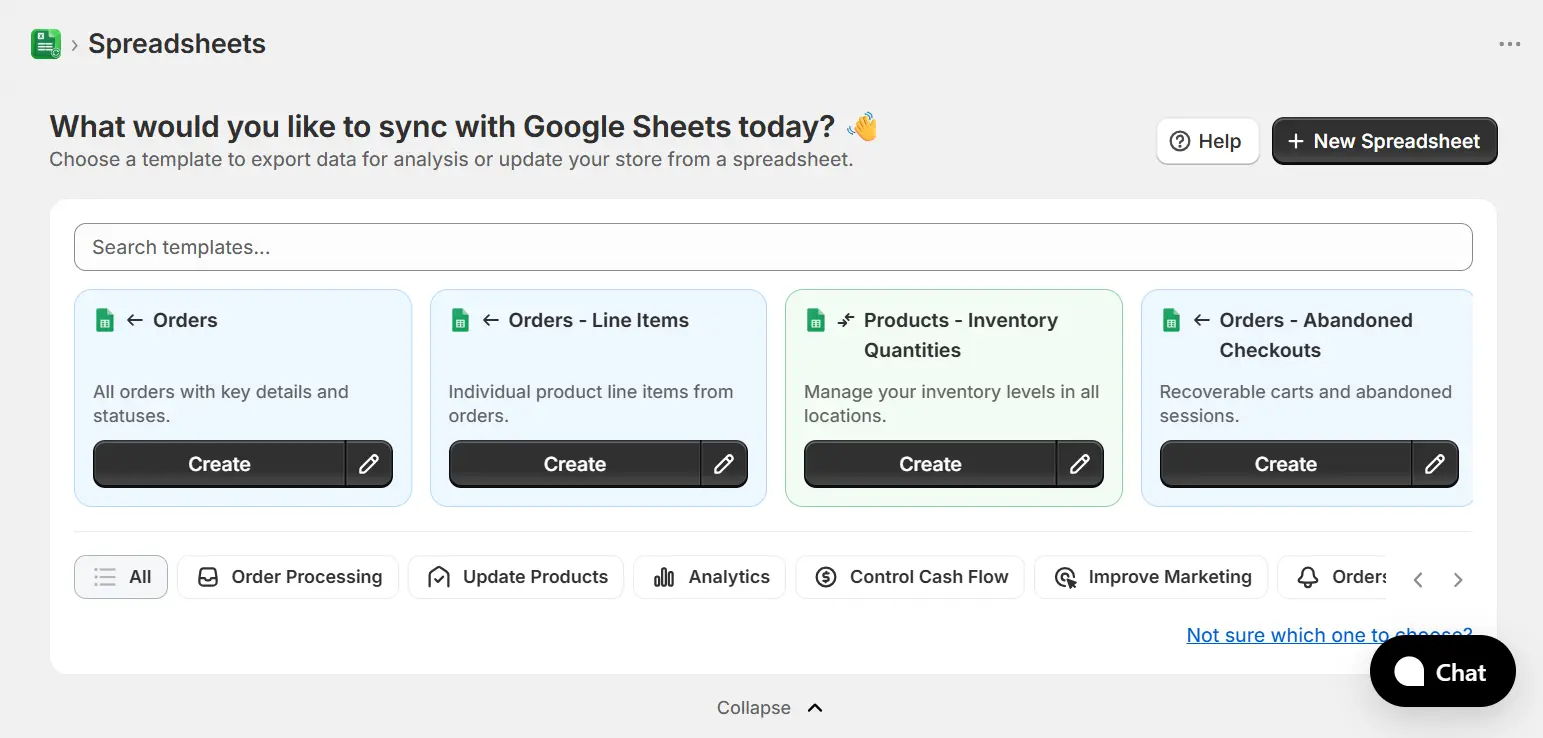
1. Navigate to Configure Spreadsheet
From the home page, click New Spreadsheet in the top right to start from scratch, or click the configure button (pencil icon) on any template to open the configurator with that template pre-selected.
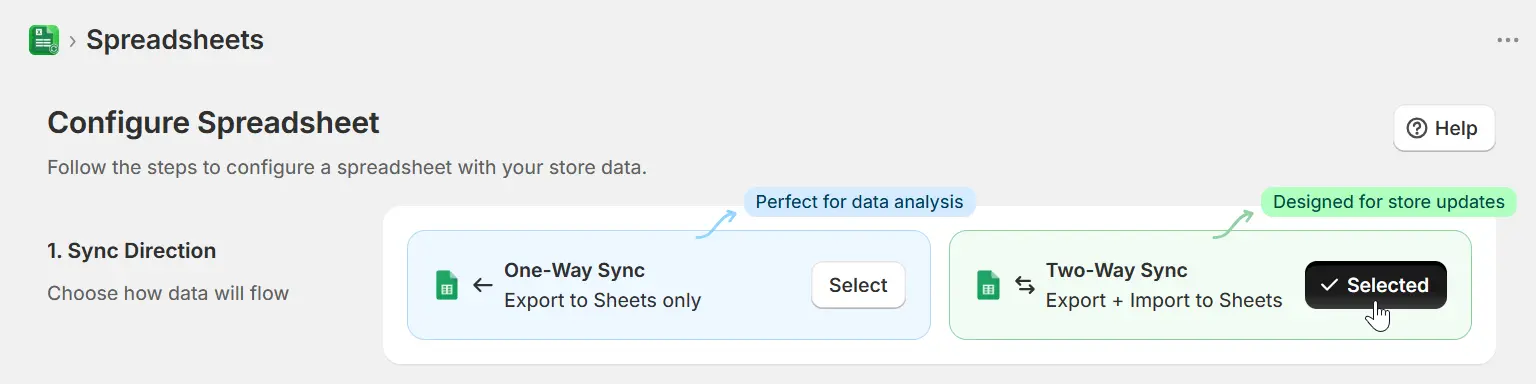
2. Choose sync direction
In the first step, select Two-Way Sync; this means data flows both ways: eCommix exports your Shopify data to Google Sheets, and you can push edits back from the sheet into Shopify.
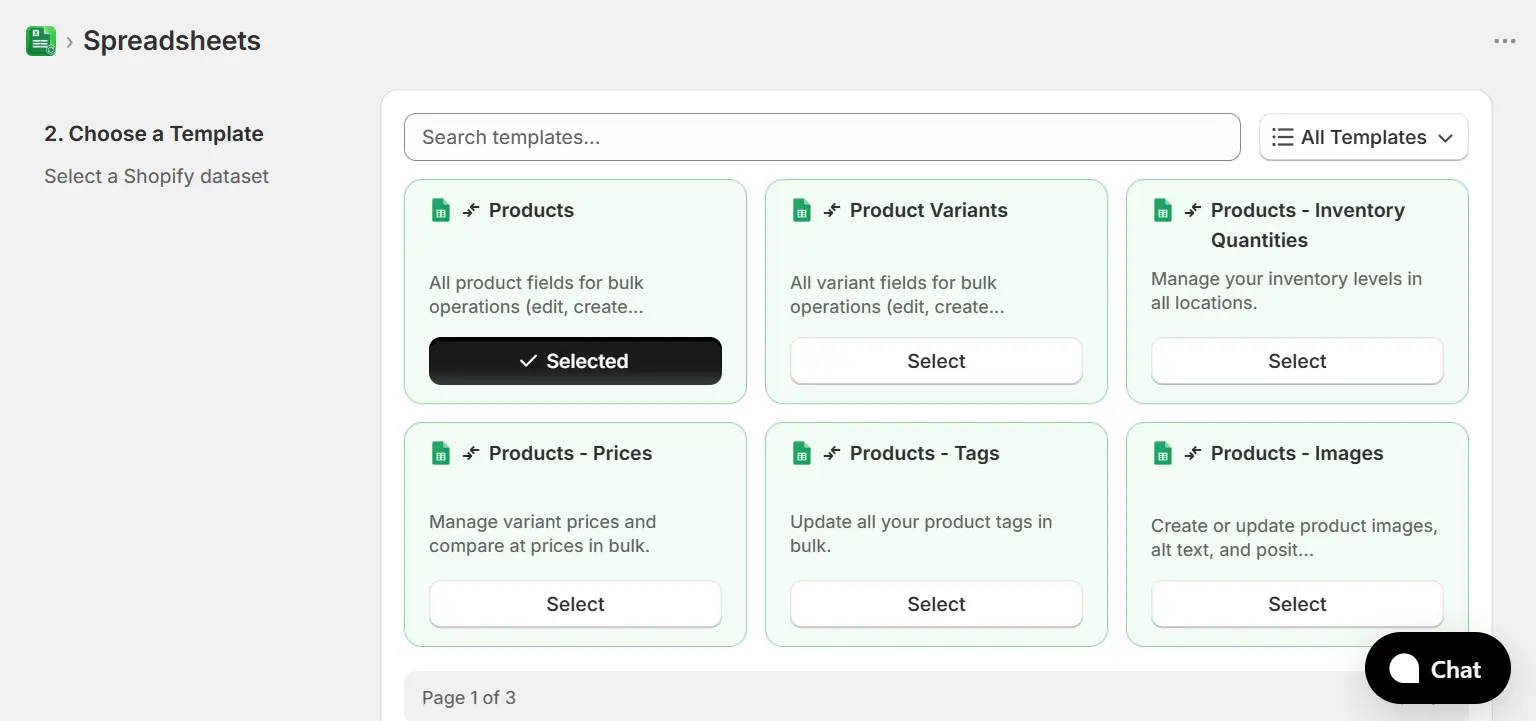
3. Choose a template
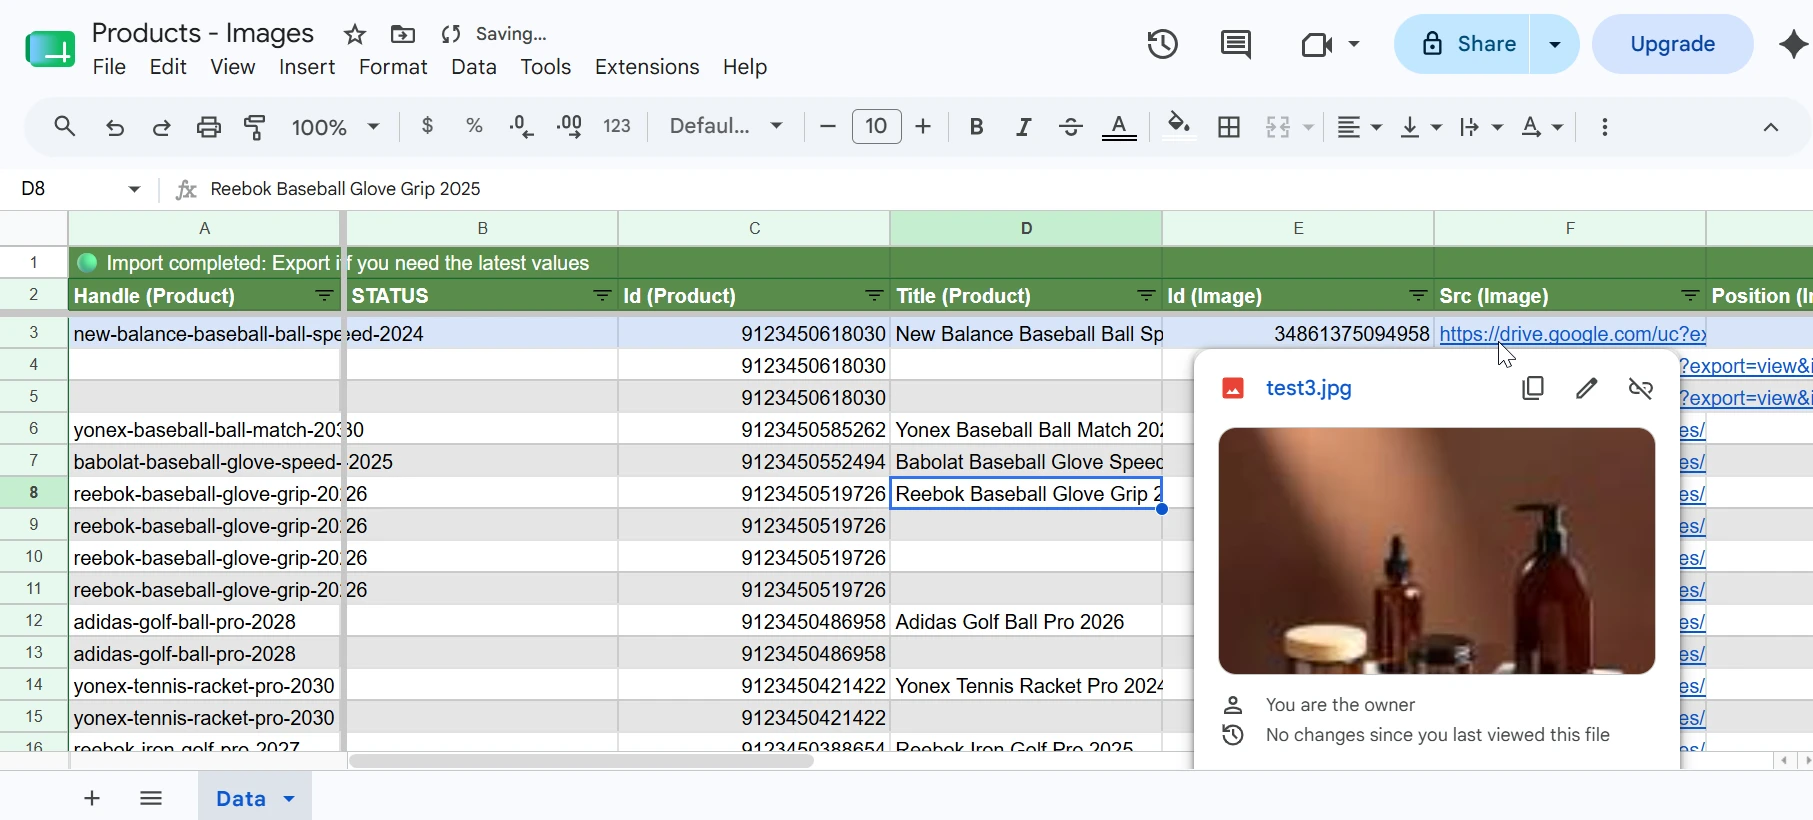
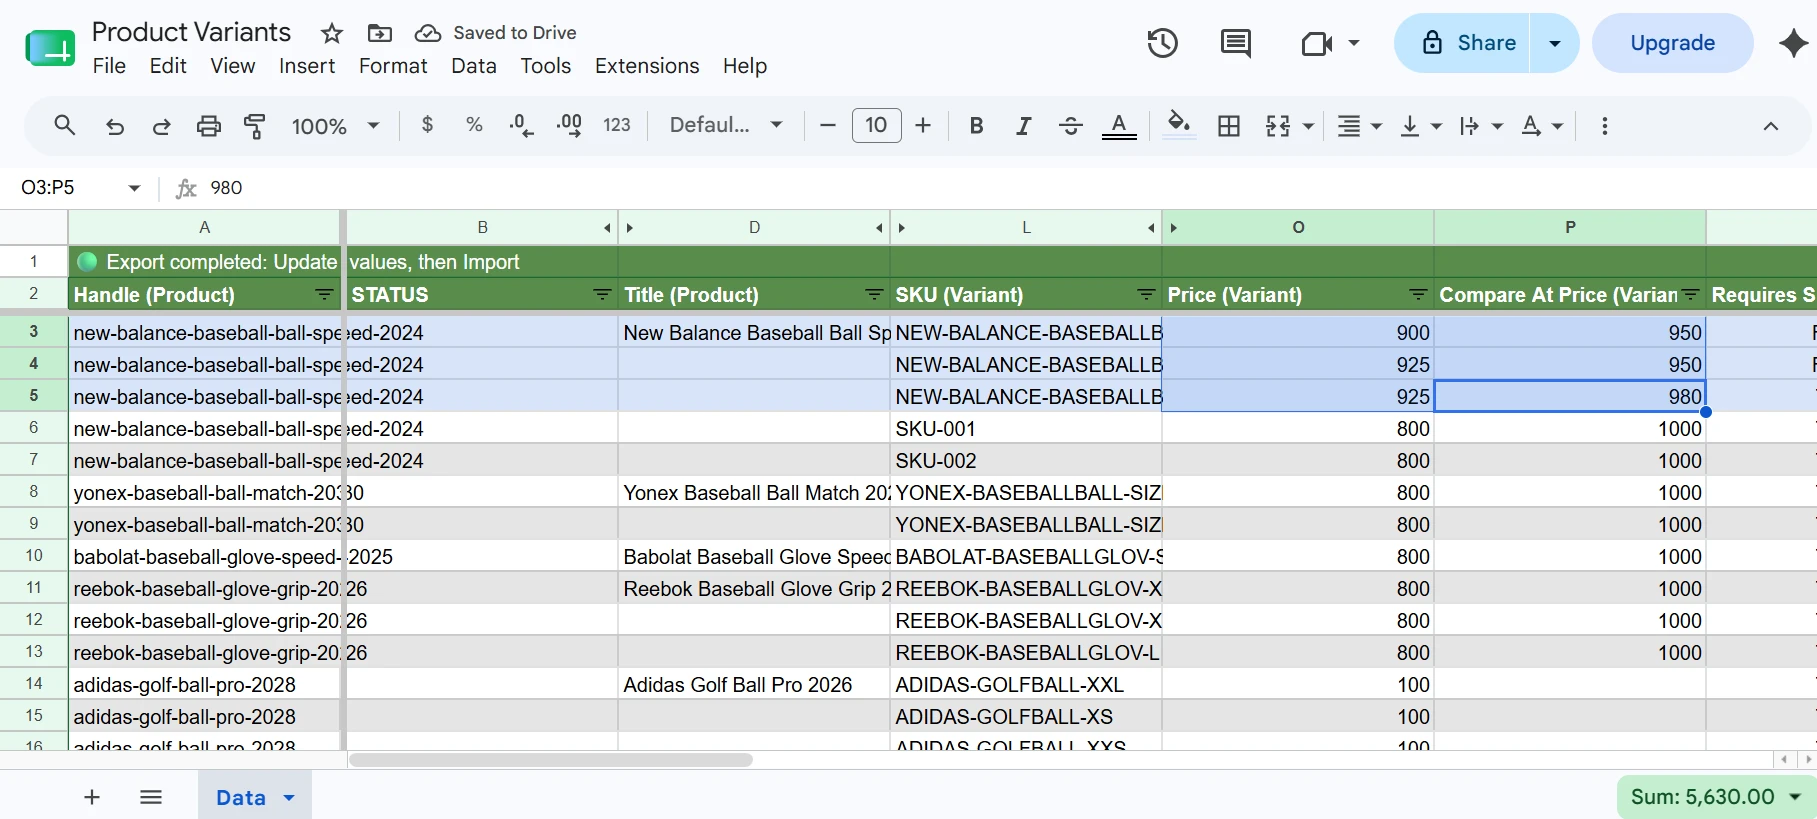
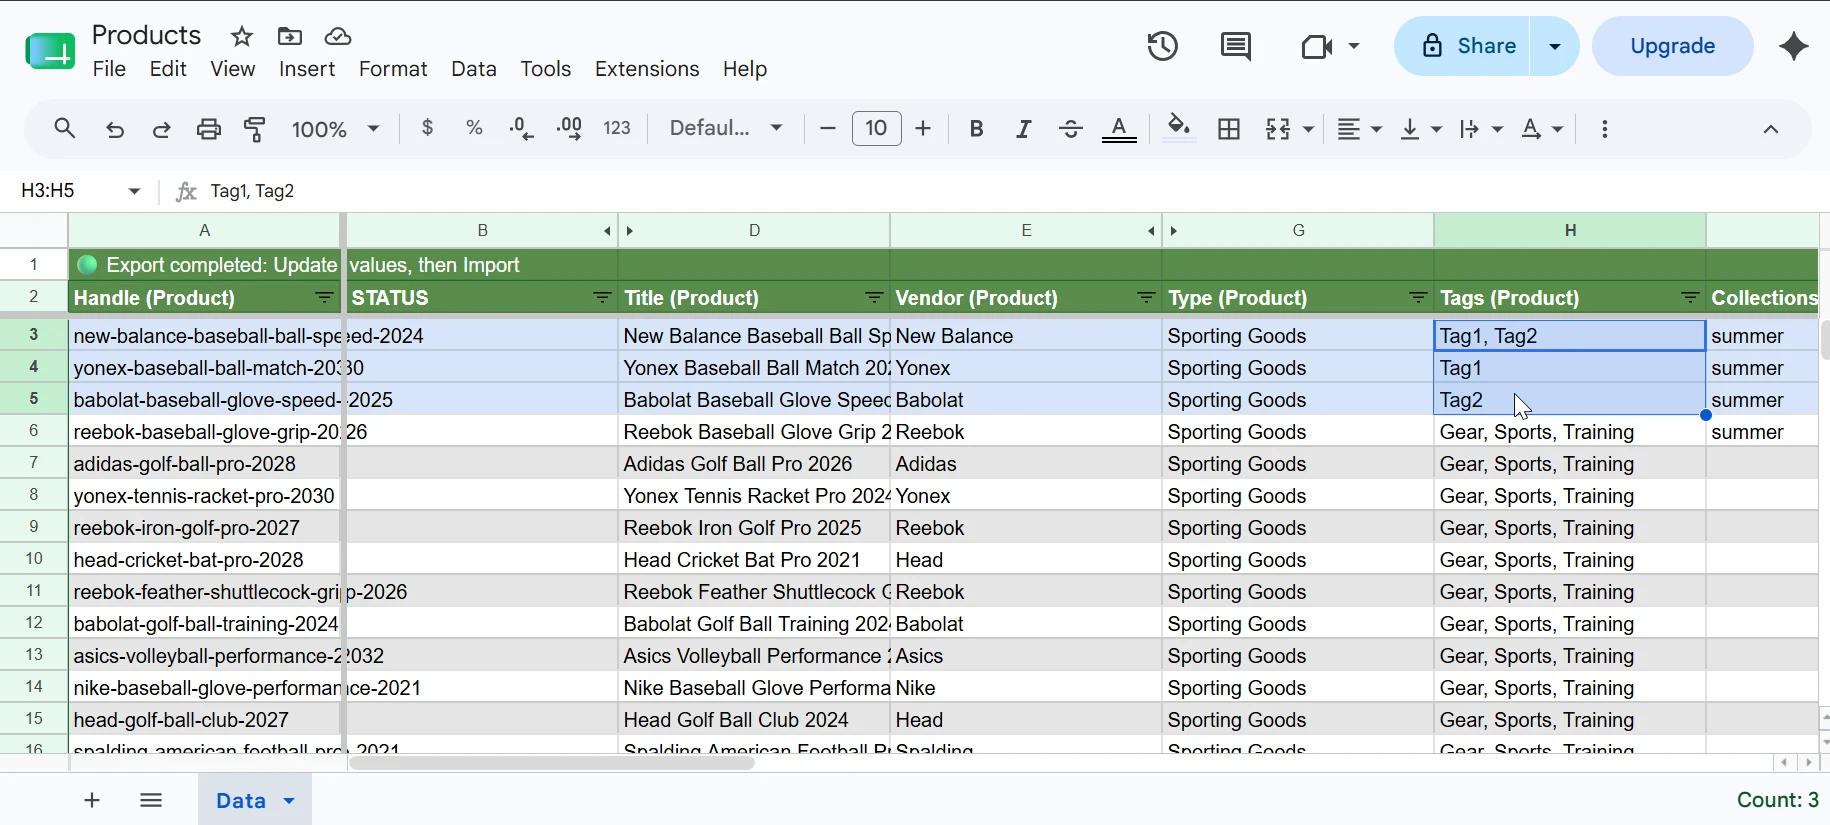
Pick the Shopify dataset you want to work with. Two-Way templates cover Products, Product Variants, Inventory, Prices, Tags, Images, and more. Each template includes the fields needed for bulk editing that resource.
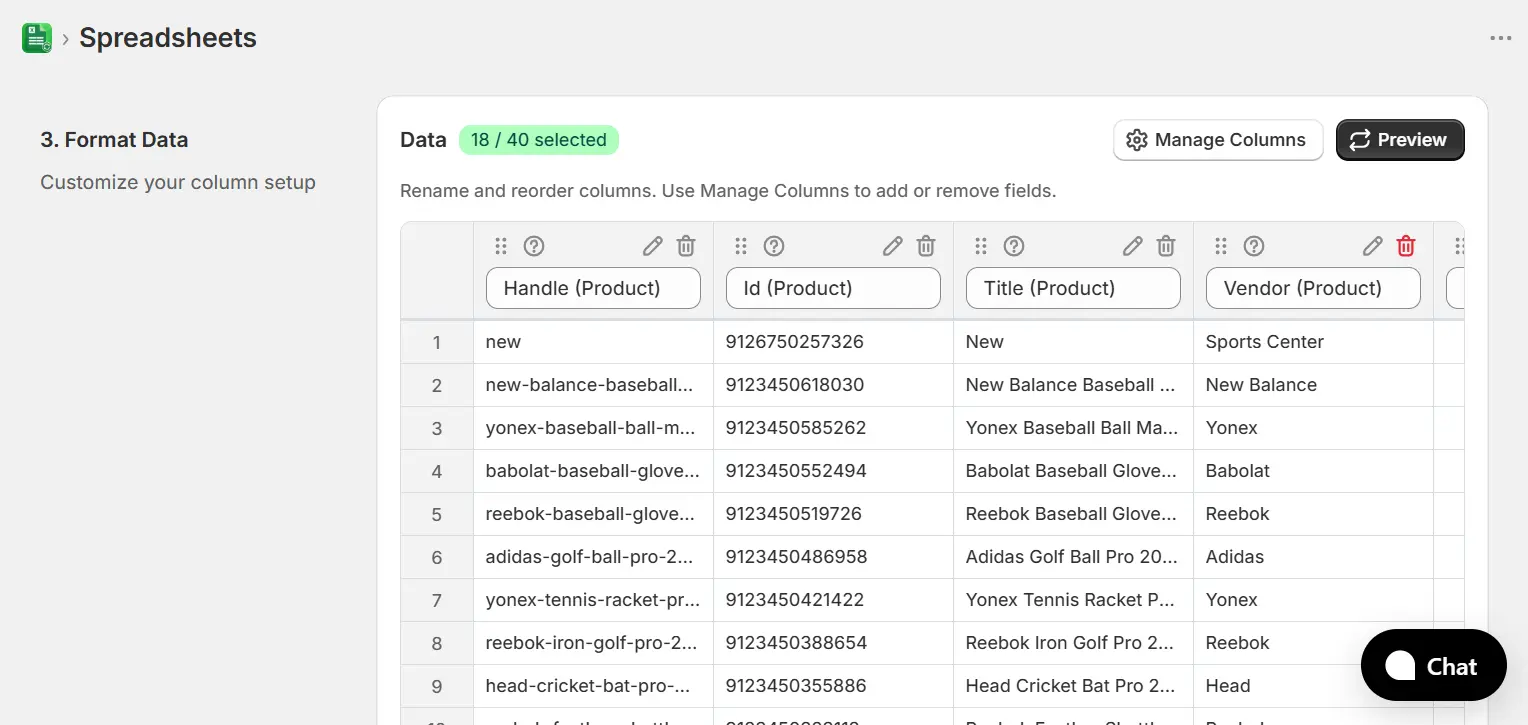
4. Format your data
In the Format Data step you can see a live preview of your columns and data. Use Manage Columns to add or remove fields from the spreadsheet.
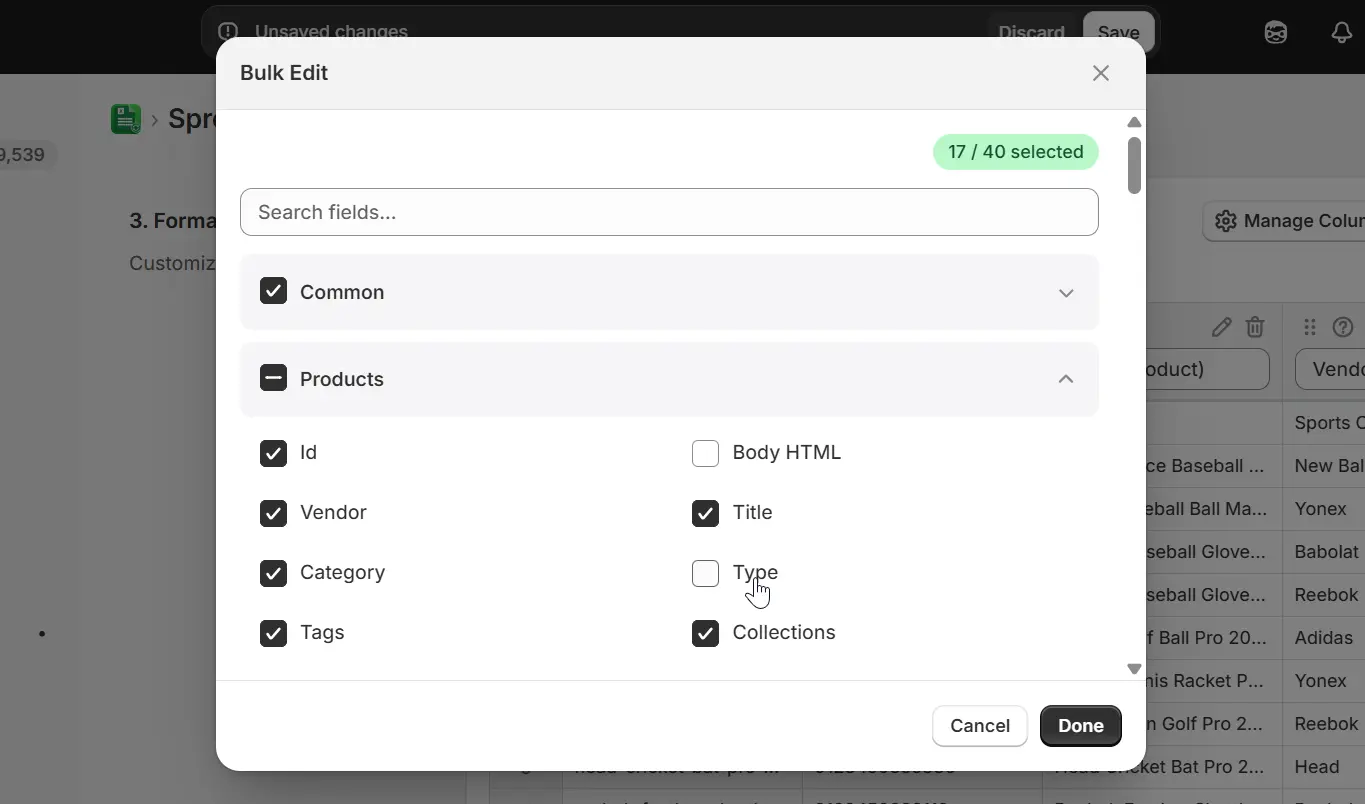
The Bulk Edit modal lets you toggle individual fields on or off. Fields are grouped by resource; Common, Products, Variants, and more; so you can quickly find what you need.
Two-Way Sync requires certain columns to be present for the import to work; specifically the ID and option columns (such as Id (Product), Id (Variant)), Name, Status, and other fields that identify each record. These columns are locked and cannot be deleted from the spreadsheet. You will notice the trash icon is red and inactive on those columns in the Format Data step.
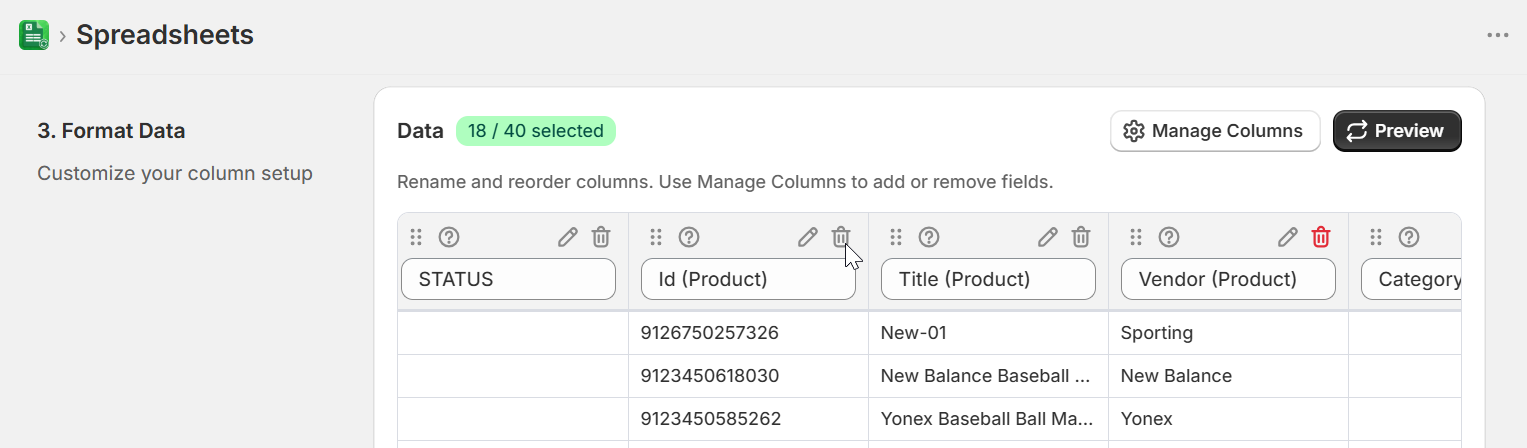
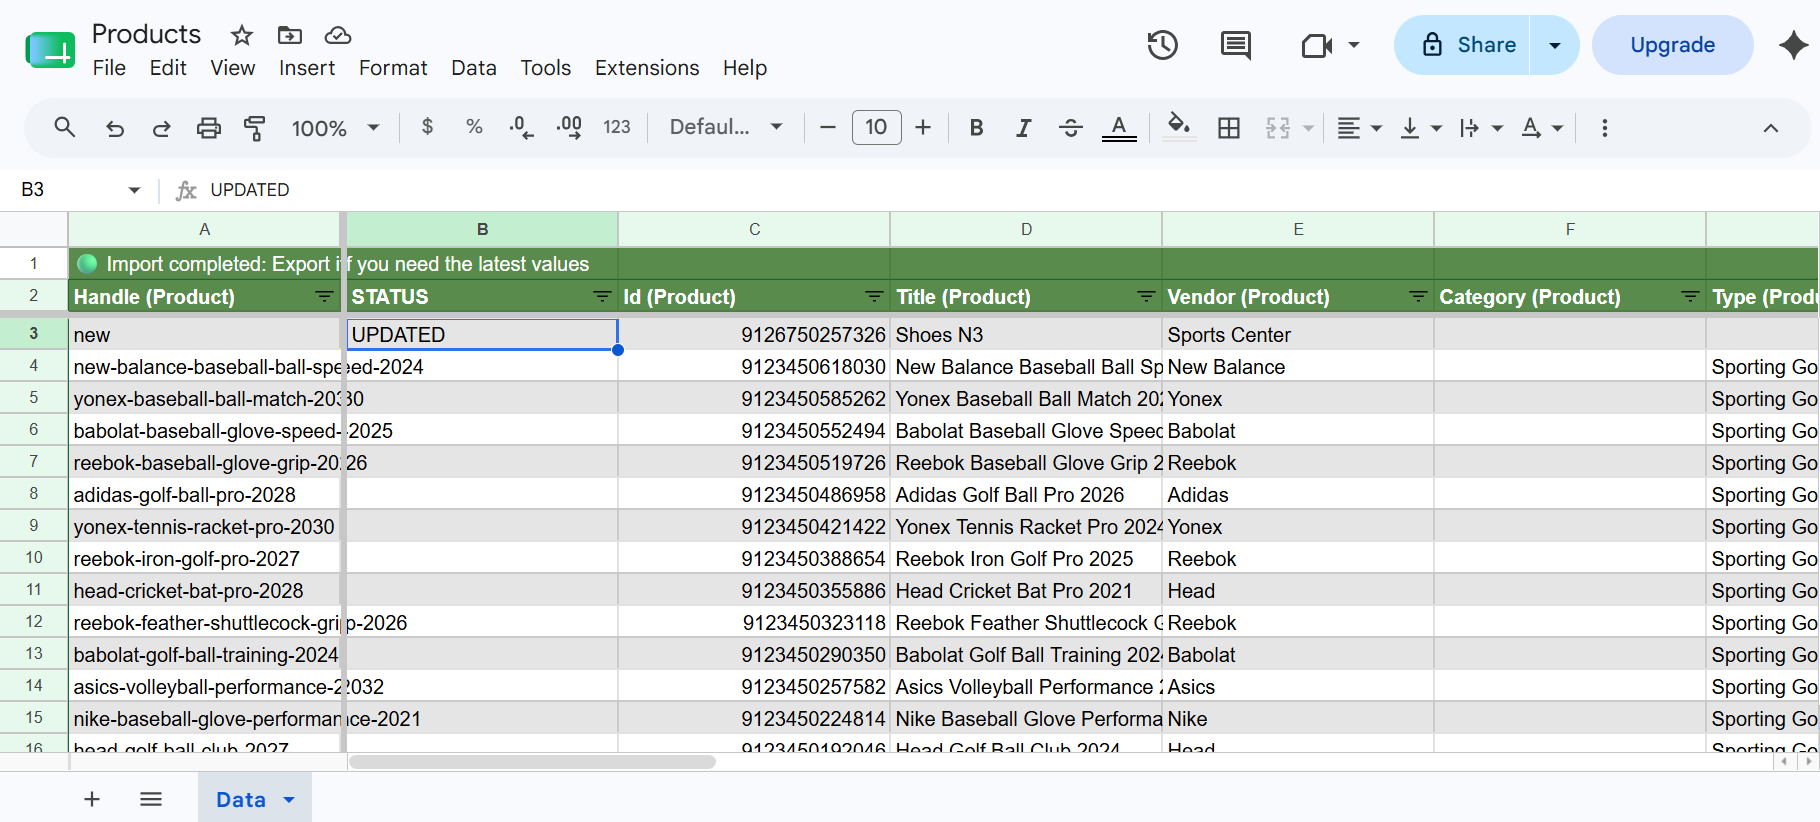
You will also notice a STATUS column at the start of the sheet. This column is always empty when you first export; it gets filled in automatically after you run Validate or Import, showing the result for each row (success, errors, or skipped). You can drag it to any position in the sheet if you prefer it elsewhere.
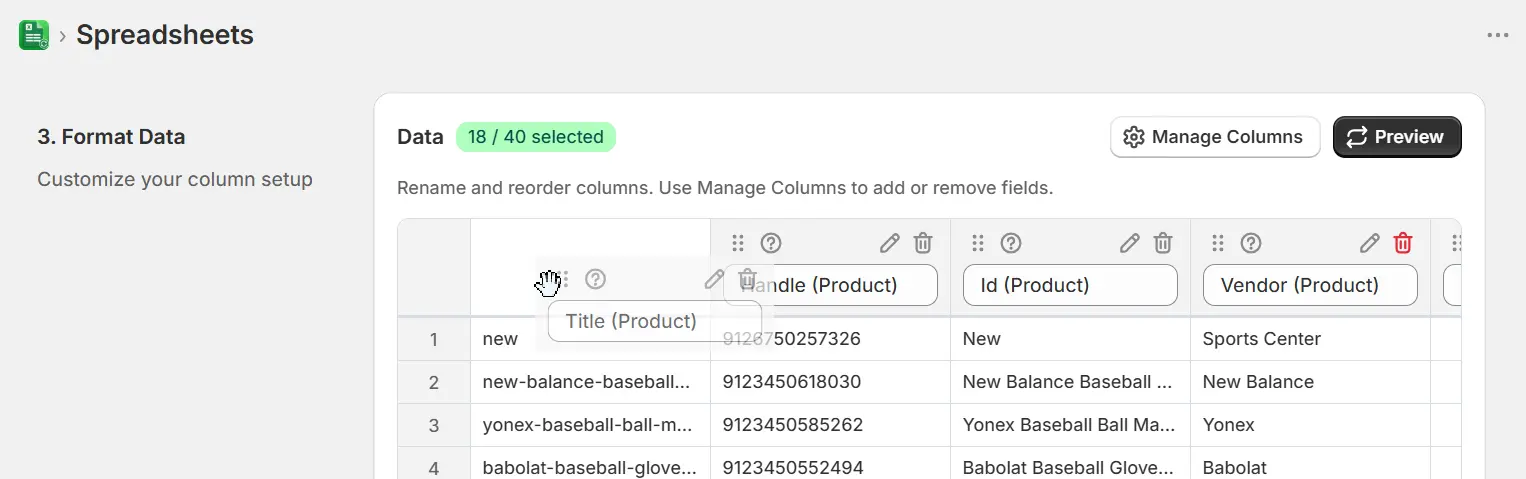
Drag any column header left or right to reorder how fields appear in your spreadsheet.
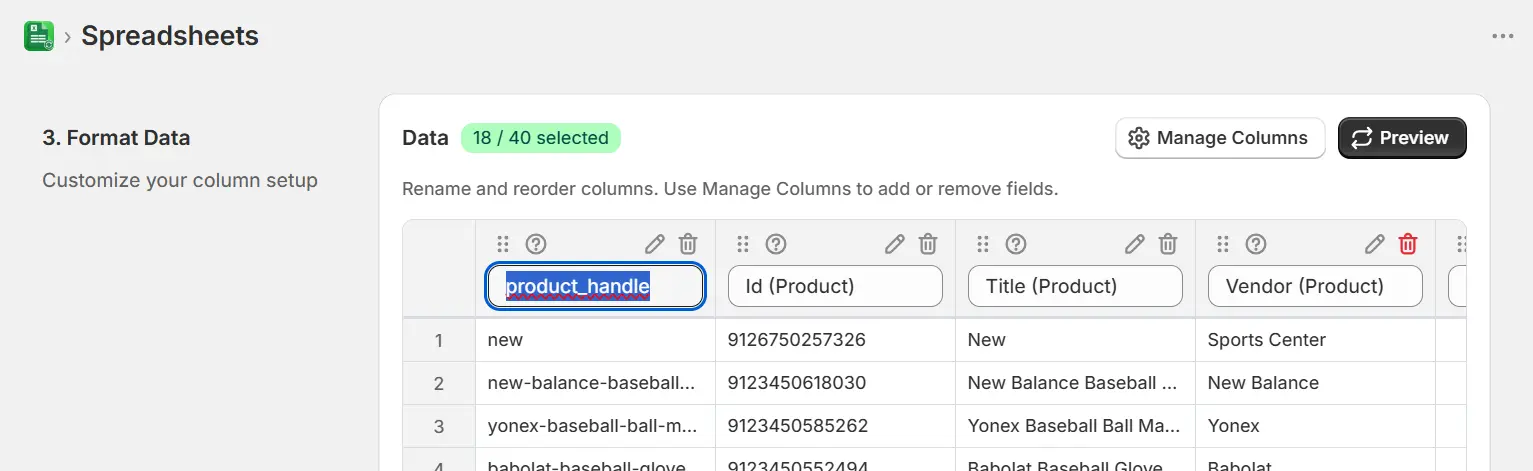
Click the pencil icon on any column header to rename it; the new name will be used as the header row in your Google Sheet.
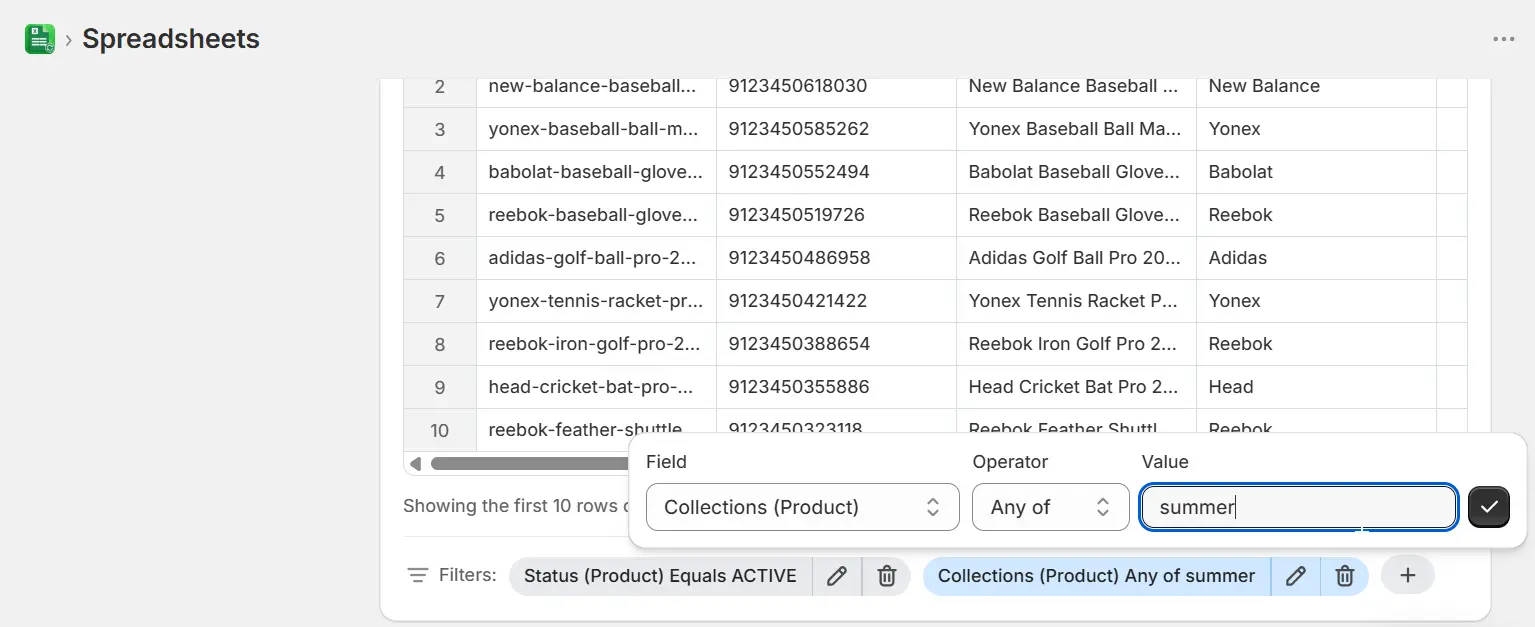
Use filters at the bottom of the step to narrow down which records get included. For example, only include active products from a specific collection.
5. Set the Google Sheets destination
Choose where eCommix should write your data. You can let eCommix create a new spreadsheet automatically in your Google Drive; just select the Google account, give the file a display name, and set a Sheet Name (the tab name) where the data will be written. If the tab doesn't exist yet, eCommix will create it automatically on the first sync.
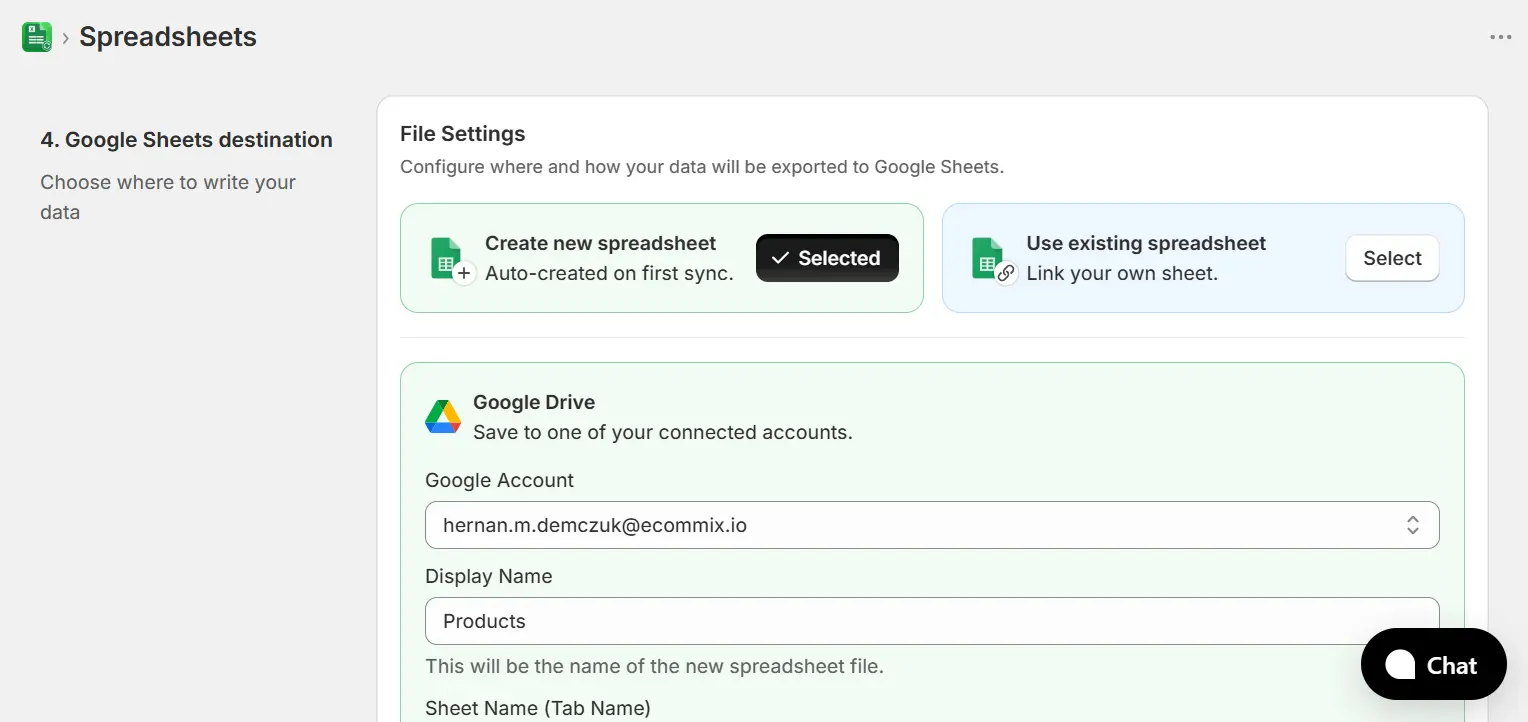
Alternatively, select Use existing spreadsheet to write into a sheet you already have. You can use Google Drive; which lets you pick any spreadsheet under your connected Google Account; or Public Link, where you paste the full URL of any publicly shared spreadsheet. For the Public Link option, the spreadsheet must be shared with Anyone with the link and have Editor permissions.
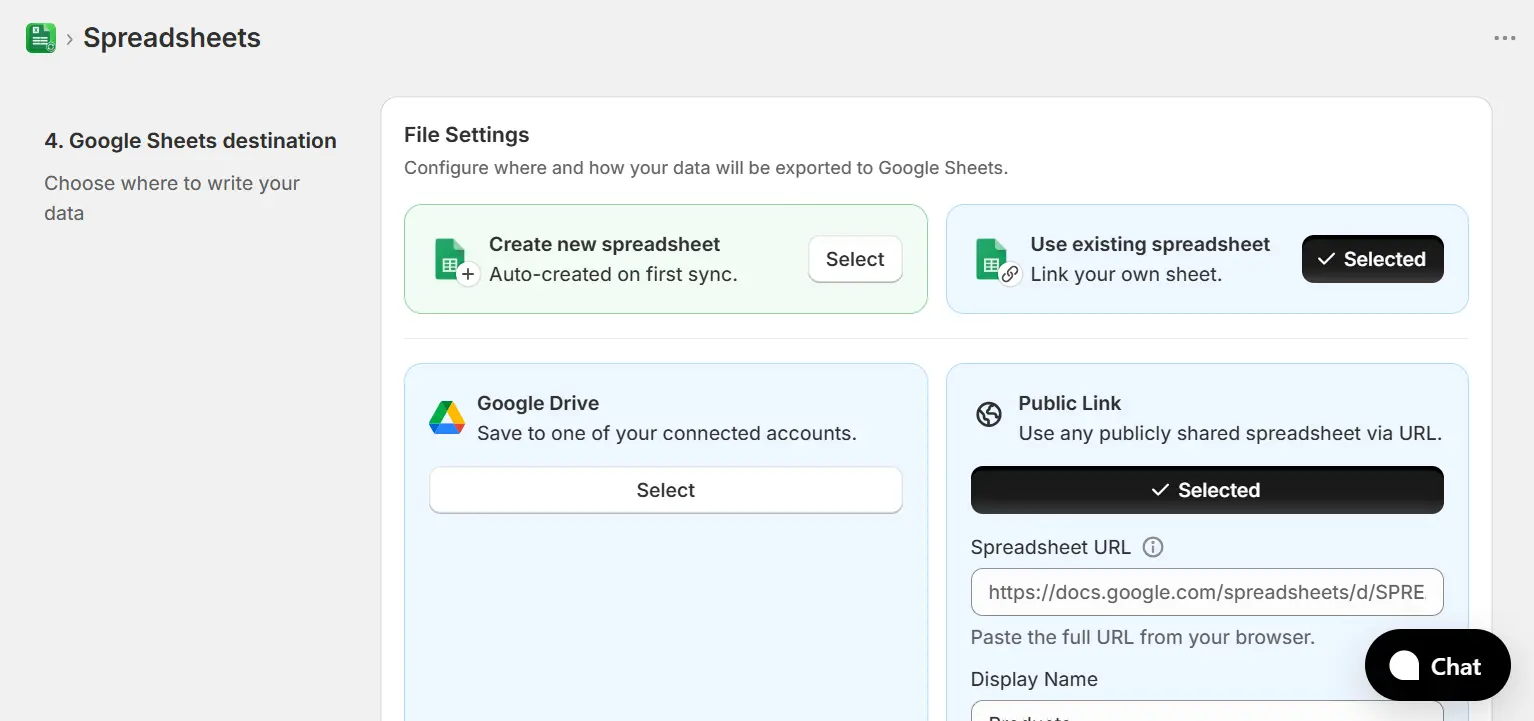
For the Public Link option, the spreadsheet must be shared with Anyone with the link and have Editor permissions; otherwise eCommix won't be able to write data into it.
6. Choose a style
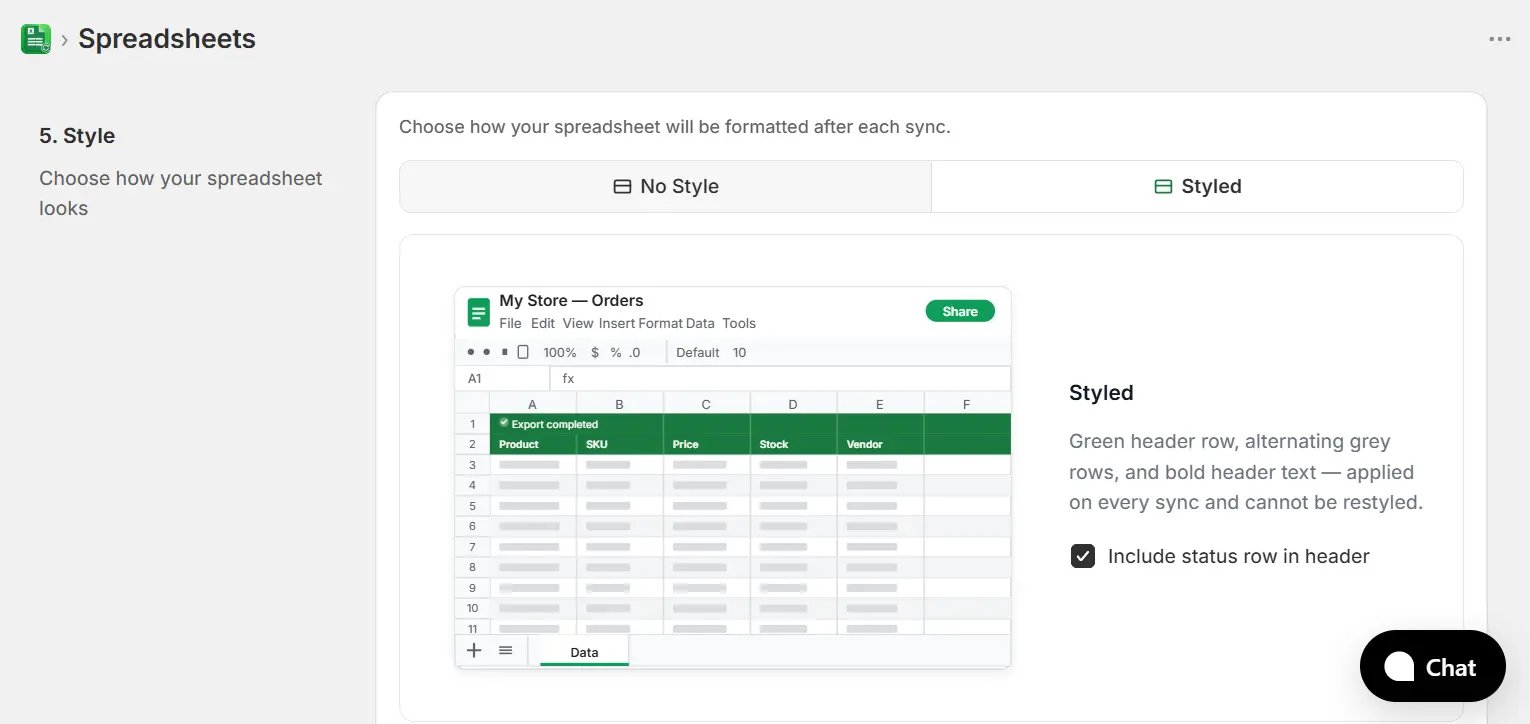
Choose No Style if you want full control over how your spreadsheet looks. eCommix will only write the data; your formatting will never be overwritten on refresh, so you can apply any colors, fonts, or styles you like and they will be preserved.
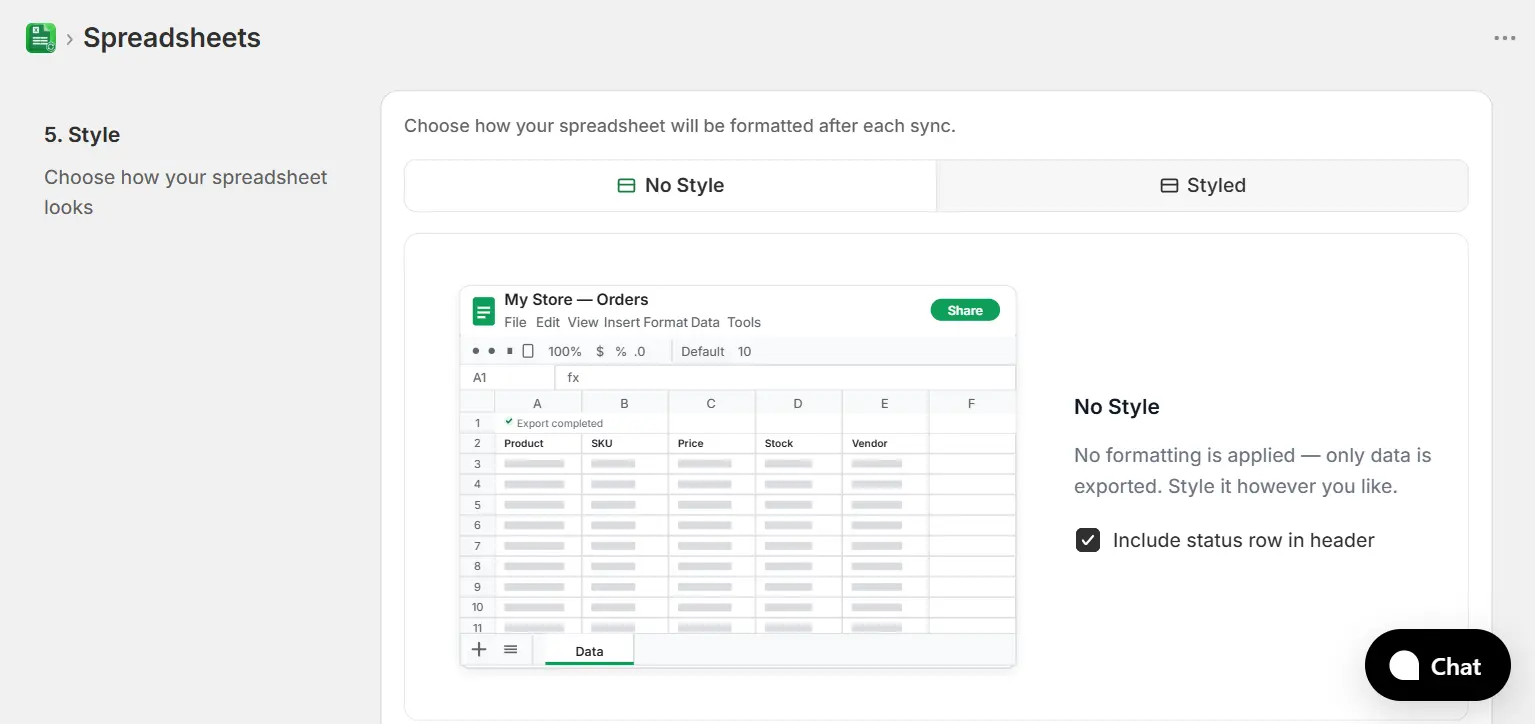
Choose Styled to have eCommix apply a fixed look; green header row and alternating grey rows; automatically after every sync. Any custom formatting you apply manually will be removed on the next refresh. Adjacent data outside the export range is not affected.
7. Set a refresh schedule
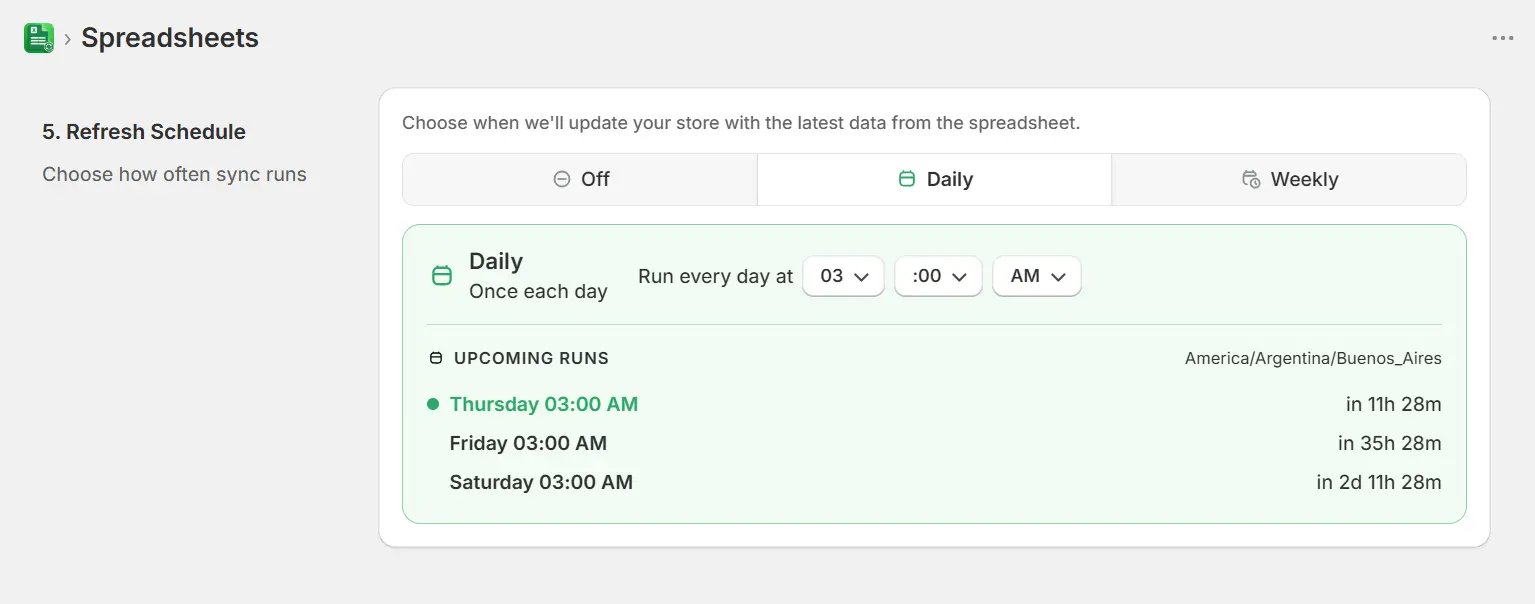
Set a schedule to keep your sheet up to date automatically. Choose Daily or Weekly; eCommix will export your latest Shopify data on that cadence and you can see the upcoming run times before saving.
8. Save your spreadsheet
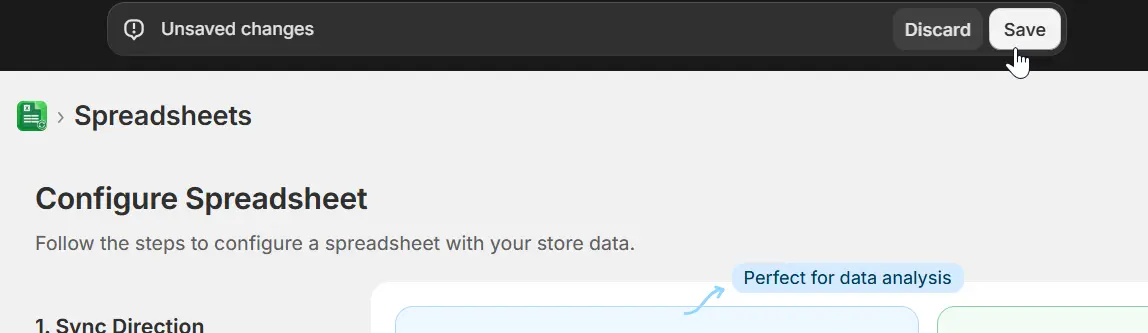
Once you have configured all the steps, click Save in the top bar. eCommix will run the first export automatically and write your Shopify data into the Google Sheet.
After saving, your Shopify data will appear in the Google Sheet; one row per record, with the columns you selected as headers. The first row contains a status message and row 2 has the column headers. You can now edit values directly in the sheet and push them back to Shopify.
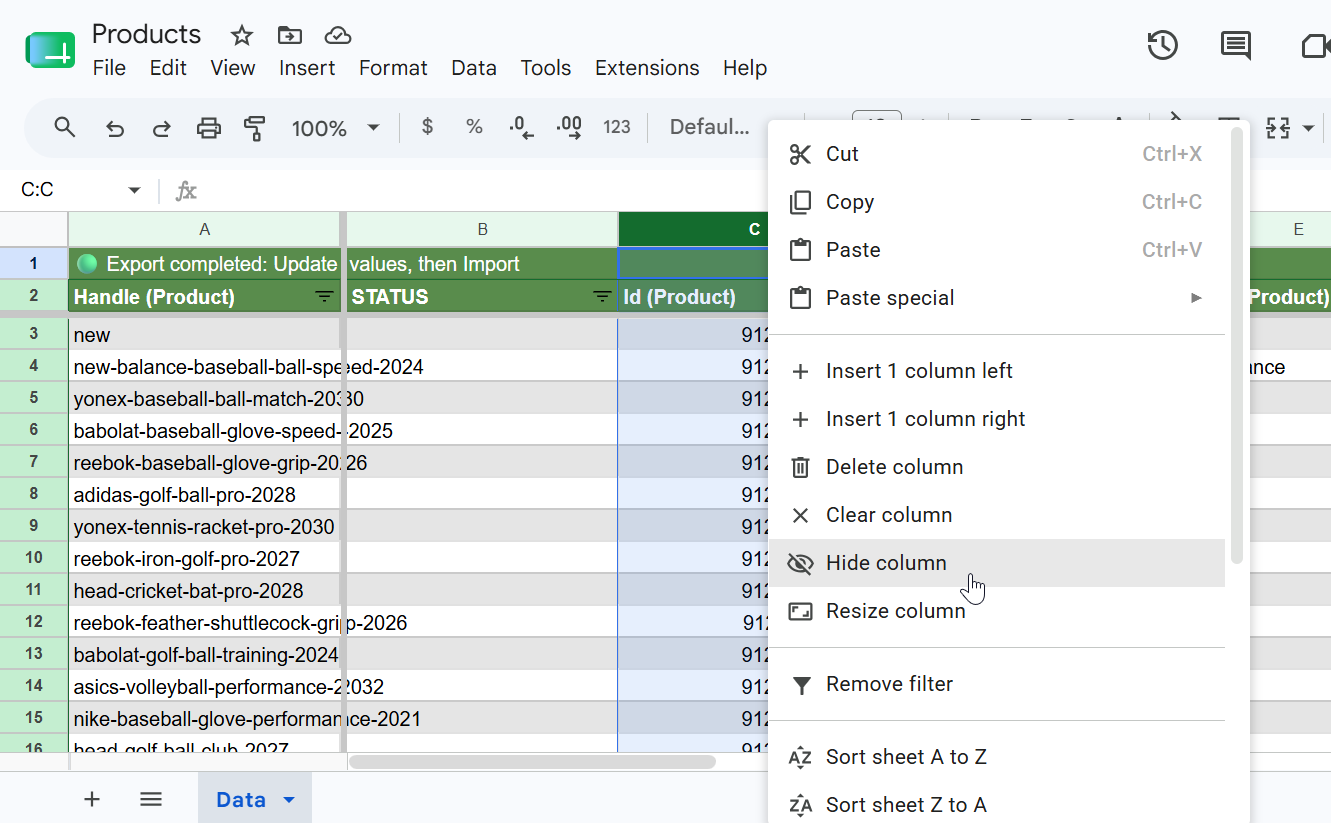
You can hide columns you don't need to edit; for example, required identifier columns like Id (Product) that must stay in the sheet but don't need to be visible. Right-click any column header and choose Hide column. You can also adjust the number of frozen columns (View → Freeze) if you want to keep the Handle or STATUS column visible as you scroll right.
9. Edit your data in the spreadsheet
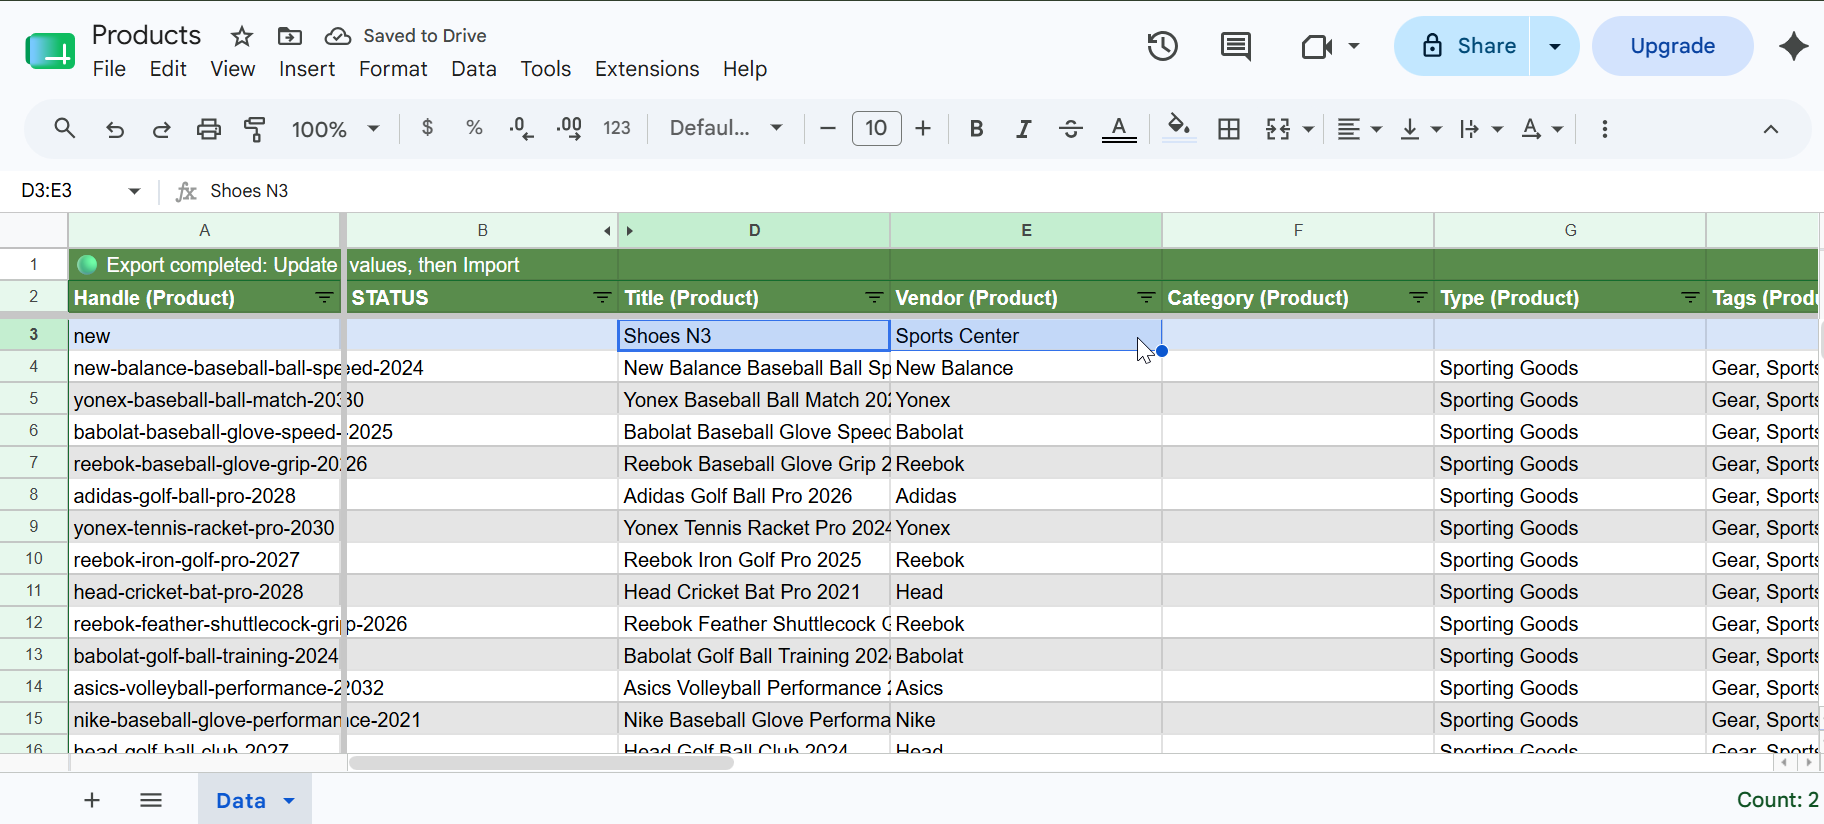
Open the Google Sheet and start making changes. For this example, find the first product row and update its Title and Vendor; type the new values directly into those cells. Only rows where you change at least one value will be processed when you import.
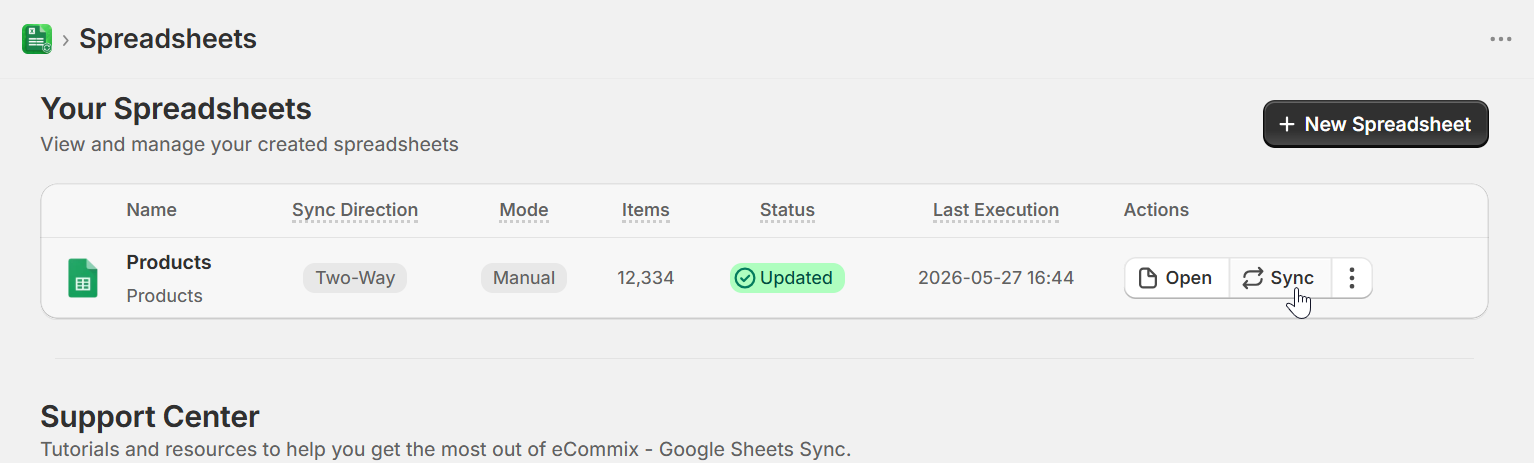
Once you have made your edits, go back to eCommix and click the Sync button next to your spreadsheet on the main page.
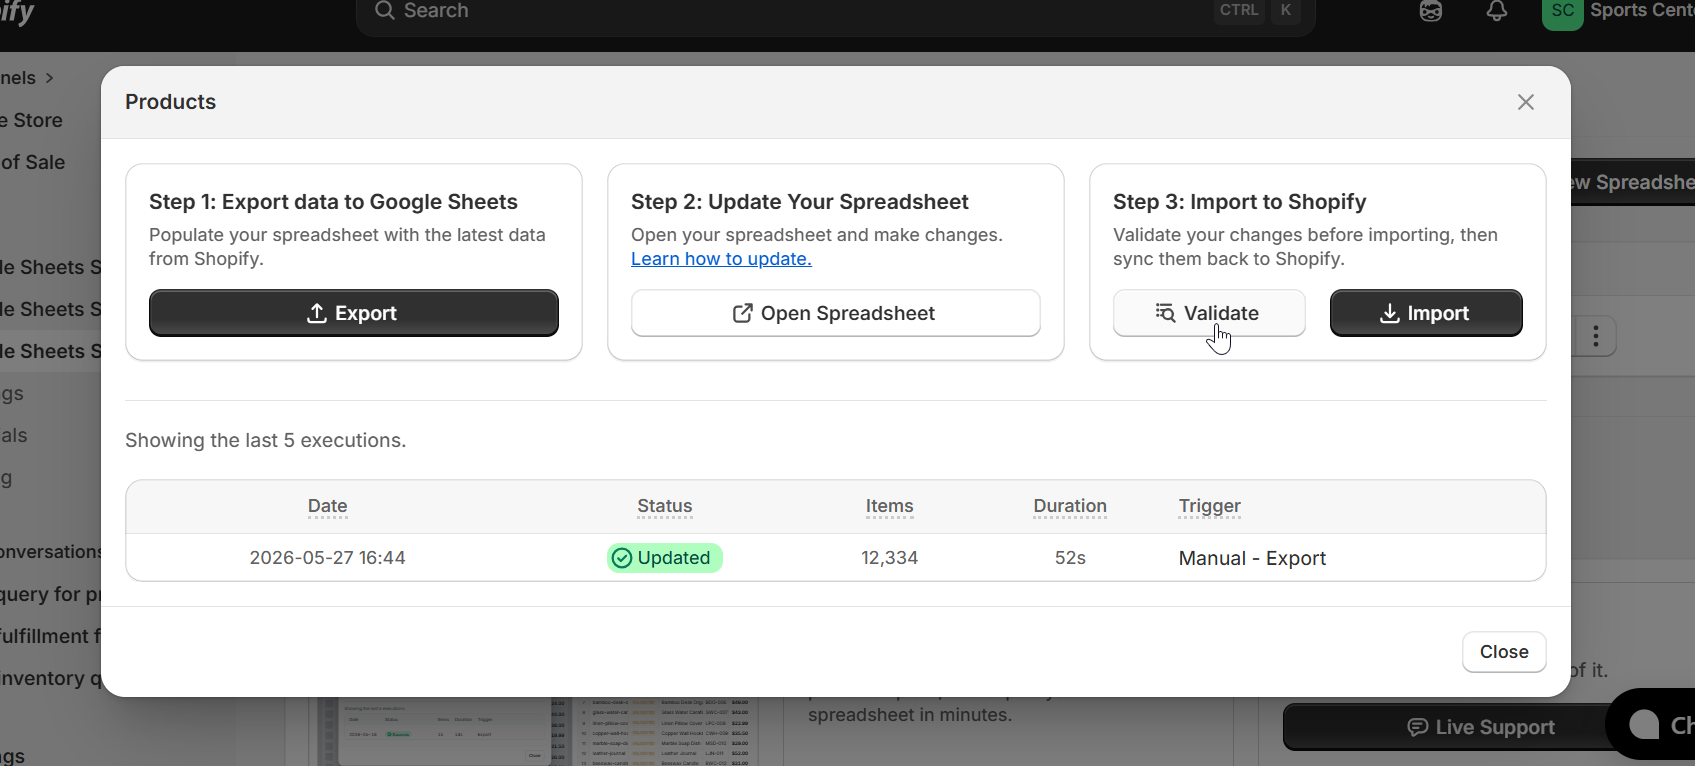
In the modal that opens, click Validate first. Validation reads your sheet and checks every row before anything is sent to Shopify; it's a safe, read-only step that lets you see exactly what will happen.
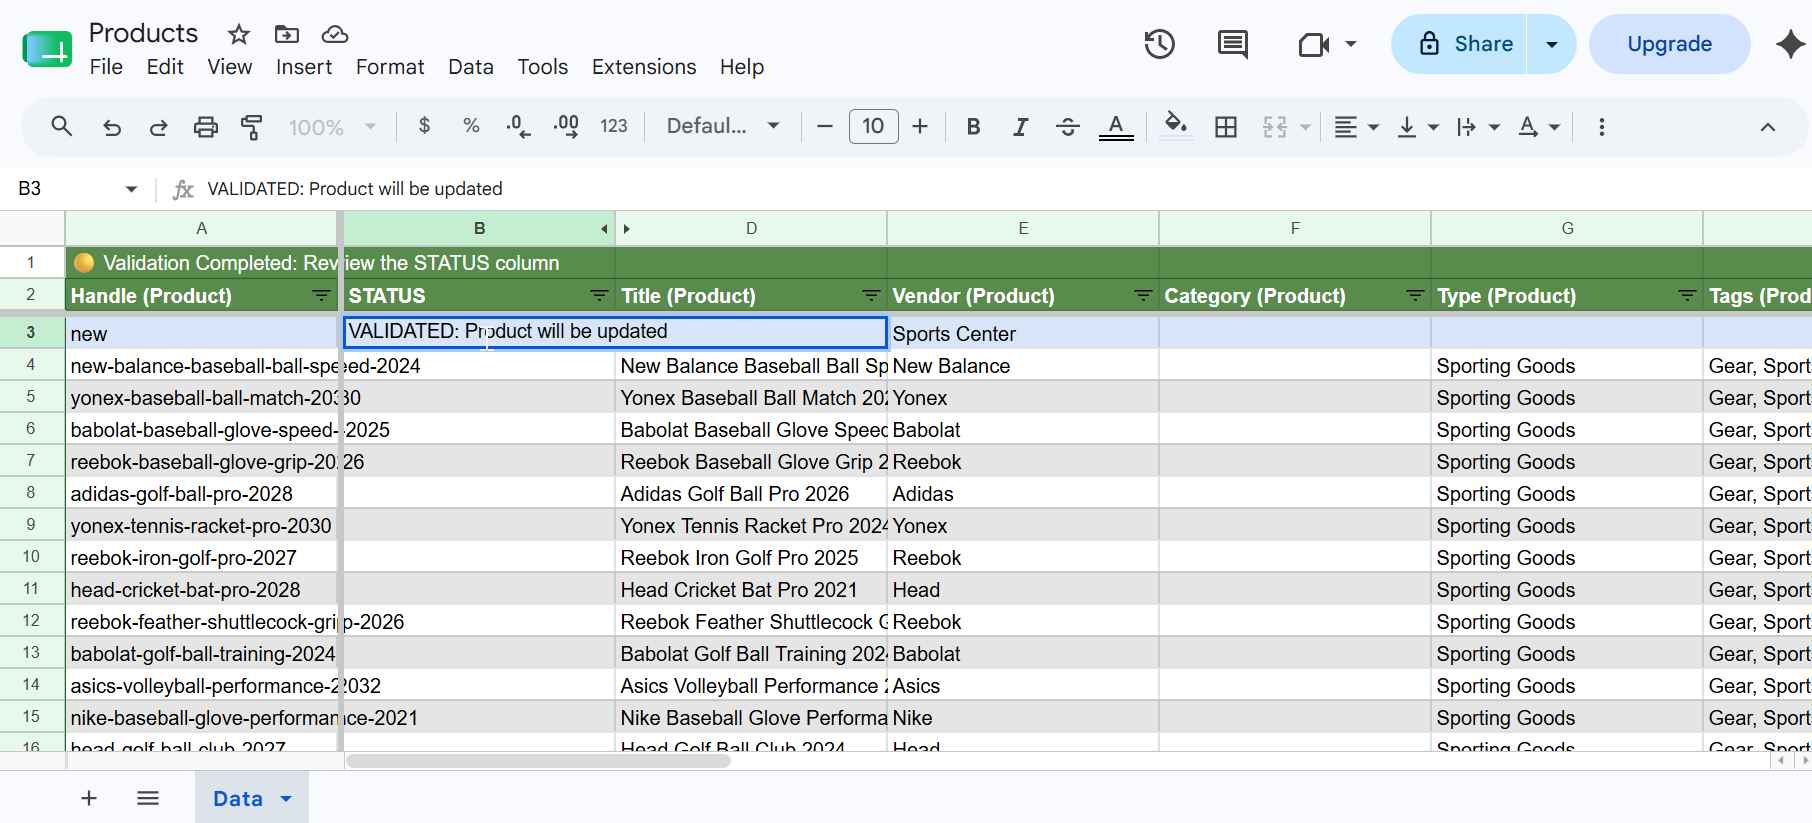
After validation completes, open the Google Sheet and check the STATUS column. Each row that had changes will show a result; in this case the first product row shows VALIDATED: Product will be updated, confirming the title and vendor change will be applied on import.
Once you're happy with the validation results, go back to eCommix and click Import. This pushes the validated changes into Shopify.
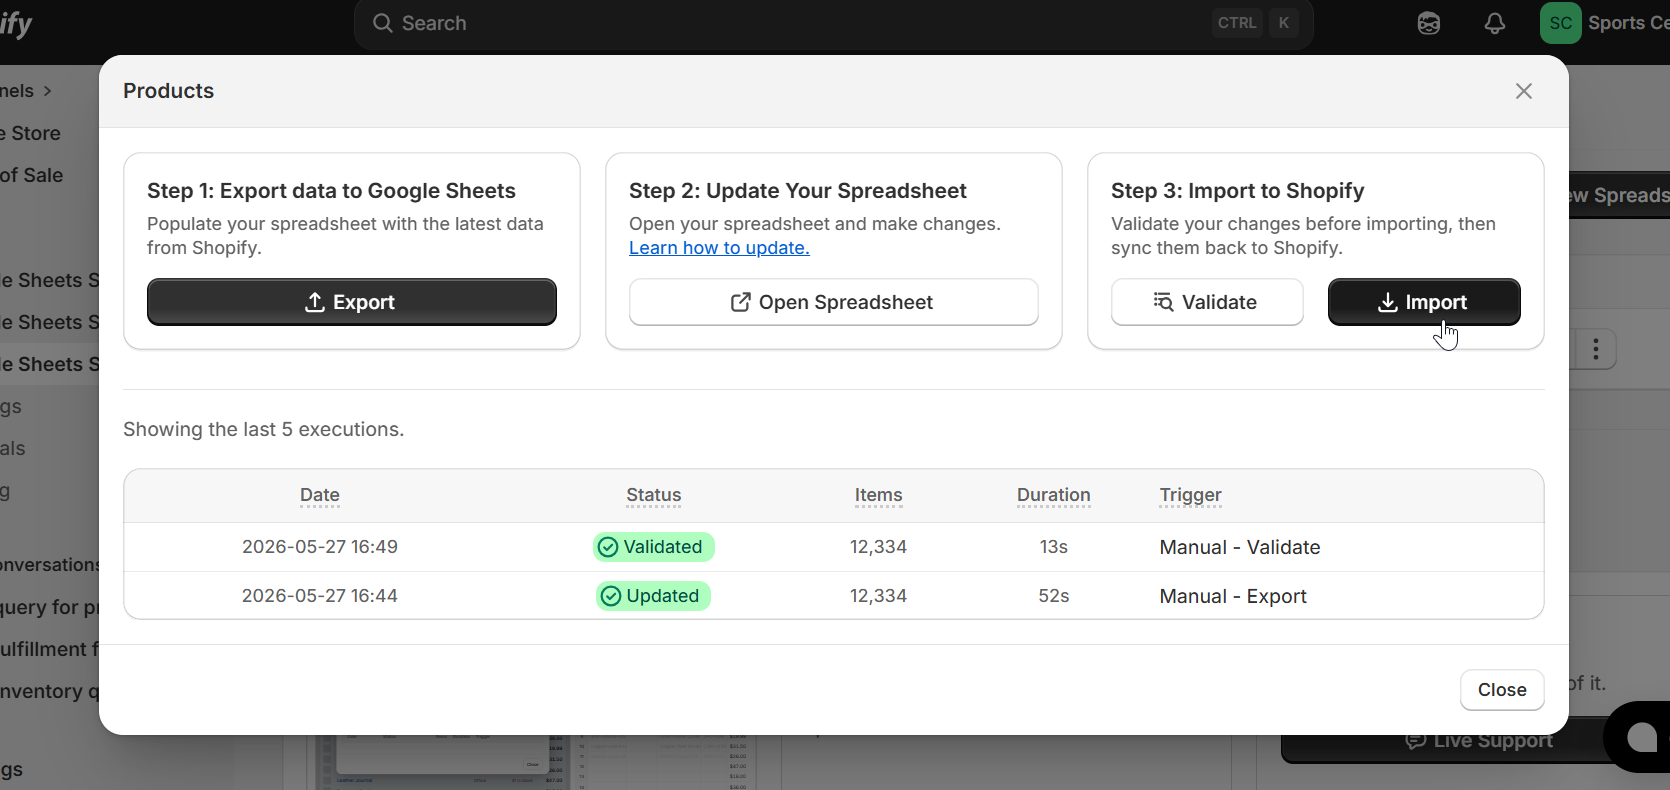
After the import finishes, the STATUS column in your sheet updates again. Rows that were successfully saved in Shopify will show UPDATED, confirming the changes are live in your store.