This tutorial assumes you already know what Two-Way Sync is and how to configure it. If not, please review the How Two-Way Sync Works tutorial first.
1. Choose the Products template
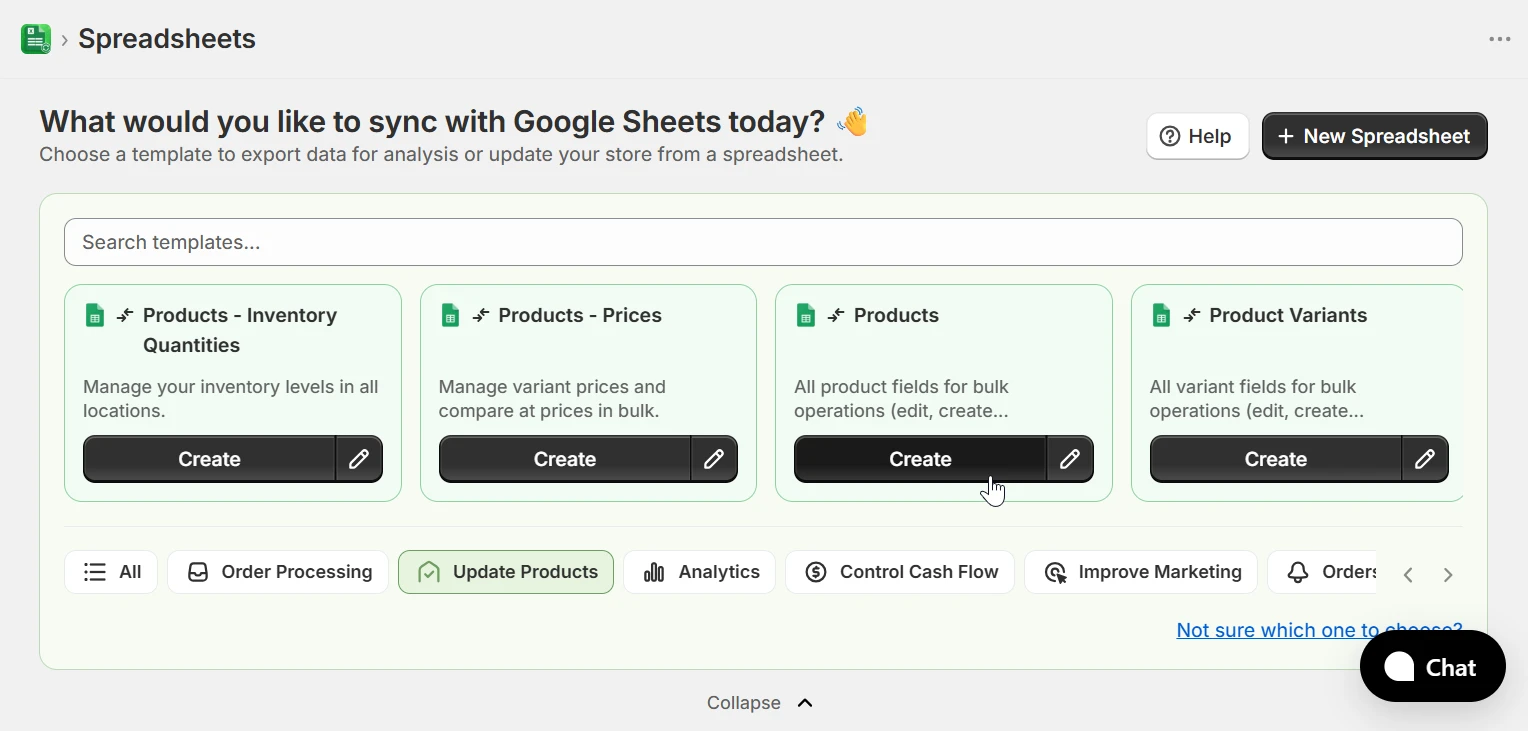
From the home page, select the Update Products category in the template filter bar and click Create on the Products template. If you are configuring a spreadsheet from scratch, click New Spreadsheet, select Two-Way Sync as the sync direction, and then choose the Products template.
2. Create Single-Variant Products
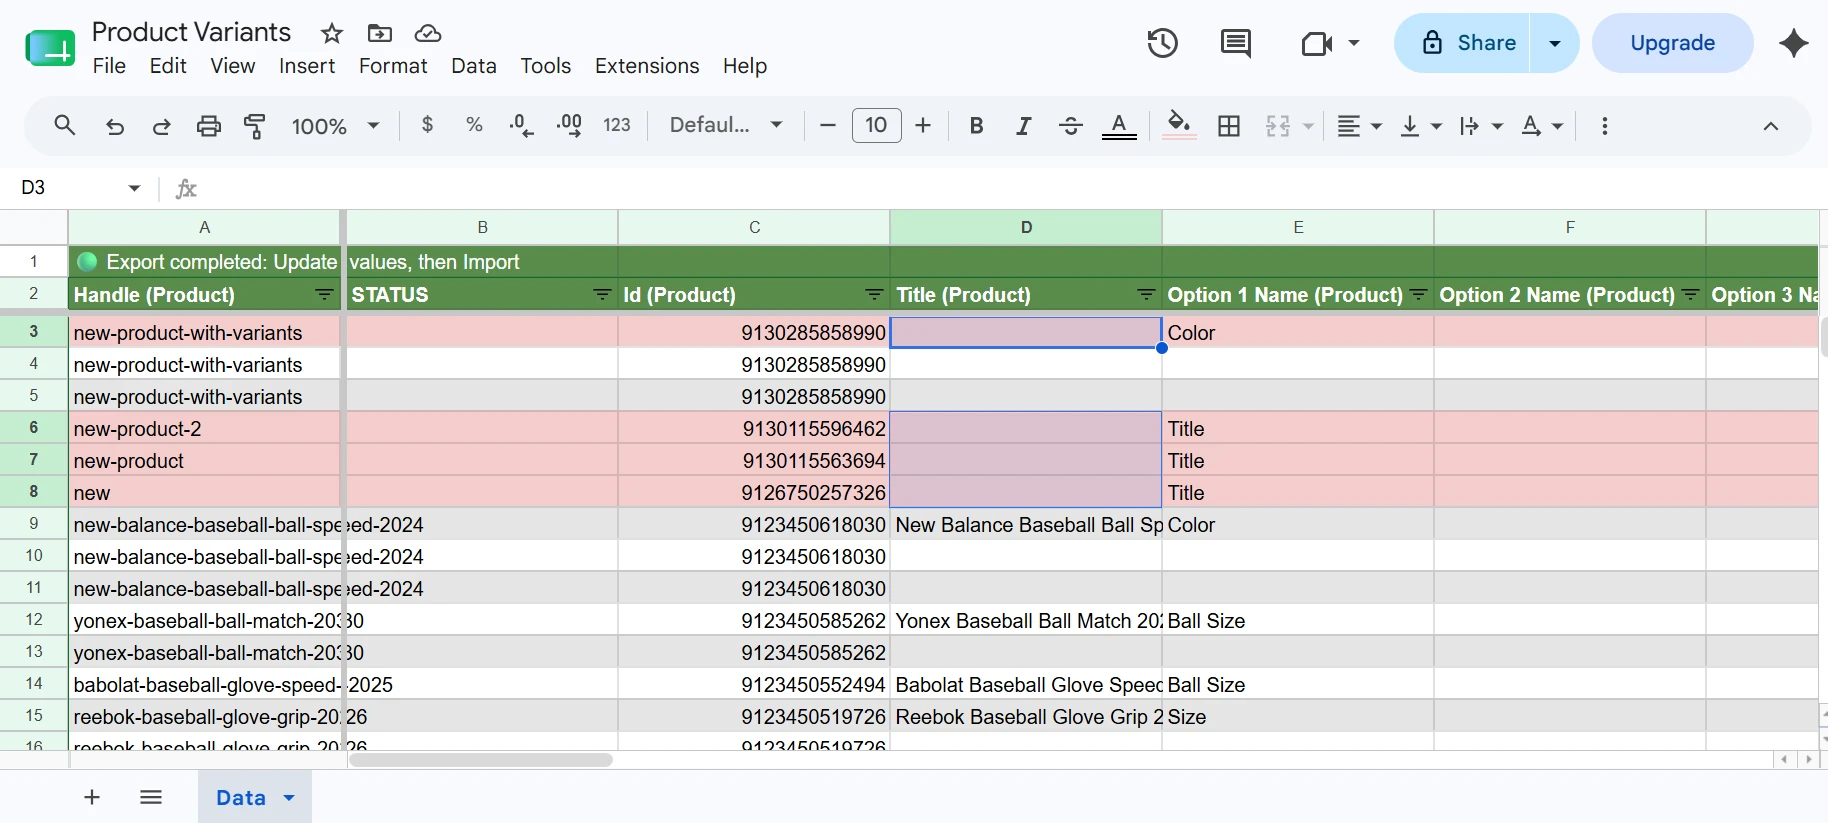
To create new products, add rows to the sheet and leave the Id (Product) column empty; eCommix detects the missing ID and treats the row as a create operation. Fill in these required fields:
- Handle (Product) — A unique URL-friendly identifier (e.g.
new-product). Must not already exist in Shopify. - Title (Product) — The product title shown in Shopify and on the storefront.
In the example below, two new rows have been added with handles new-product and new-product-2. You can fill in any other product attribute you need; this is just for illustration purposes.
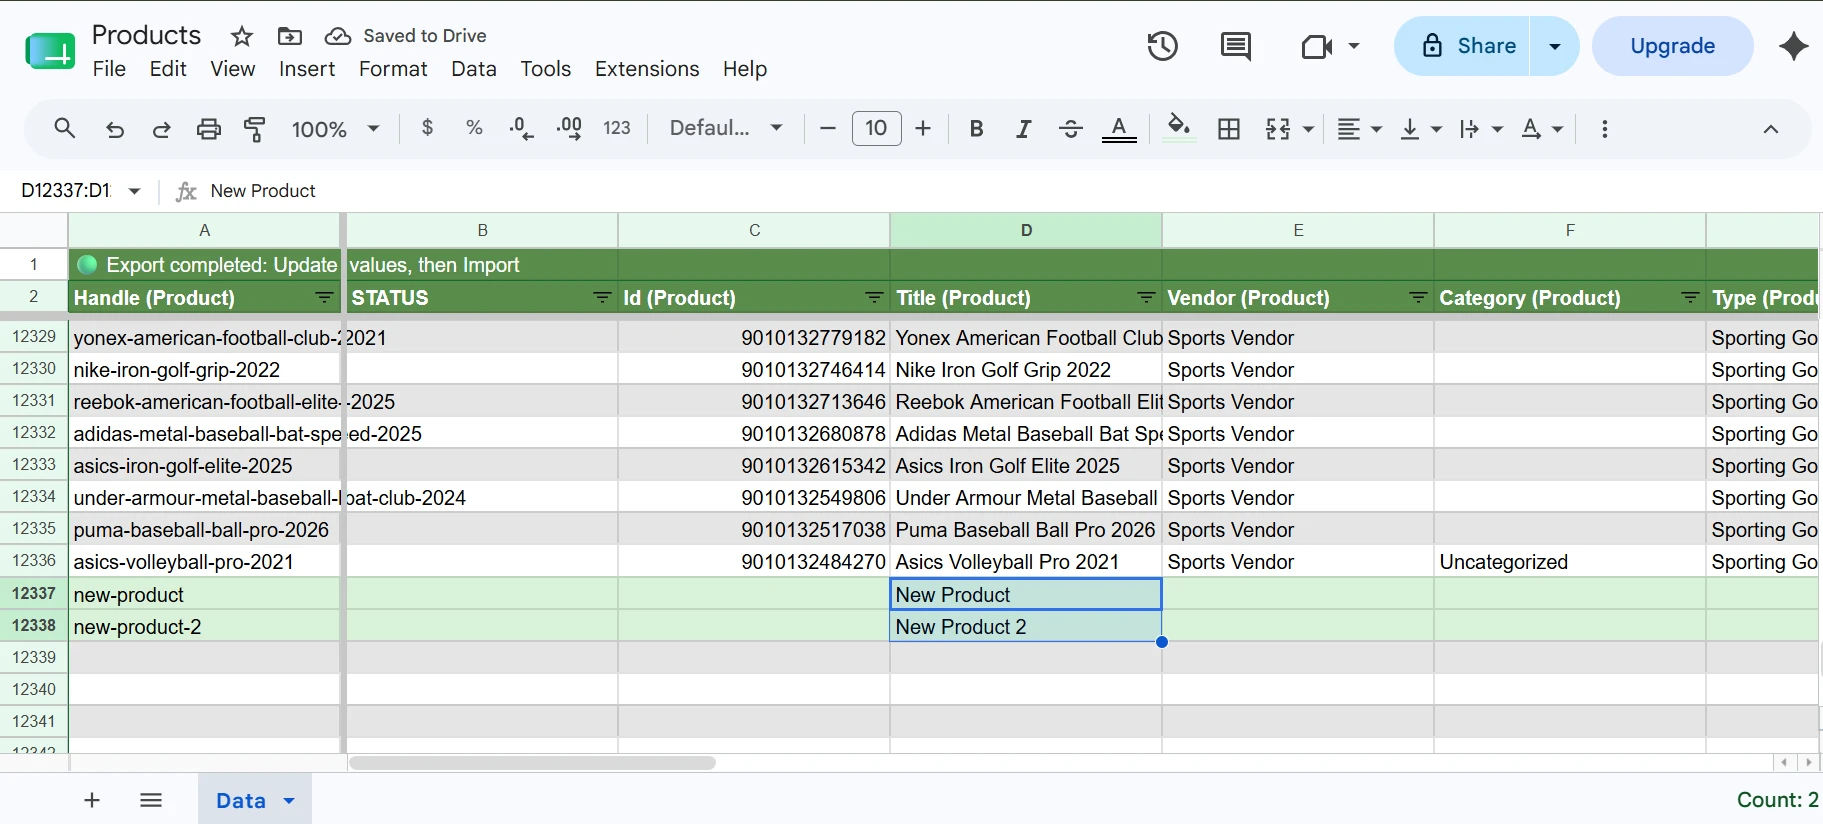
Go back to eCommix, click Sync, then Validate to preview the changes; rows without an ID turn light green to confirm they will be created. Once you're satisfied, click Import to apply them. The full flow is covered in the How Two-Way Sync Works tutorial.
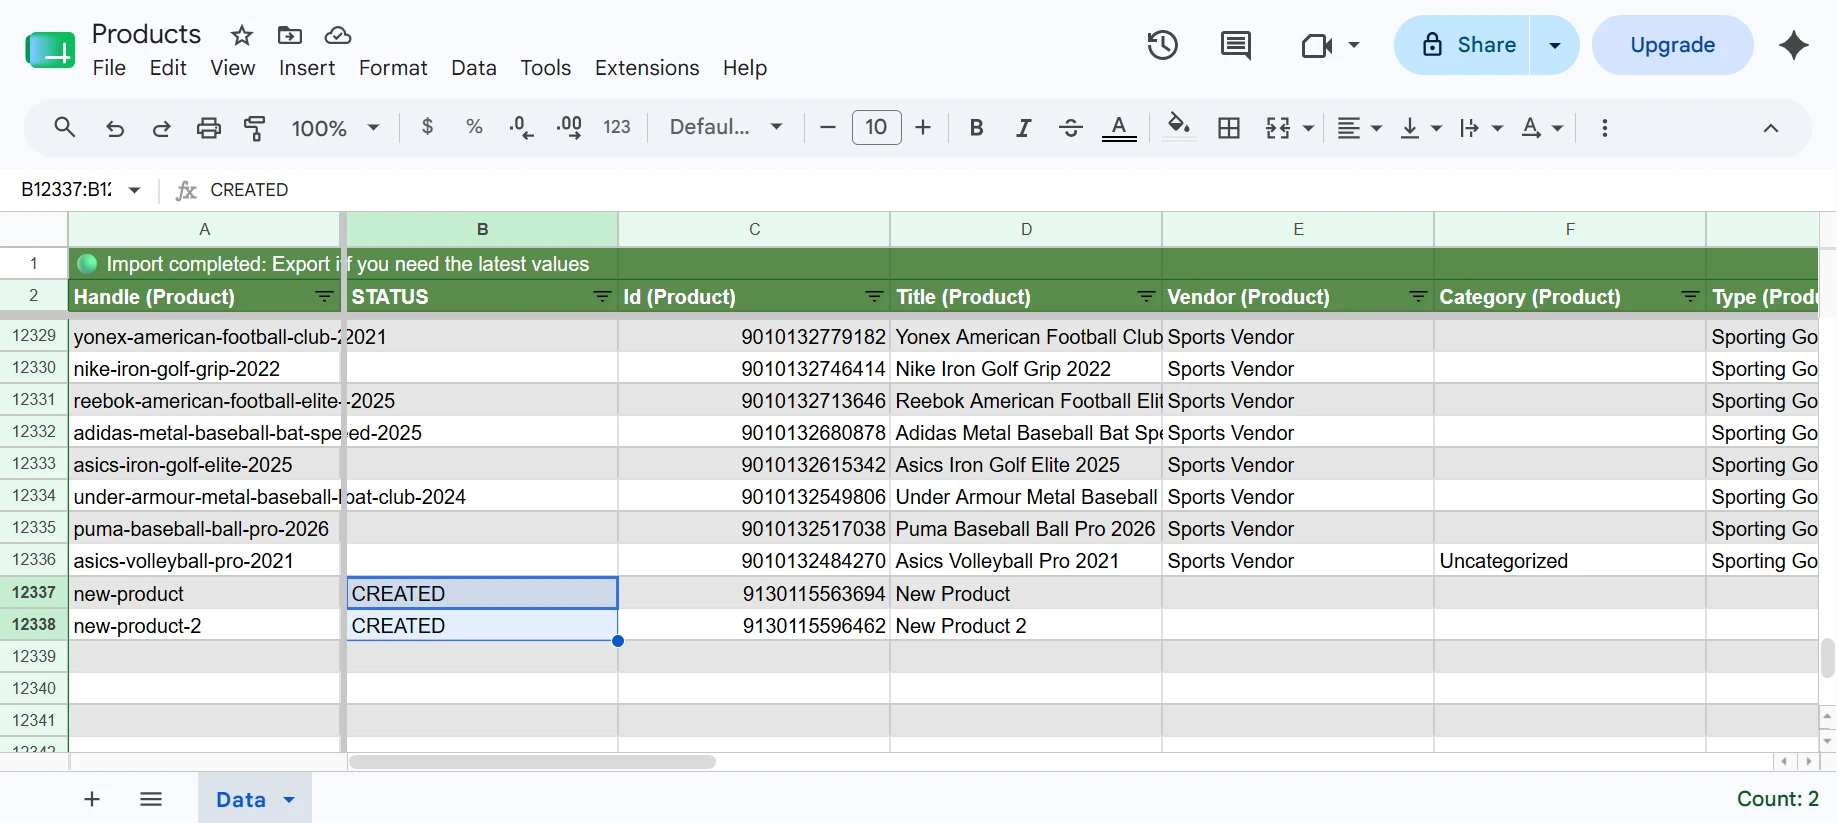
Once the import completes, the STATUS column for each new row will show CREATED, confirming the products were successfully added to your Shopify store.
3. Create a Product with Many Variants
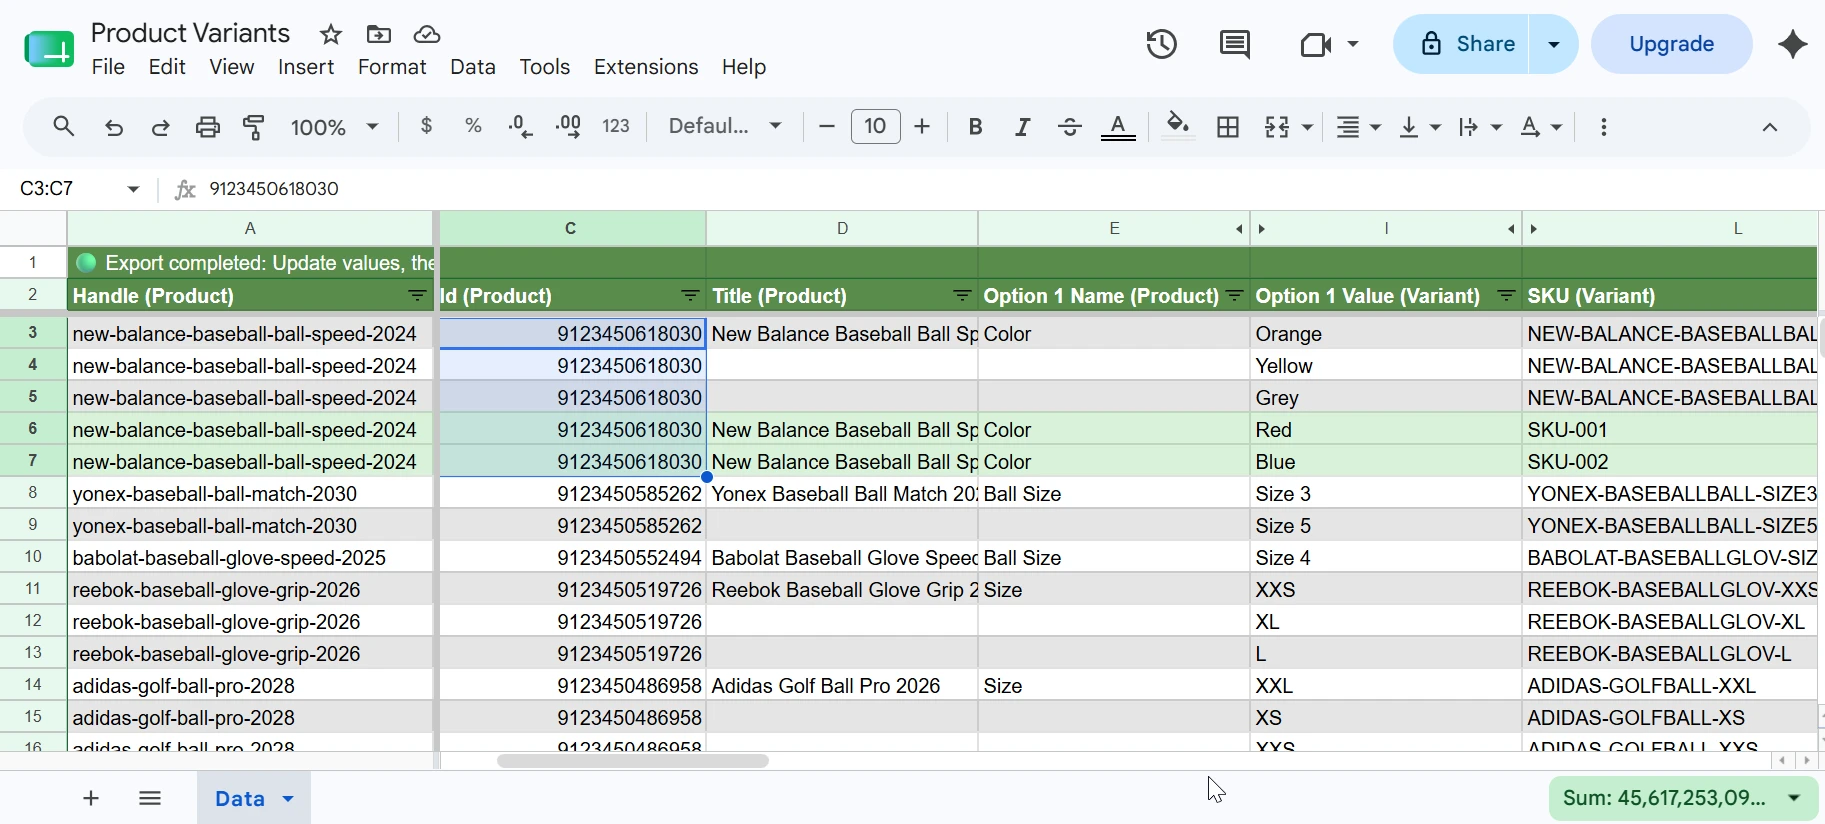
To create products with multiple variants, you can edit the current spreadsheet to add variant fields using Manage Columns, or create a new spreadsheet from a template that already includes all variant attributes. The Product Variants template is a good starting point; it includes all variant fields for bulk operations.
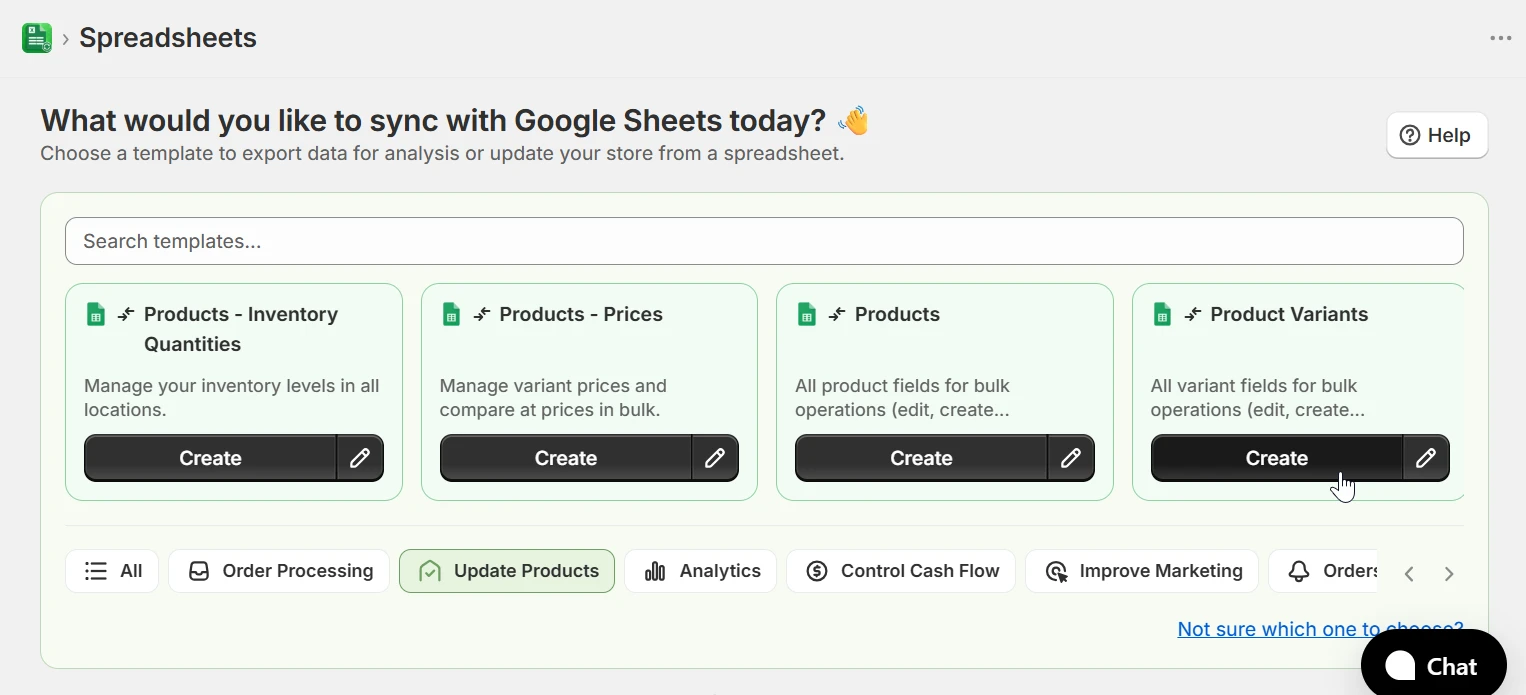
This template includes some product-level fields alongside variant fields; you can always edit the columns to show exactly what you need.
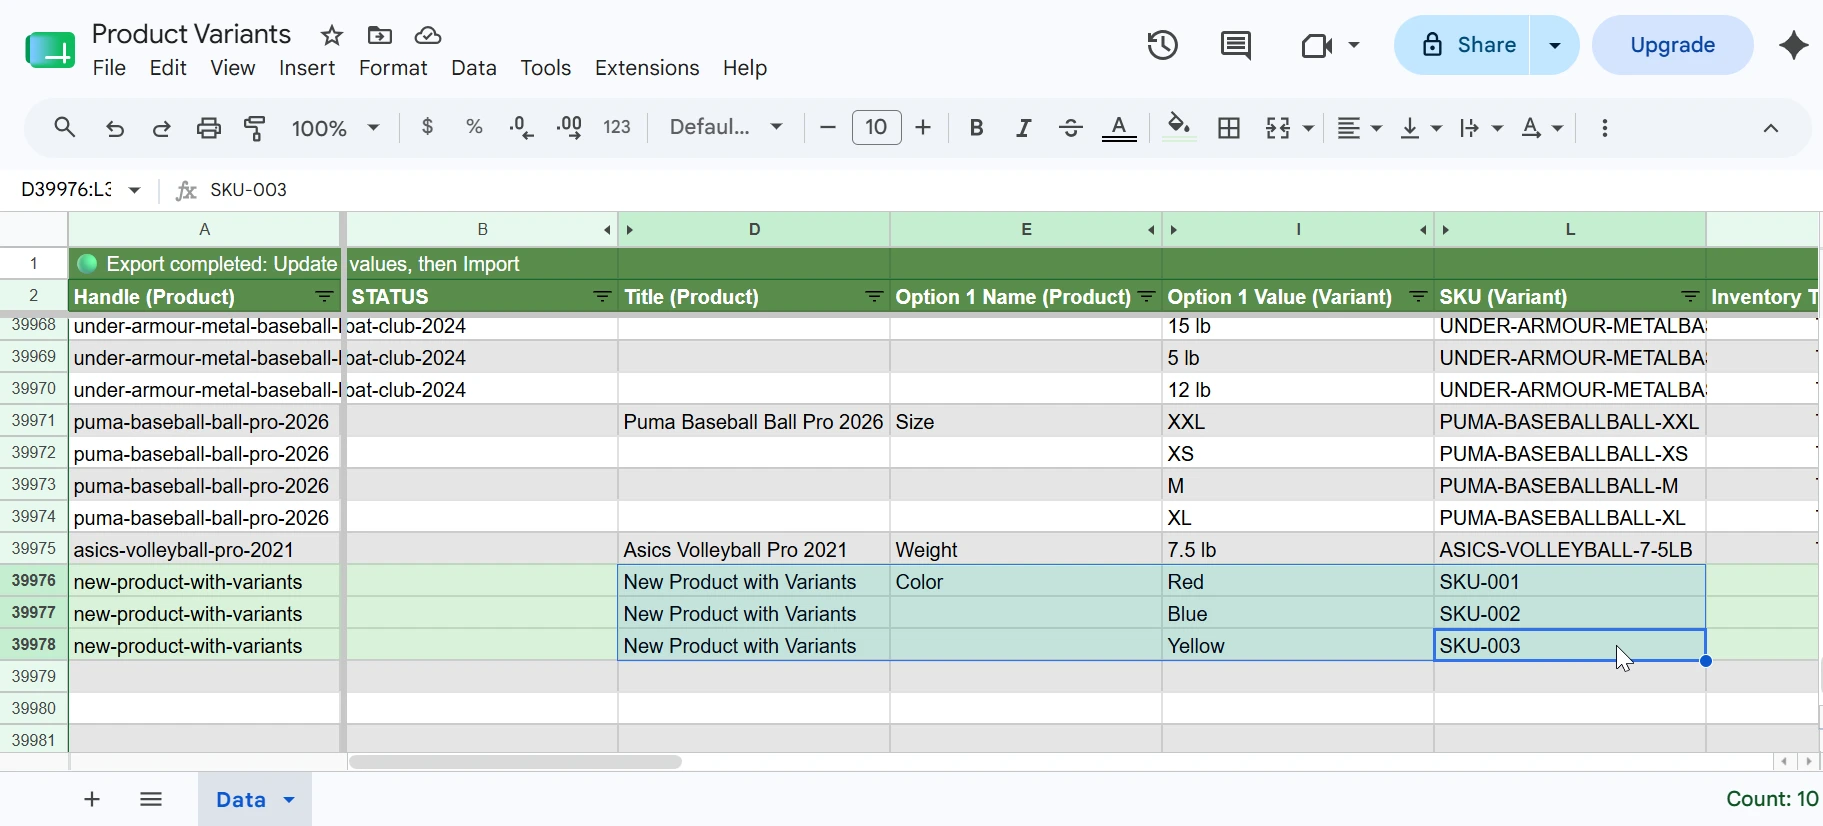
Add one row per variant under the same product. The following fields are required:
- Handle (Product) — Repeat the same handle on every row of the group.
- Title (Product) — Fill in the product title on the first row only. Leave it empty on the remaining rows.
- Option 1/2/3 Name (Product) — Set the option names (e.g. Color, Size) on the first row only.
- Option 1/2/3 Value (Variant) — Fill in the option value for each variant row (e.g. Red, Blue).
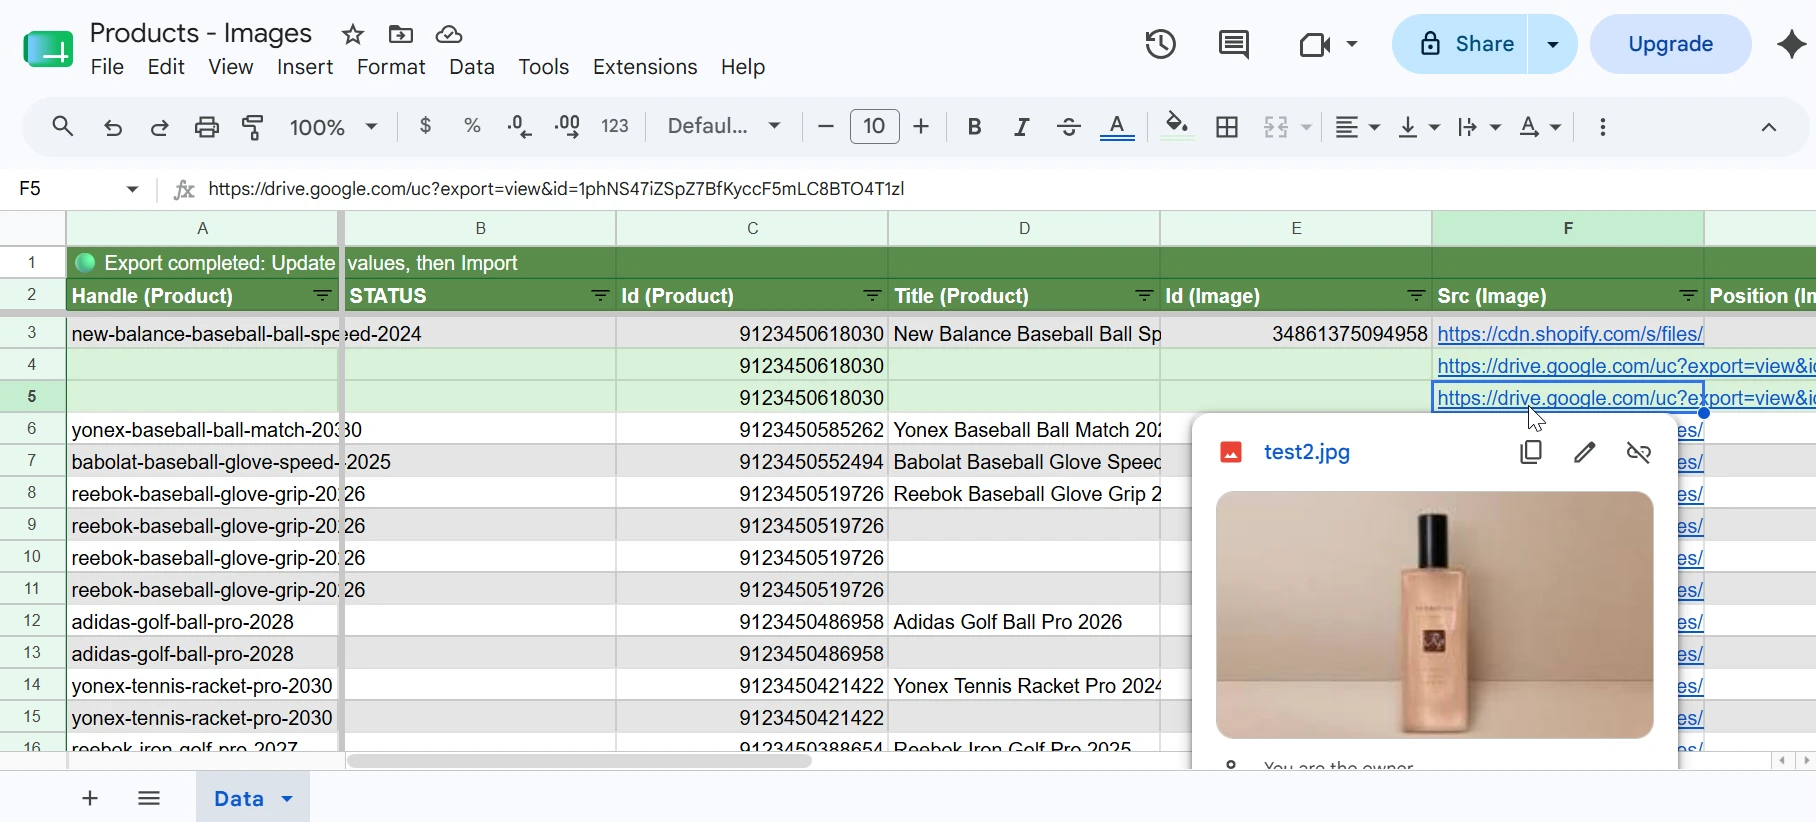
Once you have your products set up, you can also manage their images directly from Google Sheets. See the Creating Product Images from Google Sheets tutorial.