1. Connect your Google account
After installing the app, you will see a prompt asking you to connect your Google account. Click the Connect Account button. You will be redirected to Google where you will need to authorize the required permissions to enable syncing.
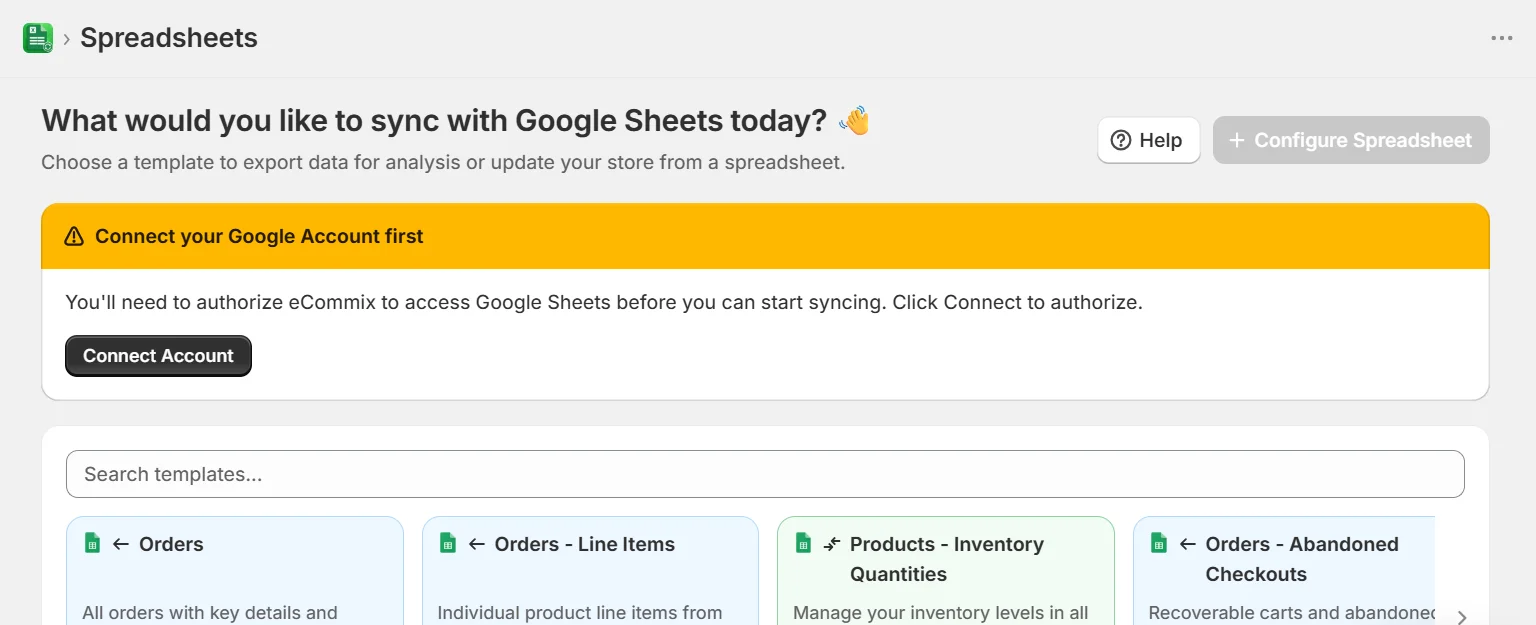
Make sure to check the checkbox for every permission; if any permission is skipped, the sync will not work correctly.
2. Create your first spreadsheet
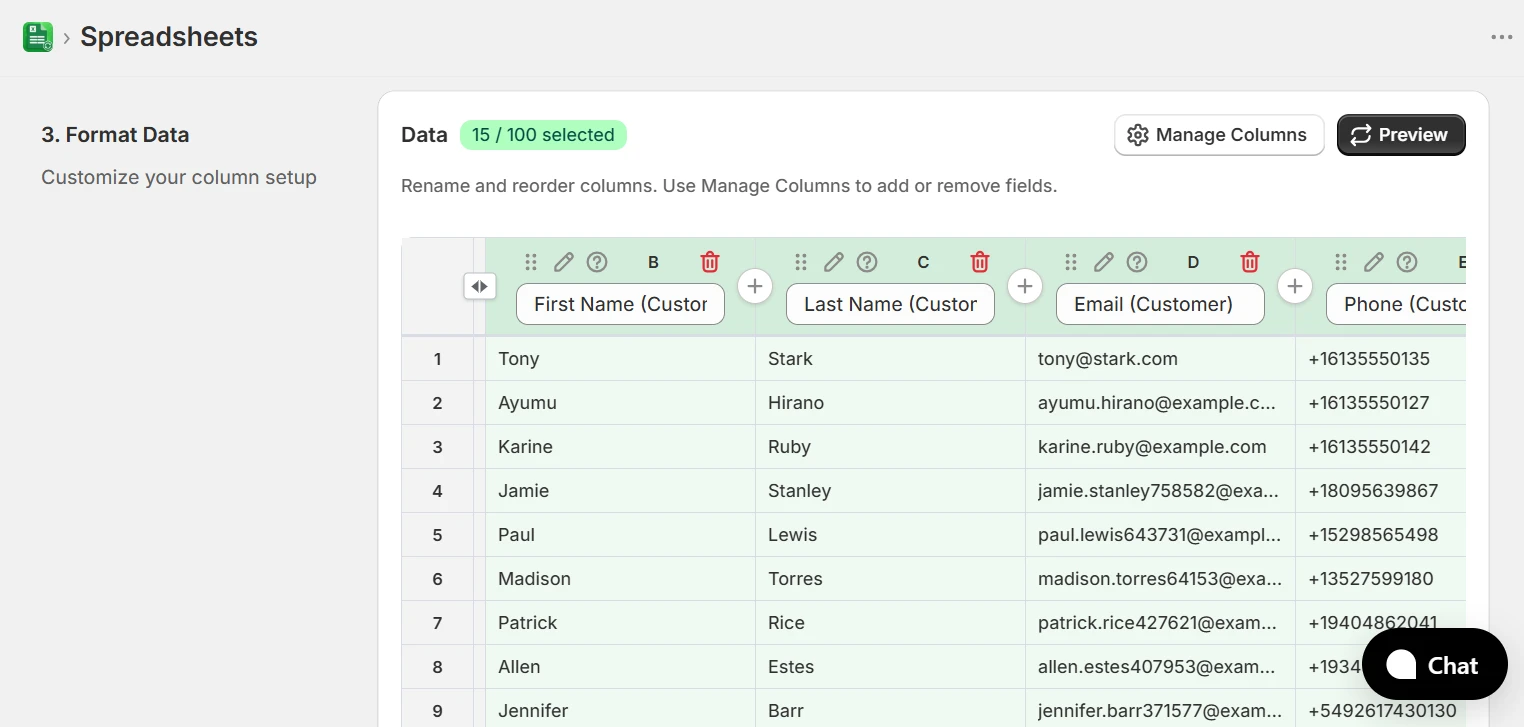
Now that your account is connected, you can create a spreadsheet from scratch by clicking the Configure Spreadsheet button, or click Create on any of the templates you see on the home page.
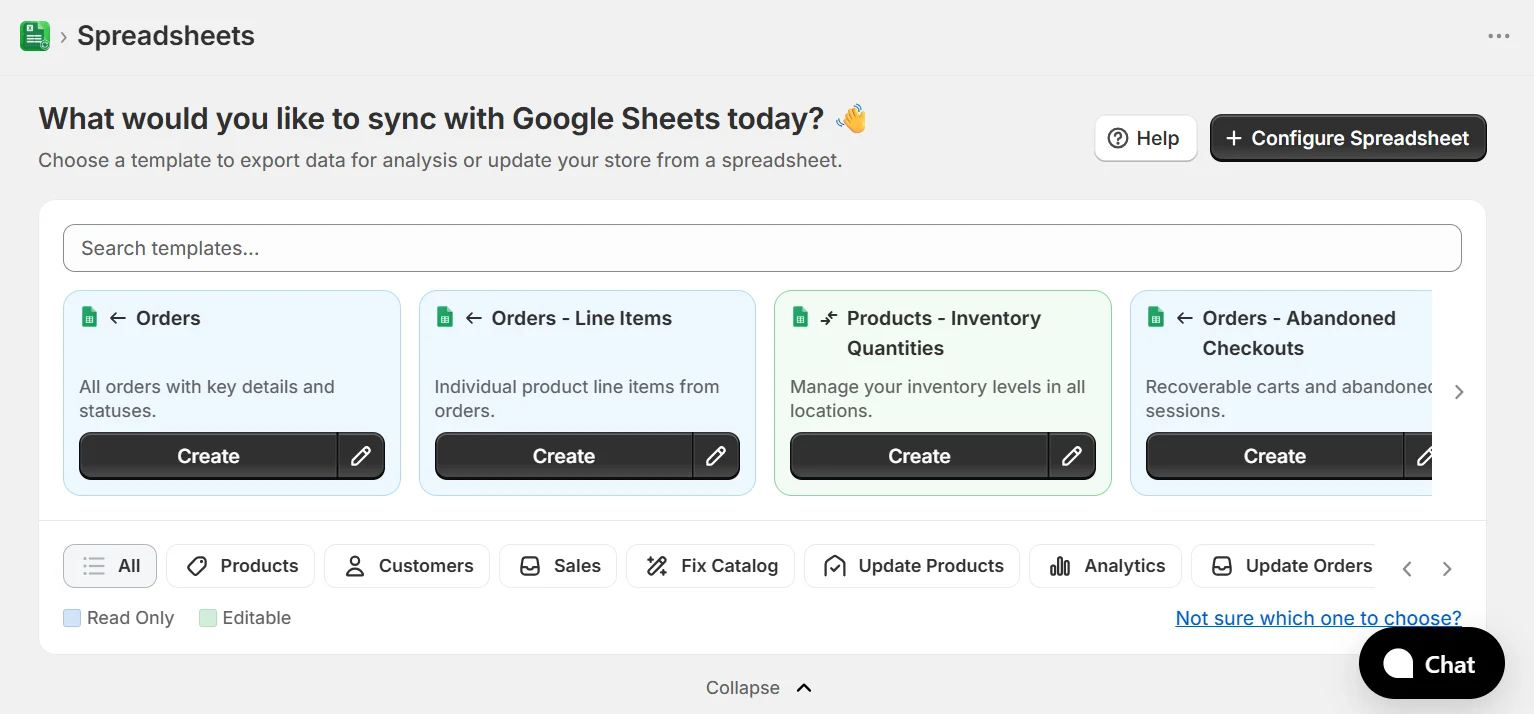
eCommix lets you export orders, products, customers, and more to Google Sheets so you can create reports and analyze your data in real time, tailoring your operations to your needs. To learn more, see the How to Export your data to Google Sheets tutorial.
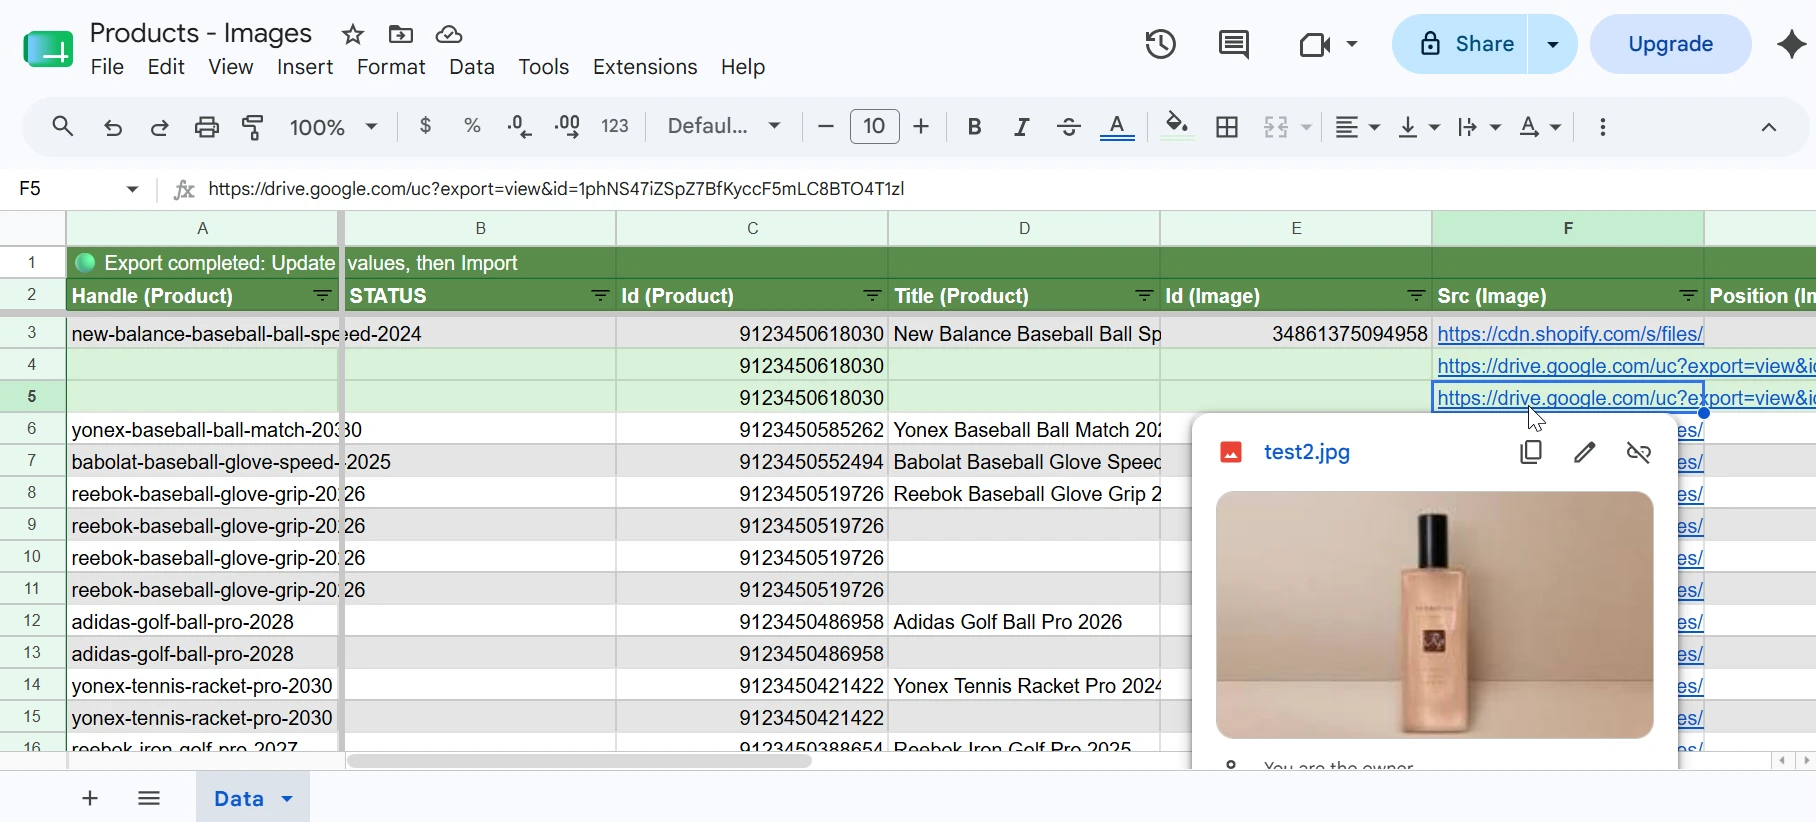
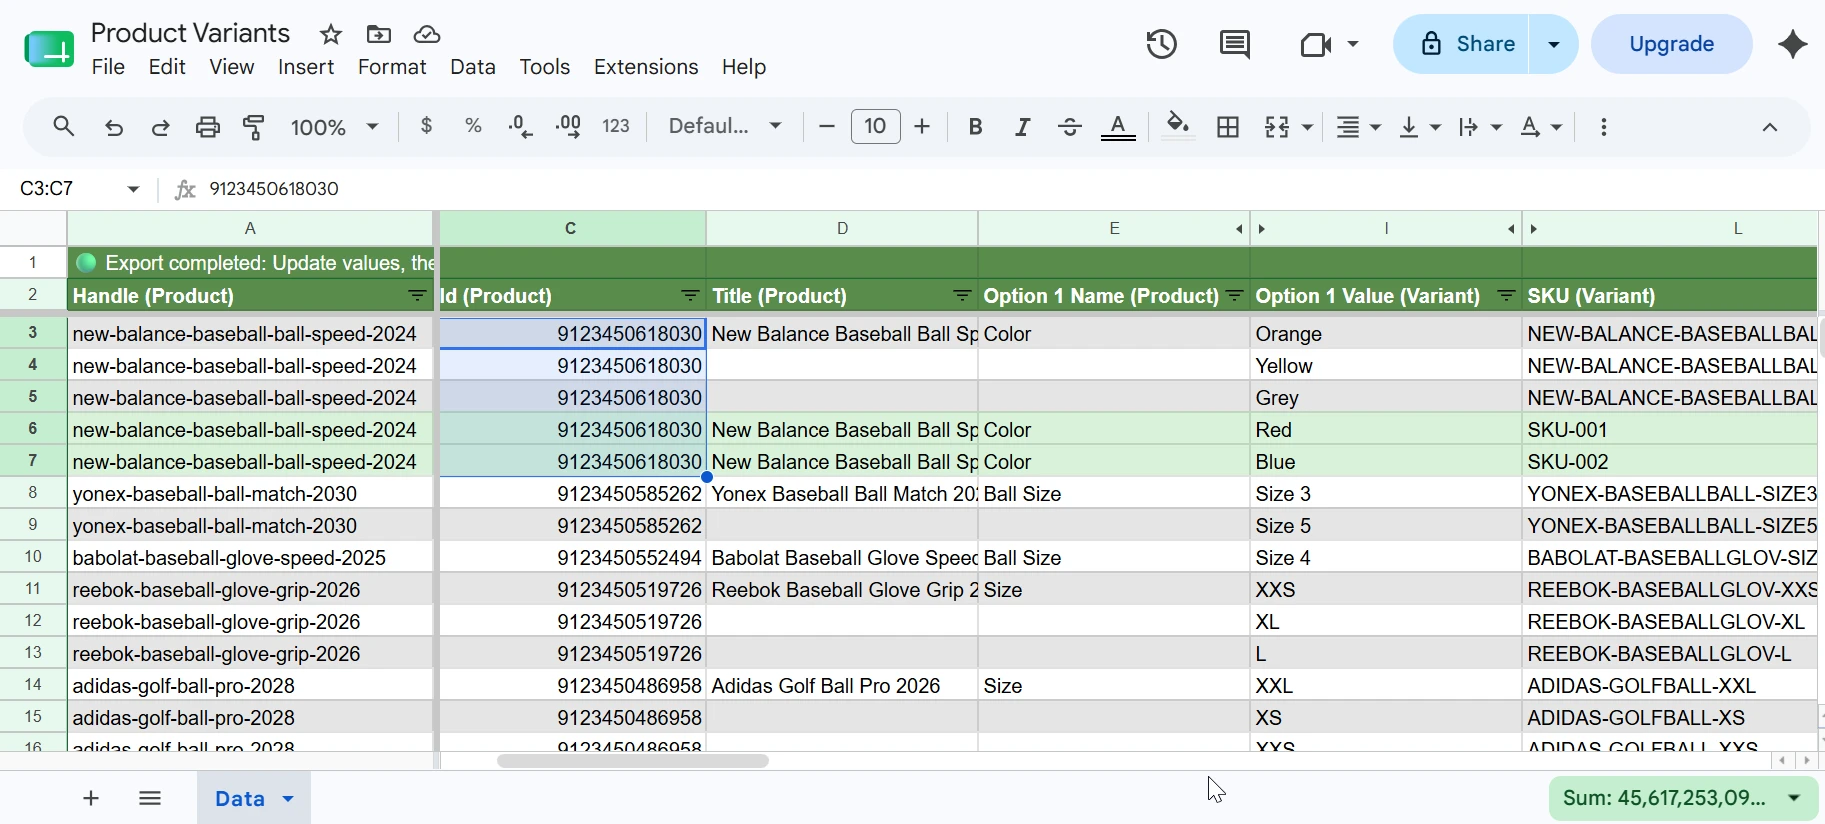
You can also update your products, customers, orders, inventory, metafields, prices, and any other field in bulk from Google Sheets using Two-Way Sync. To learn more, see the How to Import data from Google Sheets tutorial.
3. (Optional) Install the Google Sheets Add-On
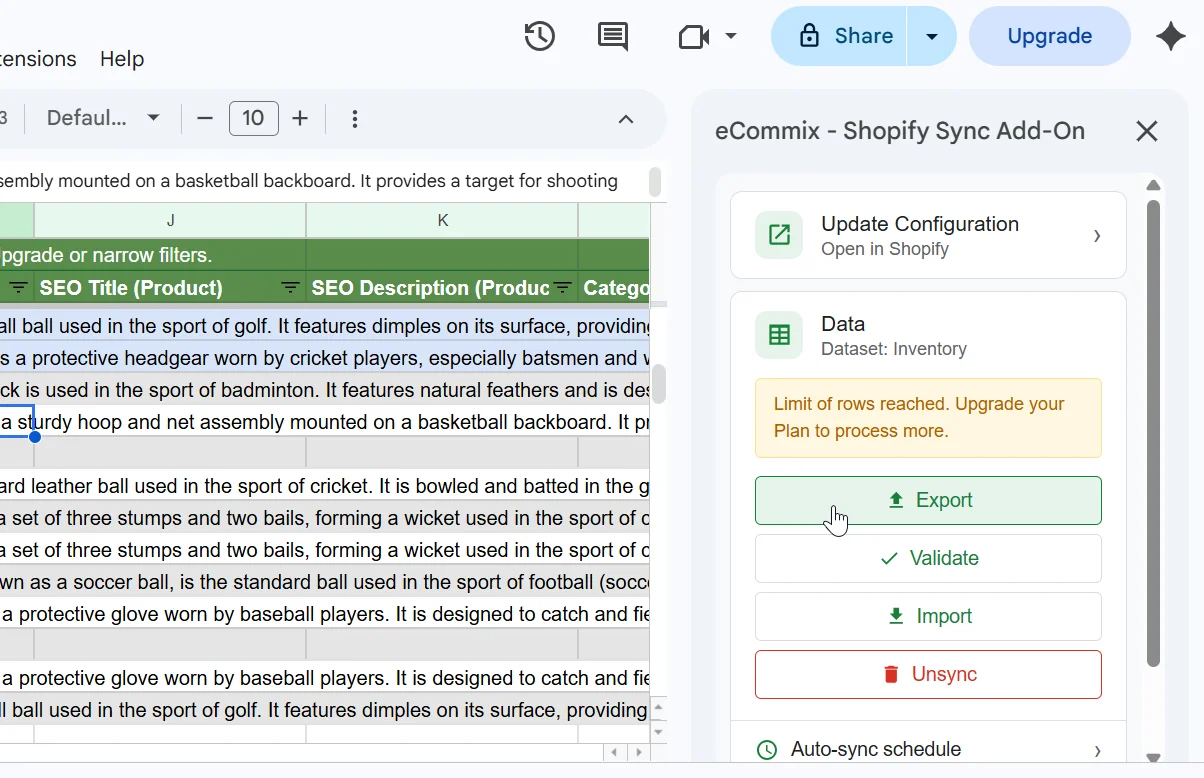
If you prefer working directly in your spreadsheet, install the eCommix Sheets Add-On. It lets you run export, validate, and import actions without going back to the Shopify app: Install the Sheets Add-On.