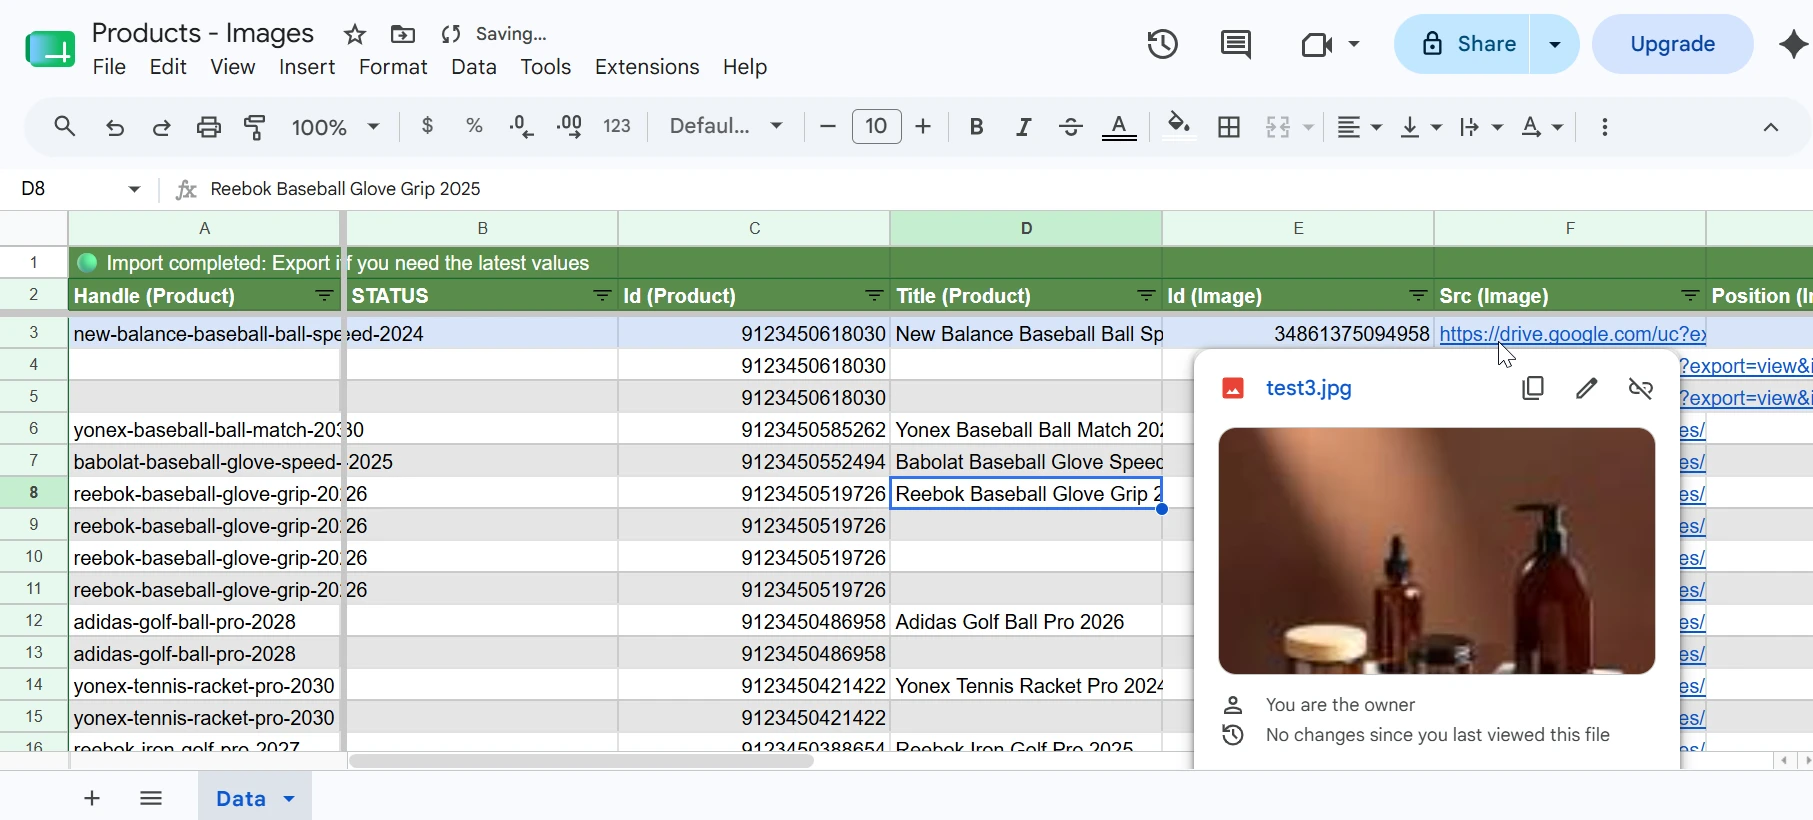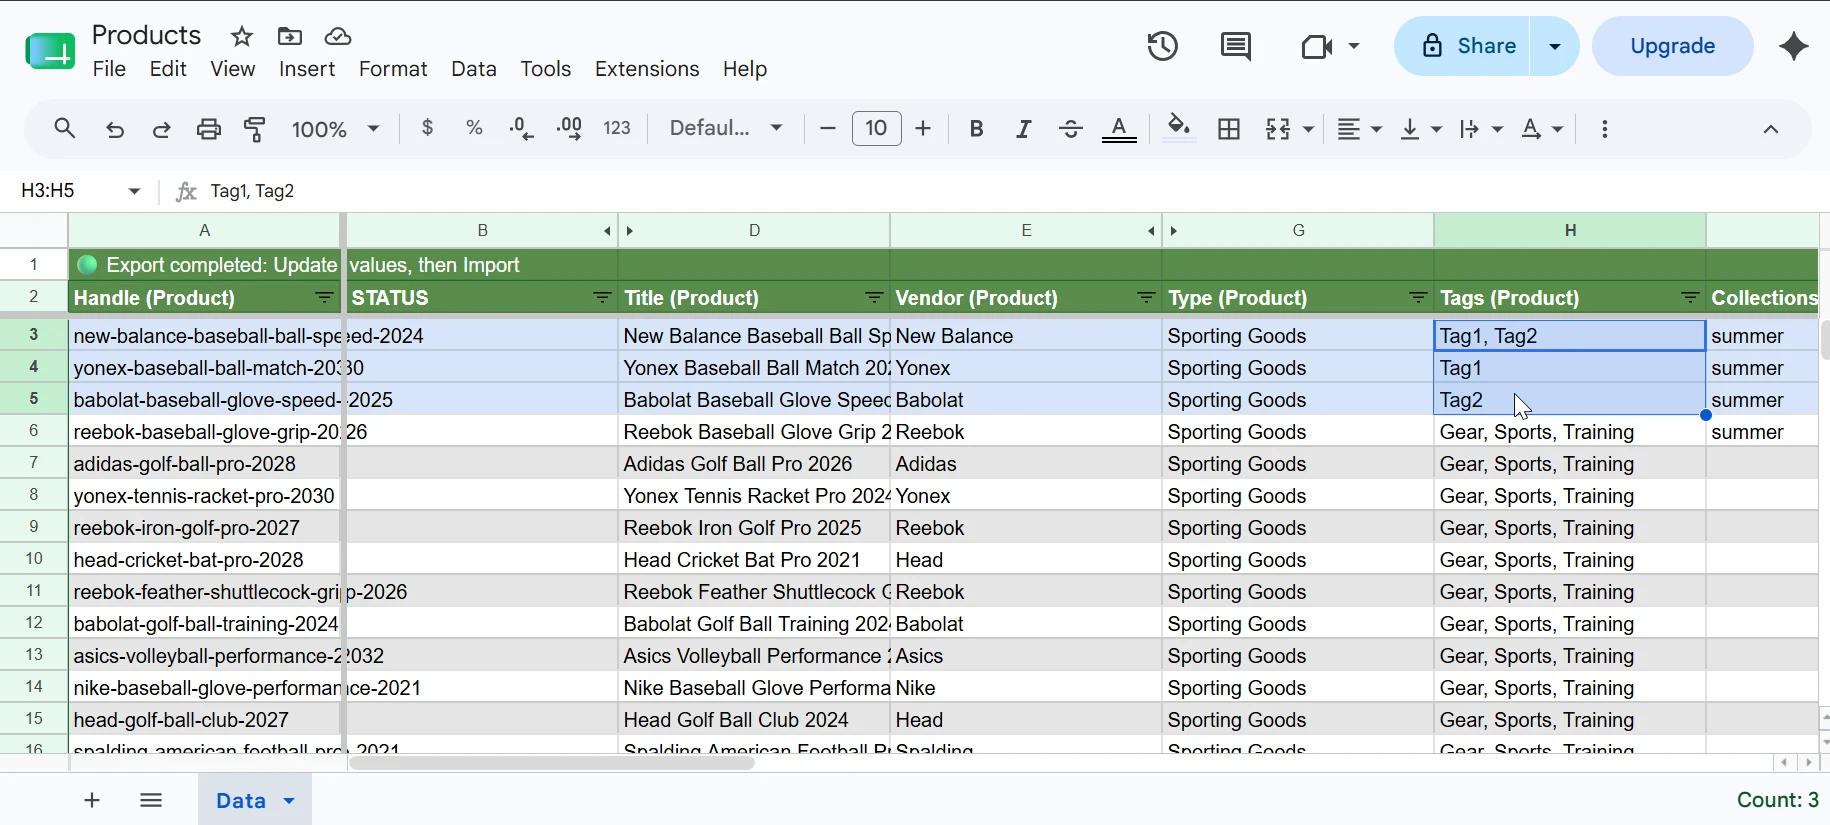
This tutorial assumes you already know what Two-Way Sync is and how to configure it. If not, please review the How Two-Way Sync Works tutorial first.
1. Choose the Product Variants template
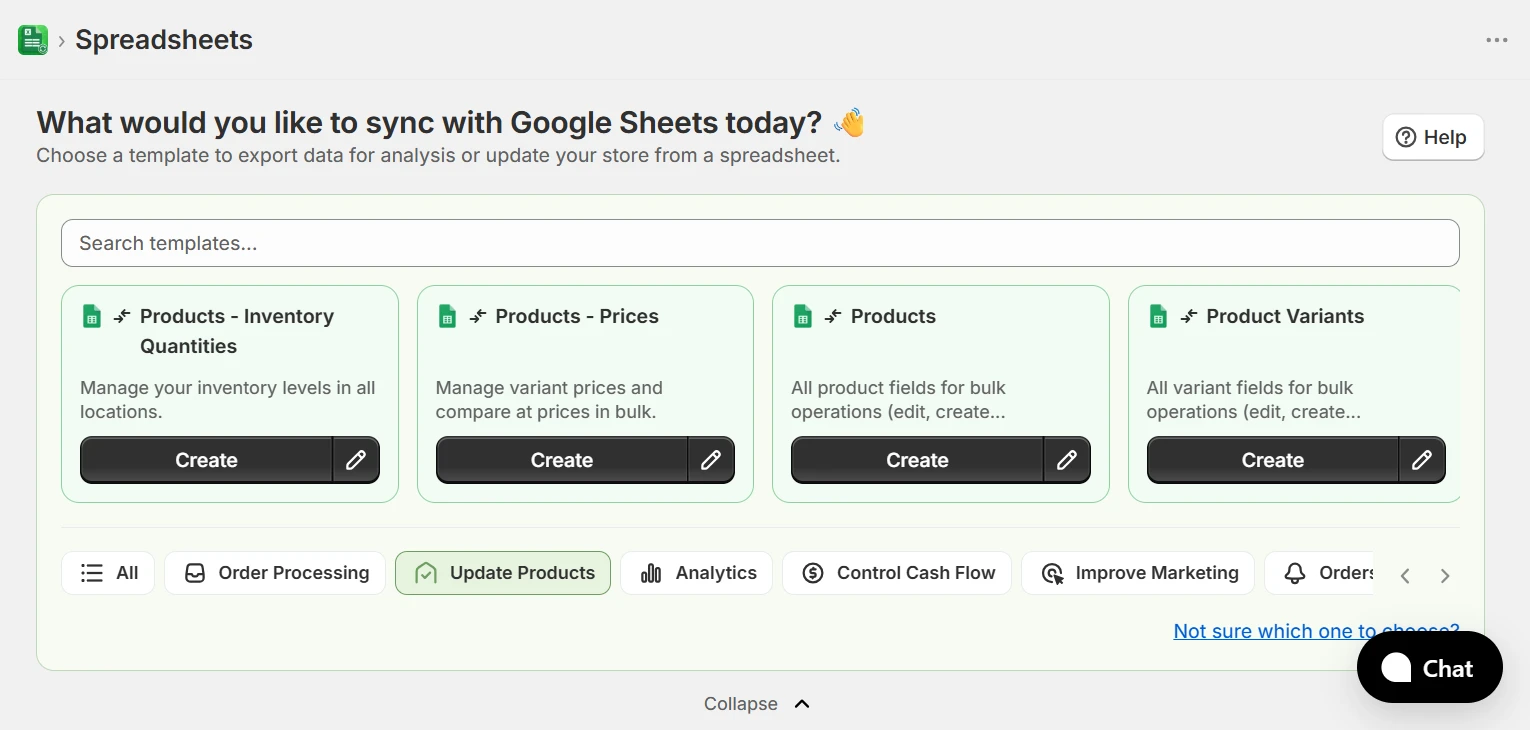
From the home page, select the Update Products category in the template filter bar and click Create on the Product Variants template. If you are configuring a spreadsheet from scratch, click New Spreadsheet, select Two-Way Sync as the sync direction, and then choose the Product Variants template.
2. Update Existing Variants
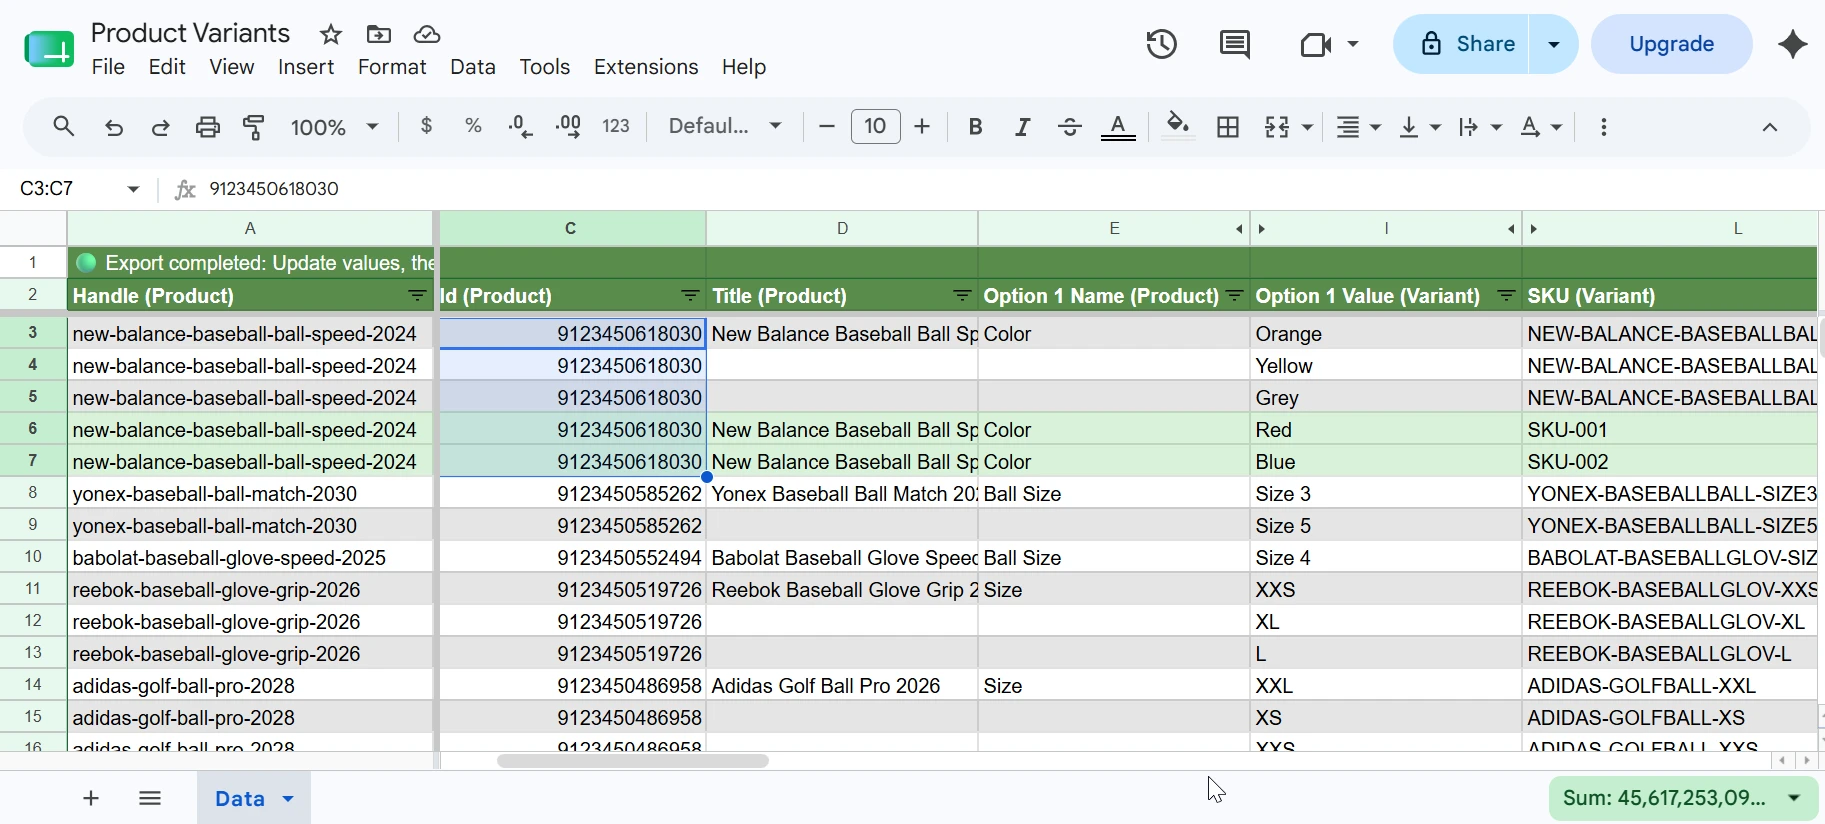
To update a variant, the row must include both Id (Variant) and Id (Product). eCommix matches the variant by its ID and updates only the columns present in the sheet. The following fields are required:
- Id (Product) — The product the variant belongs to.
- Id (Variant) — The Shopify variant ID. Exported automatically; do not modify it.
Any writable variant field in the sheet will be updated: price, compare-at price, cost, SKU, barcode, weight, inventory policy, taxable, requires shipping, variant image, inventory levels, catalog prices, and metafields. Option values (e.g. Size, Color) are matched by ID and cannot be changed via update.
In this example, Price (Variant) and Compare At Price (Variant) are updated for the first three variants of a product. Columns we didn't need; like Option Names and Option Values; were hidden to keep the sheet clean. Feel free to do the same.
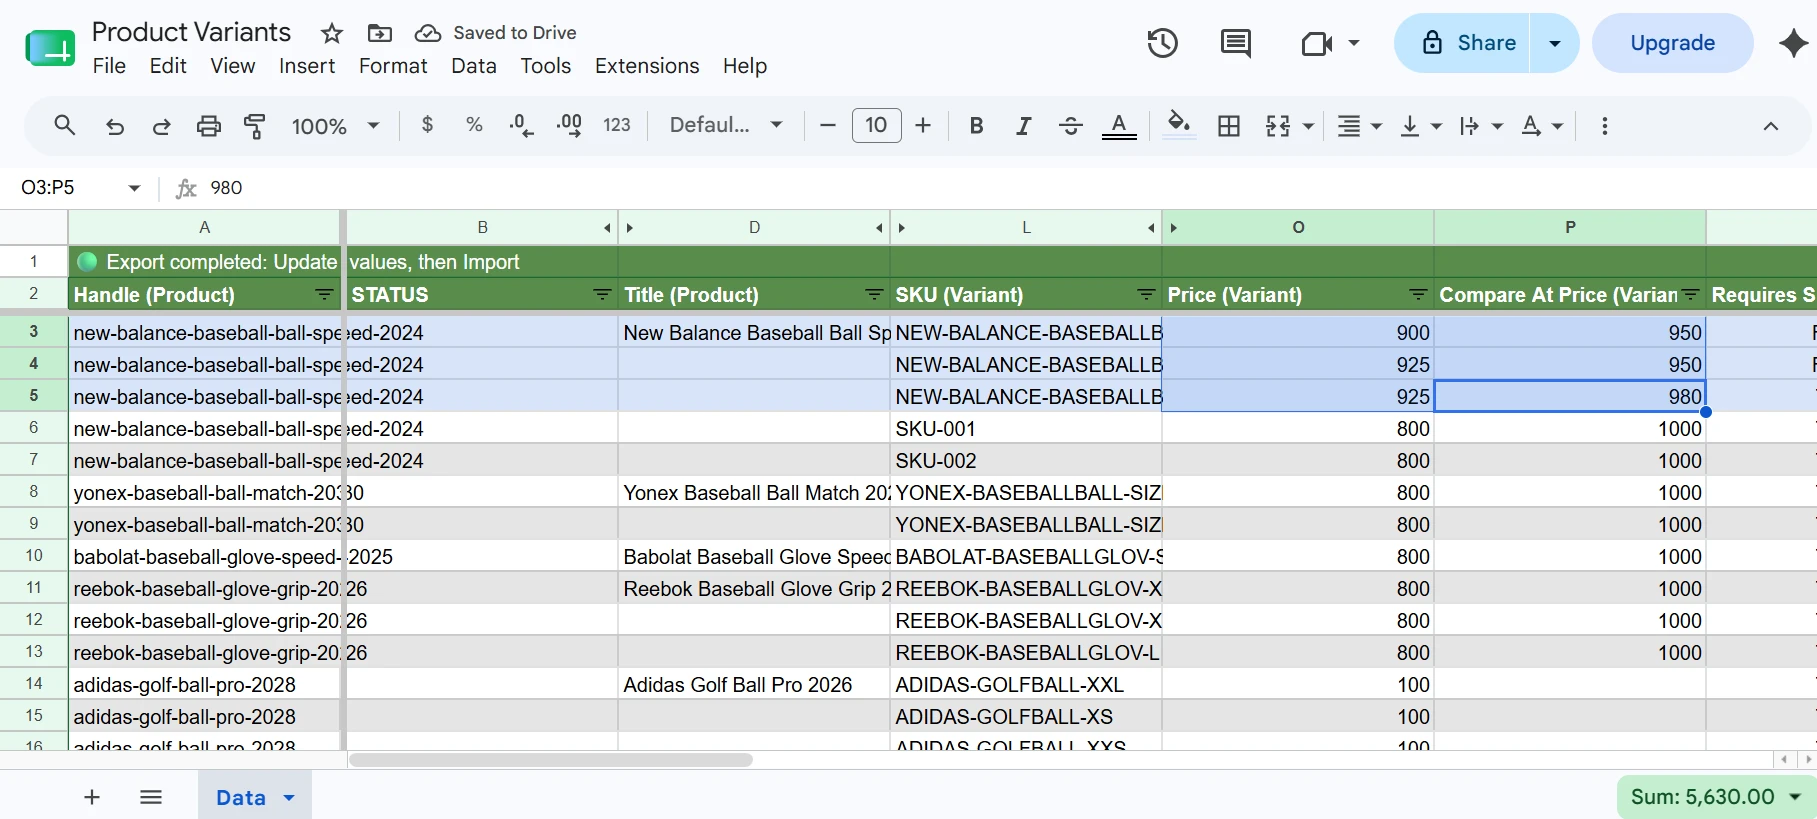
Once your edits are ready, go back to eCommix and click Sync to apply the changes. Not sure how? The How Two-Way Sync Works tutorial walks you through it.
If you need to update product-level fields instead of variant fields, see the Updating Products from Google Sheets tutorial.