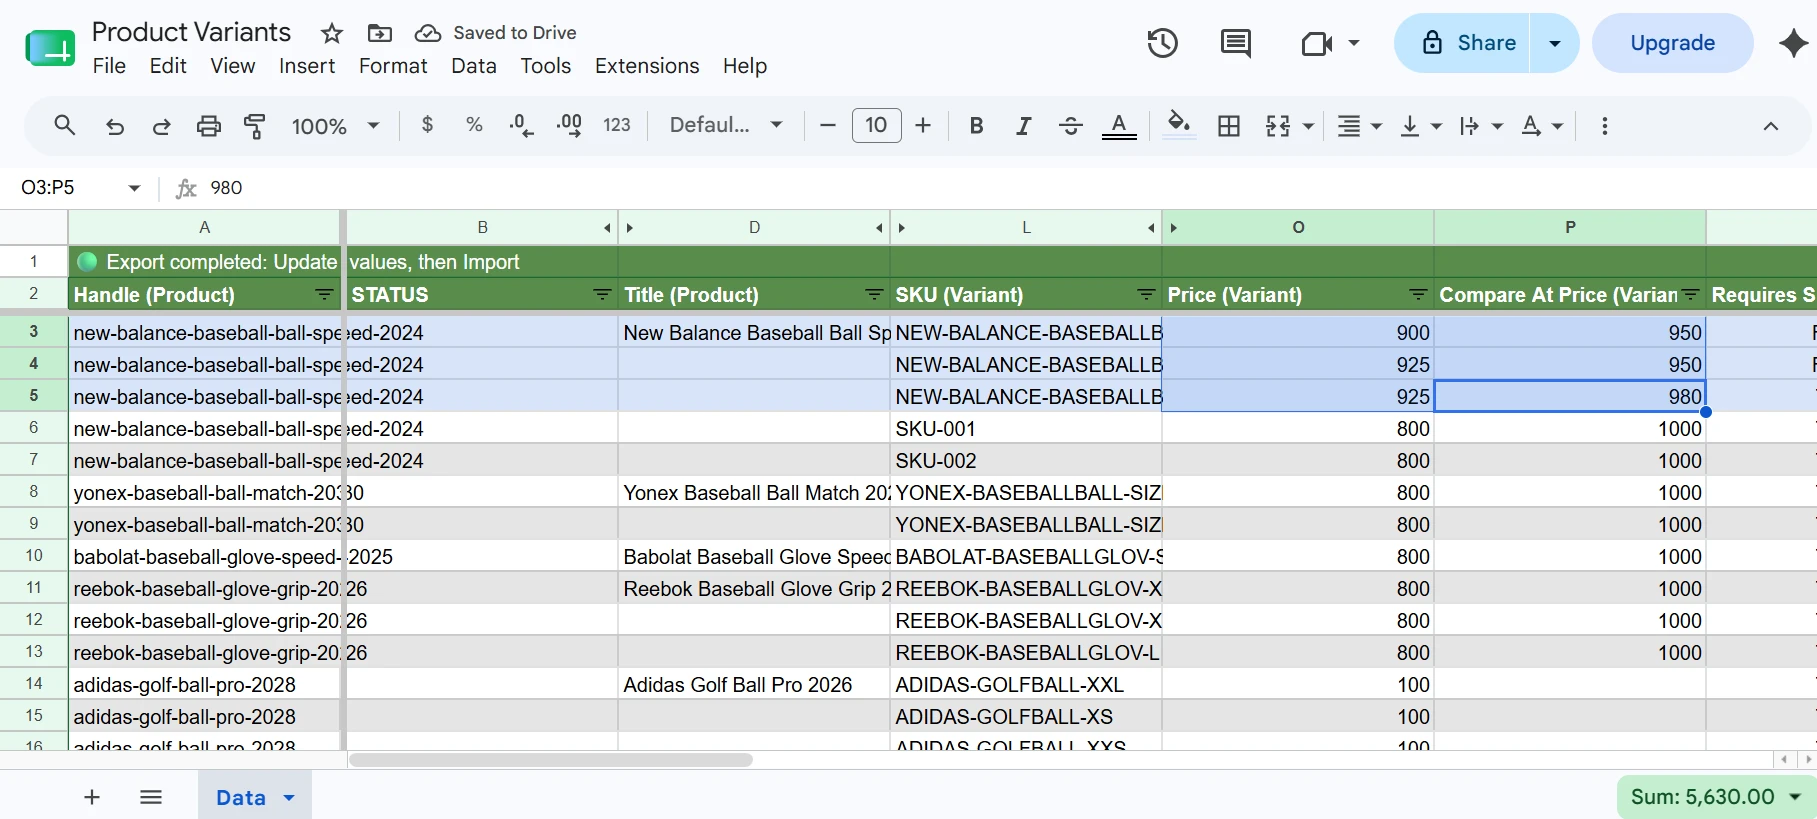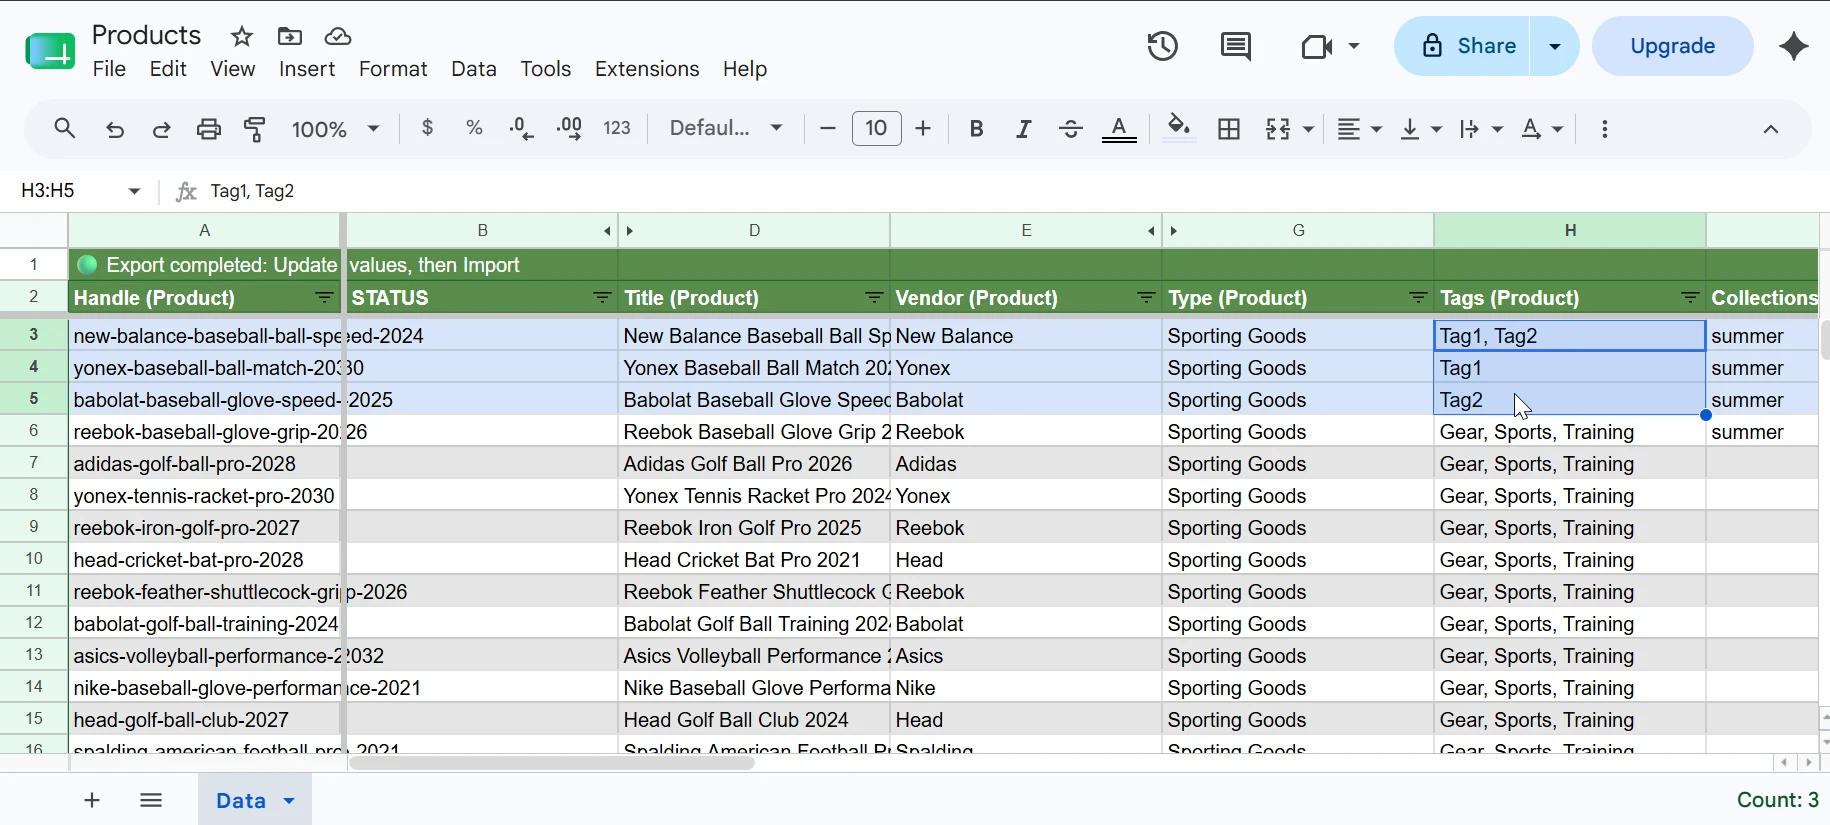
This tutorial assumes you already know what Two-Way Sync is and how to configure it. If not, please review the How Two-Way Sync Works tutorial first.
1. Choose the Product Images template
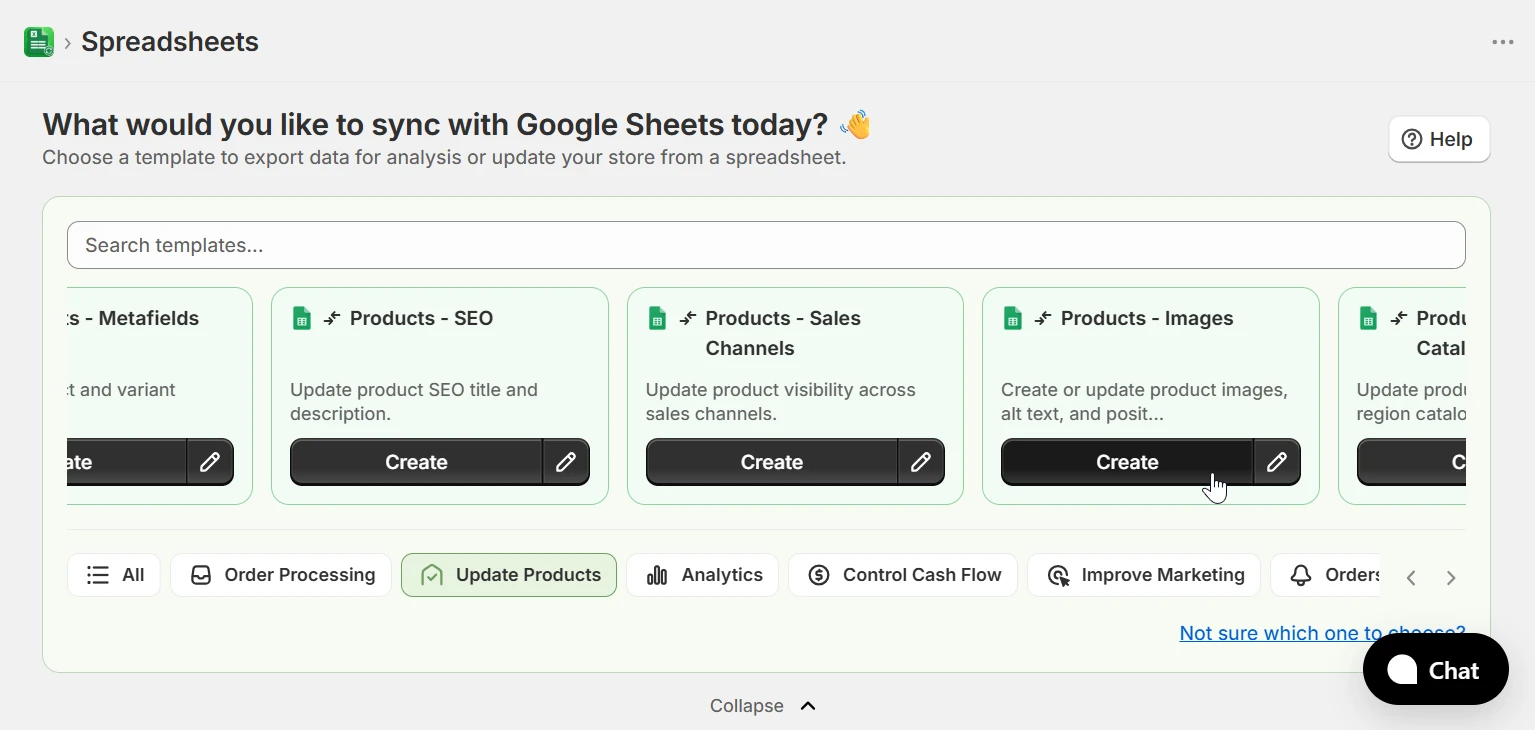
From the home page, select the Update Products category in the template filter bar and click Create on the Product Images template. If you are configuring a spreadsheet from scratch, click New Spreadsheet, select Two-Way Sync as the sync direction, and then choose the Product Images template.
2. Update Existing Images
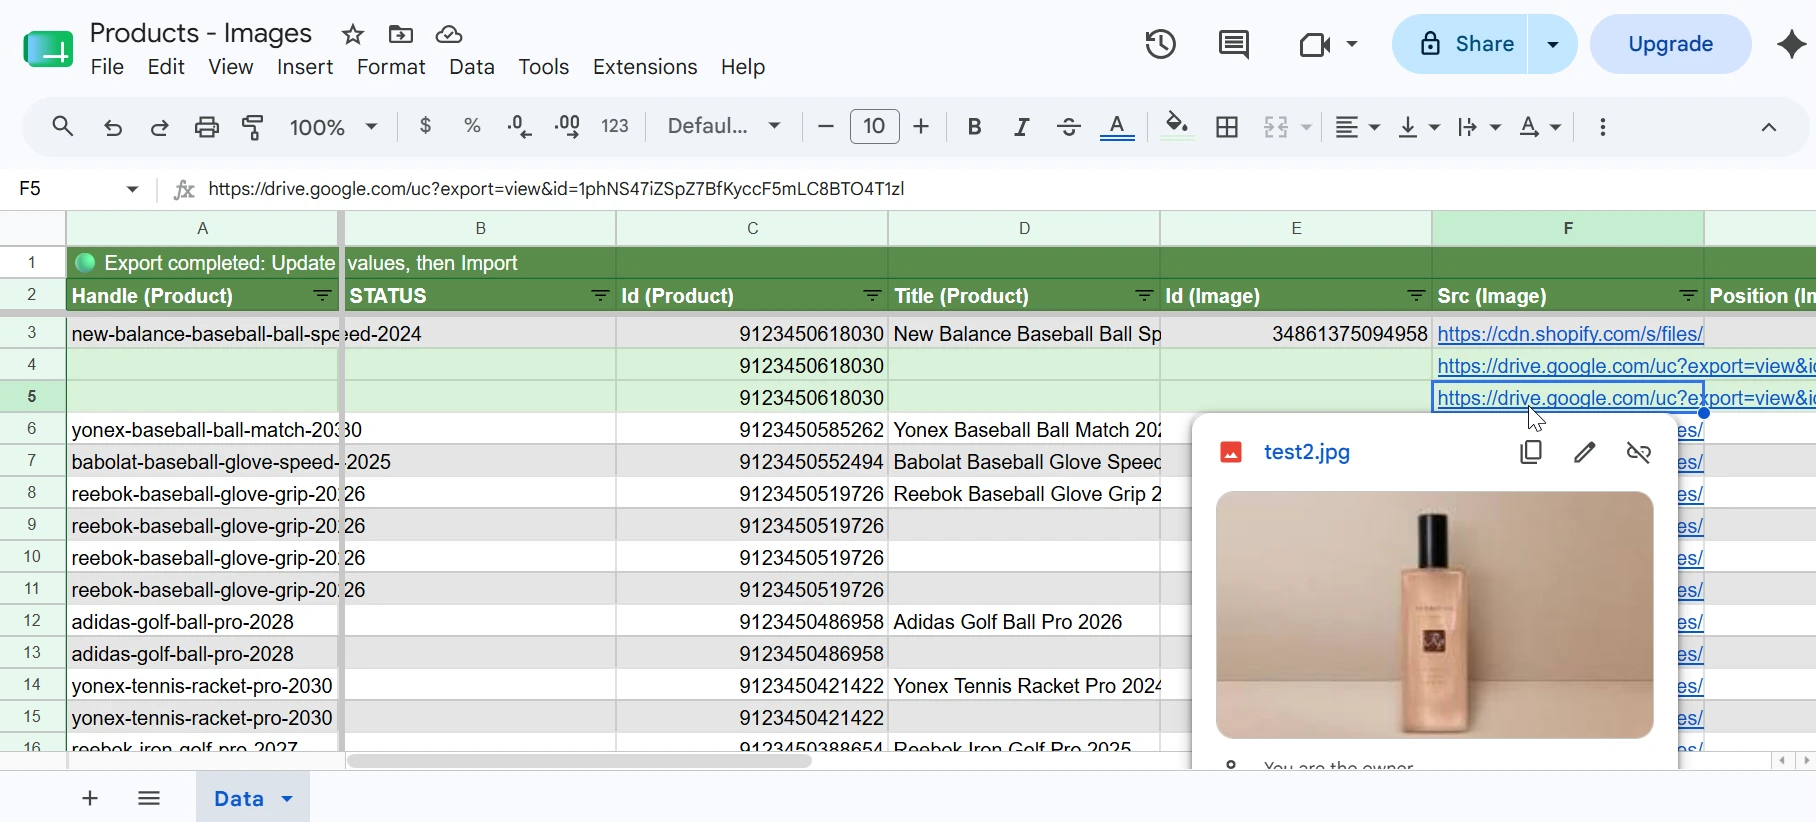
To update an image, the row must include Id (Image) and Id (Product) together with the field you want to change. The following fields are required:
- Id (Product) — The product the image belongs to.
- Id (Image) — The Shopify image ID. Exported automatically; do not modify it.
- Src (Image) — Required to trigger the update. If you change the URL, eCommix deletes the old image and uploads the new one. If you only want to change alt text or position, keep the existing URL.
Optional fields that can also be updated in the same row: Alt Text (Image) and Position (Image).
To add new images instead, see the Creating Product Images from Google Sheets tutorial.