This tutorial walks you through how to update existing Shopify orders in bulk from Google Sheets using eCommix Two-Way Sync. If you are not familiar with the import workflow, review the How to Import data from Google Sheets tutorial first.
Info. Before making any changes, please make sure Automatic Refresh is disabled, or confirm that the next scheduled run will not happen while you are editing. You can check this in your spreadsheet configuration under Edit. If any changes are overwritten, you can always restore your work in Google Sheets by going to File > Version history > See version history.
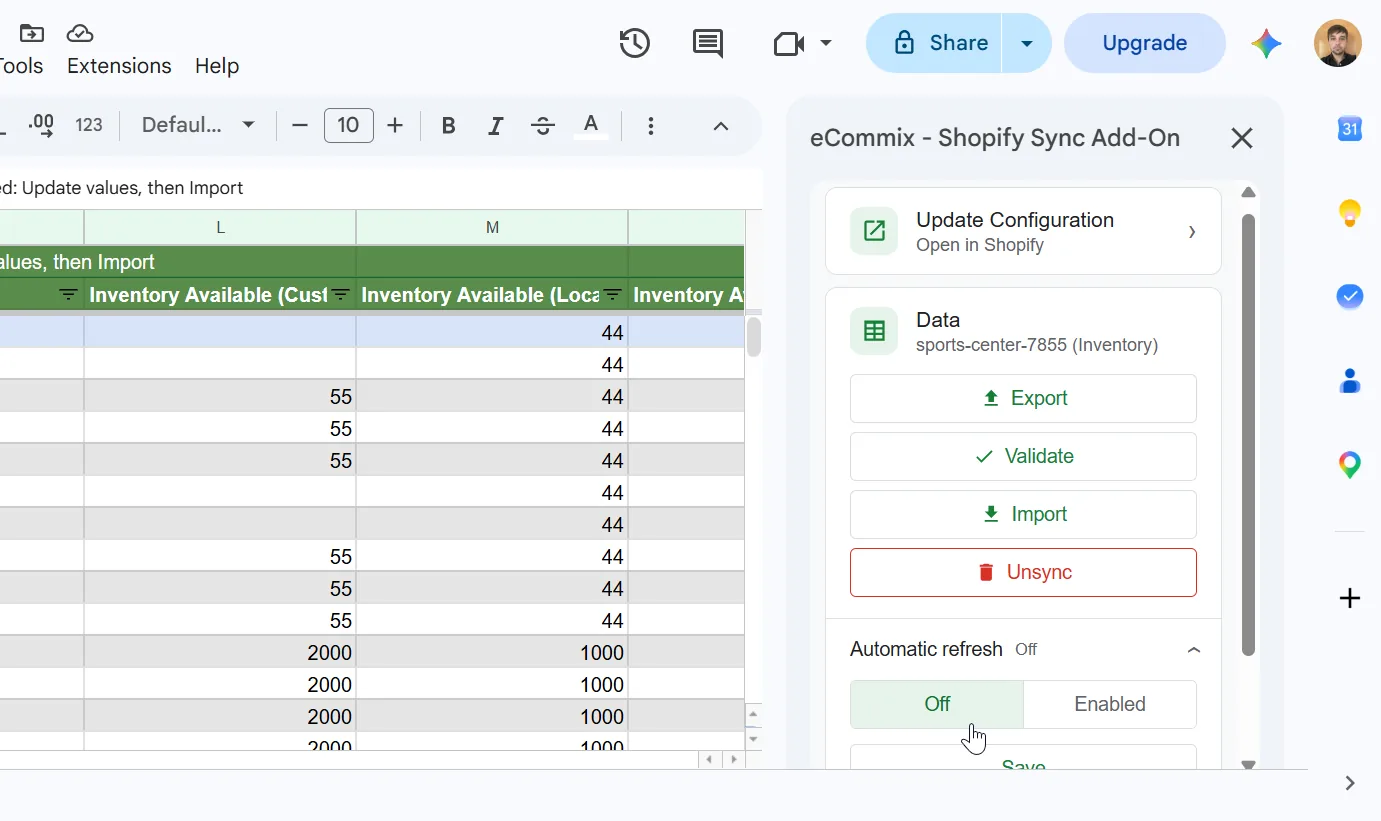
If you have the eCommix Google Sheets Add-On installed, you can also turn off Automatic Refresh directly inside Google Sheets. Open the add-on, expand Automatic refresh, select Off, and click Save.
1. Choose a Two-Way Order Template
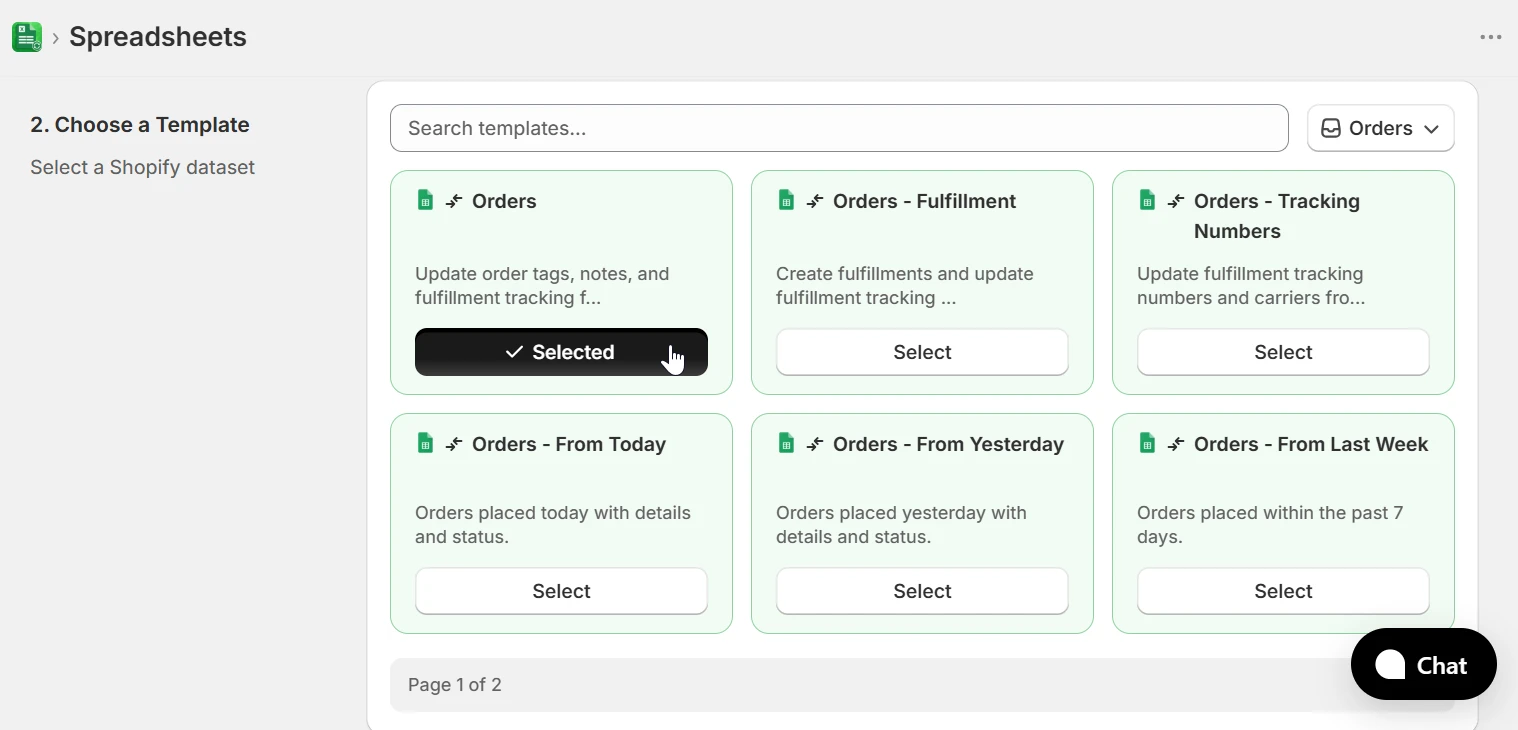
In the template picker, select the Orders category and choose a Two-Way order template. The Orders template is a flexible starting point for updating tags, fulfillment status, and tracking information.
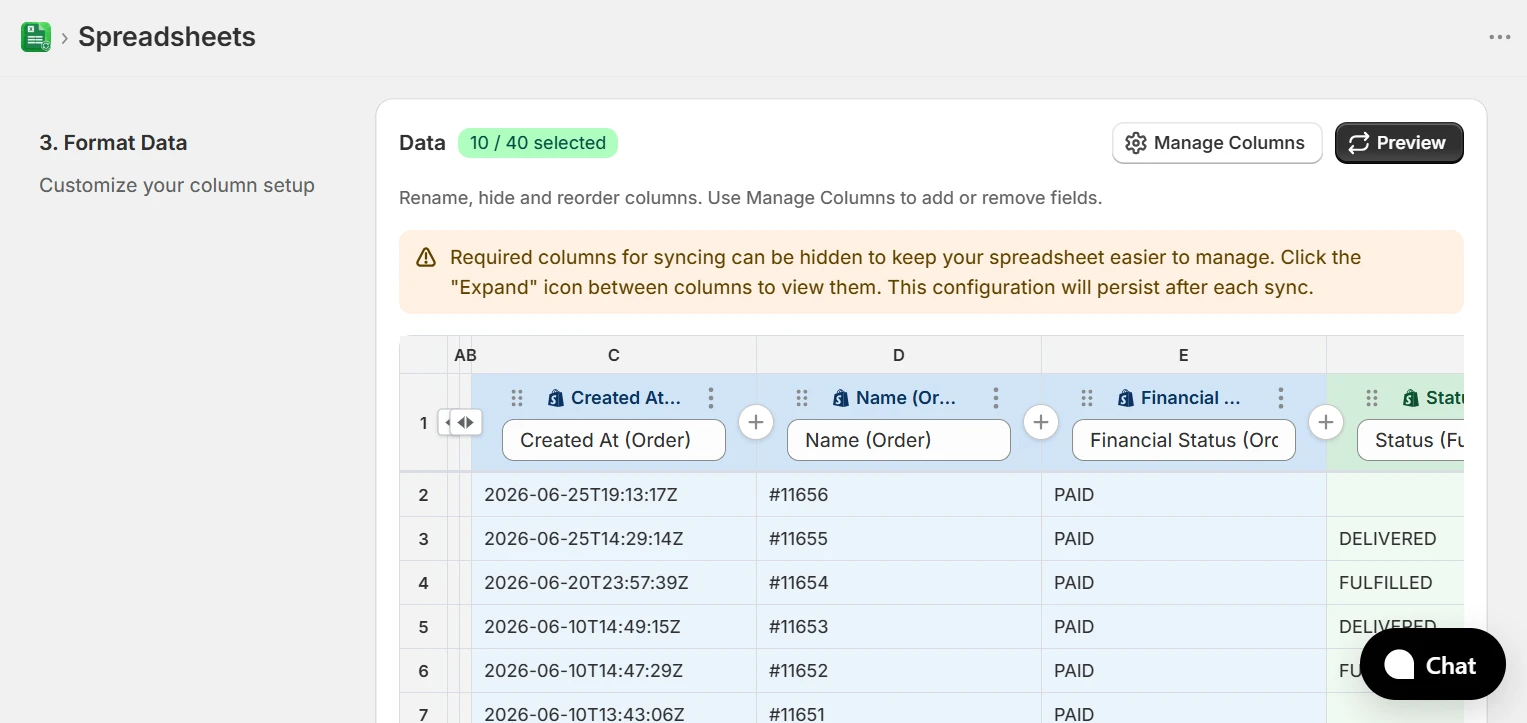
In Format Data, use Manage Columns to add or remove the order and fulfillment fields you need. Required identifier columns can remain hidden, but they must stay in the spreadsheet configuration.
2. Update order tags
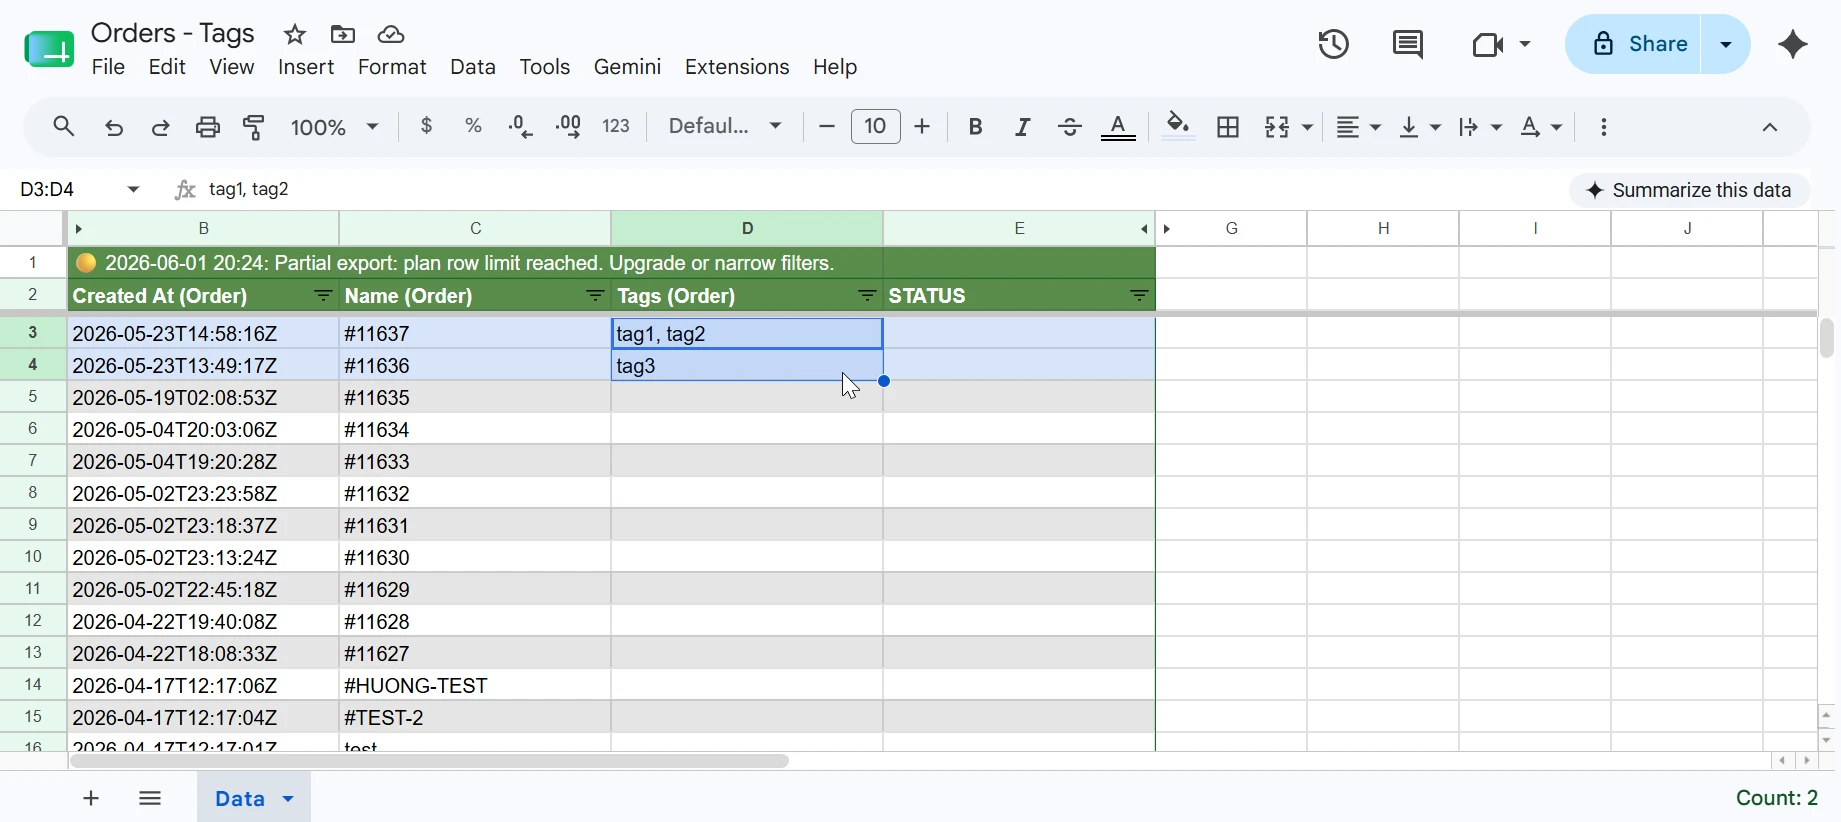
Keep Id (Order) unchanged so eCommix can match each row to the correct Shopify order. Edit Tags (Order) using comma-separated values, such as VIP, wholesale, priority. Clear the cell to remove all tags from an order.
3. Update fulfillment tracking information
To update tracking information for an existing fulfillment, the following fields are required and must not be changed:
- Id (Order) - The Shopify order ID exported by eCommix.
- Id (Fulfillment) - The existing Shopify fulfillment ID exported by eCommix.
Change one or more of these columns: Tracking Info 1: Company (Fulfillment), Tracking Info 1: Number (Fulfillment), or Tracking Info 1: URL (Fulfillment). eCommix updates only the tracking columns included in your spreadsheet.
| Id (Order) | Id (Fulfillment) | Tracking Info 1: Company (Fulfillment) | Tracking Info 1: Number (Fulfillment) | Tracking Info 1: URL (Fulfillment) |
|---|---|---|---|---|
gid://shopify/Order/123456 |
gid://shopify/Fulfillment/789012 |
UPS |
1Z999AA10123456784 |
https://www.ups.com/track?tracknum=1Z999AA10123456784 |
When tracking information is added or updated, Shopify automatically emails the customer with the latest tracking details.
4. Change the fulfillment status
Use Status (Fulfillment) to fulfill an open order or mark an existing fulfillment as delivered. Keep Id (Order) unchanged in both cases.
- To create a fulfillment, leave Id (Fulfillment) empty and change Status (Fulfillment) to
FULFILLED. - To mark an existing fulfillment as delivered, keep Id (Fulfillment) unchanged and change Status (Fulfillment) to
DELIVERED.
| Id (Order) | Id (Fulfillment) | Status (Fulfillment) | Tracking Info 1: Number (Fulfillment) |
|---|---|---|---|
gid://shopify/Order/123456 |
FULFILLED |
1Z999AA10123456784 |
|
gid://shopify/Order/654321 |
gid://shopify/Fulfillment/210987 |
DELIVERED |
Leave Id (Fulfillment) empty for FULFILLED; keep it unchanged for DELIVERED. Enter status values exactly as shown in uppercase.
5. Keep order updates running automatically
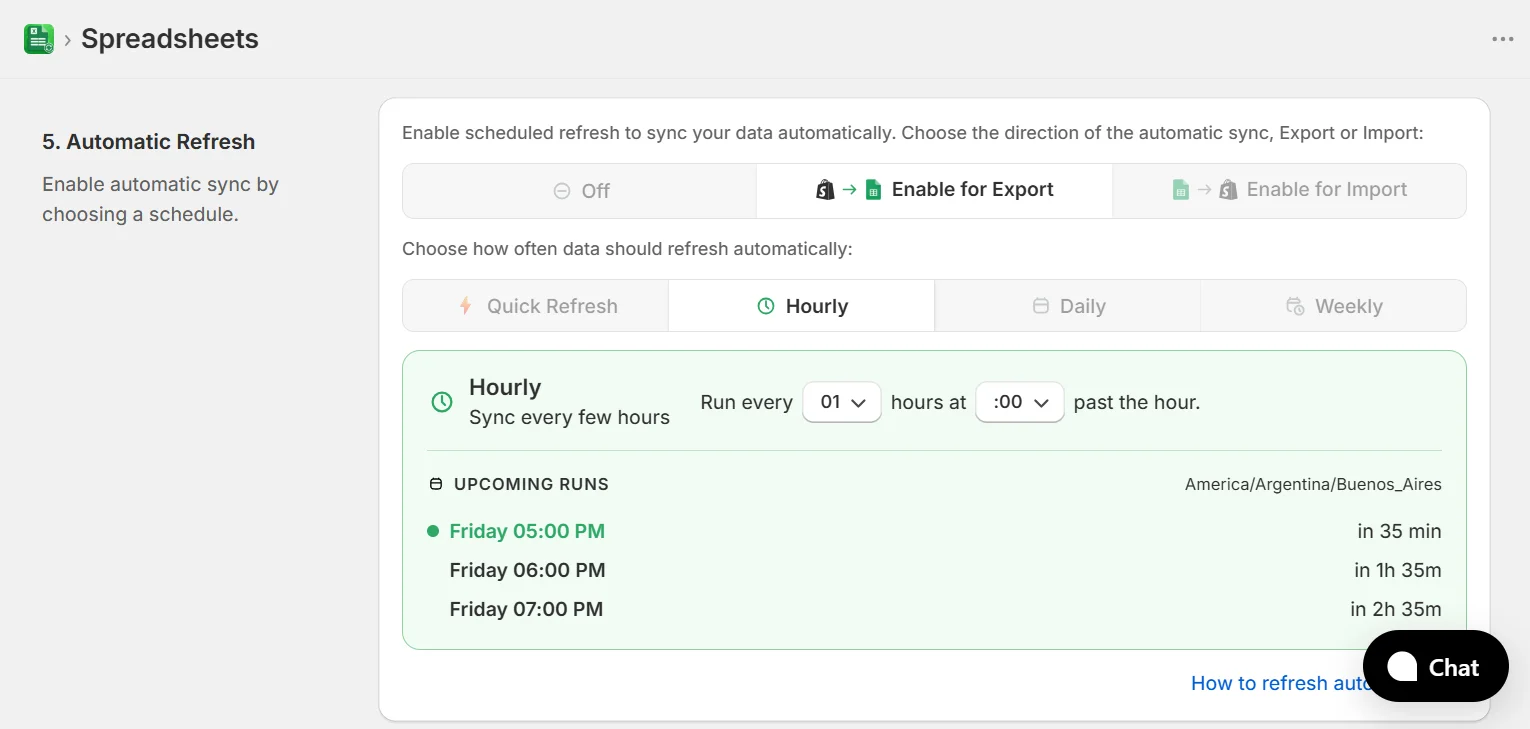
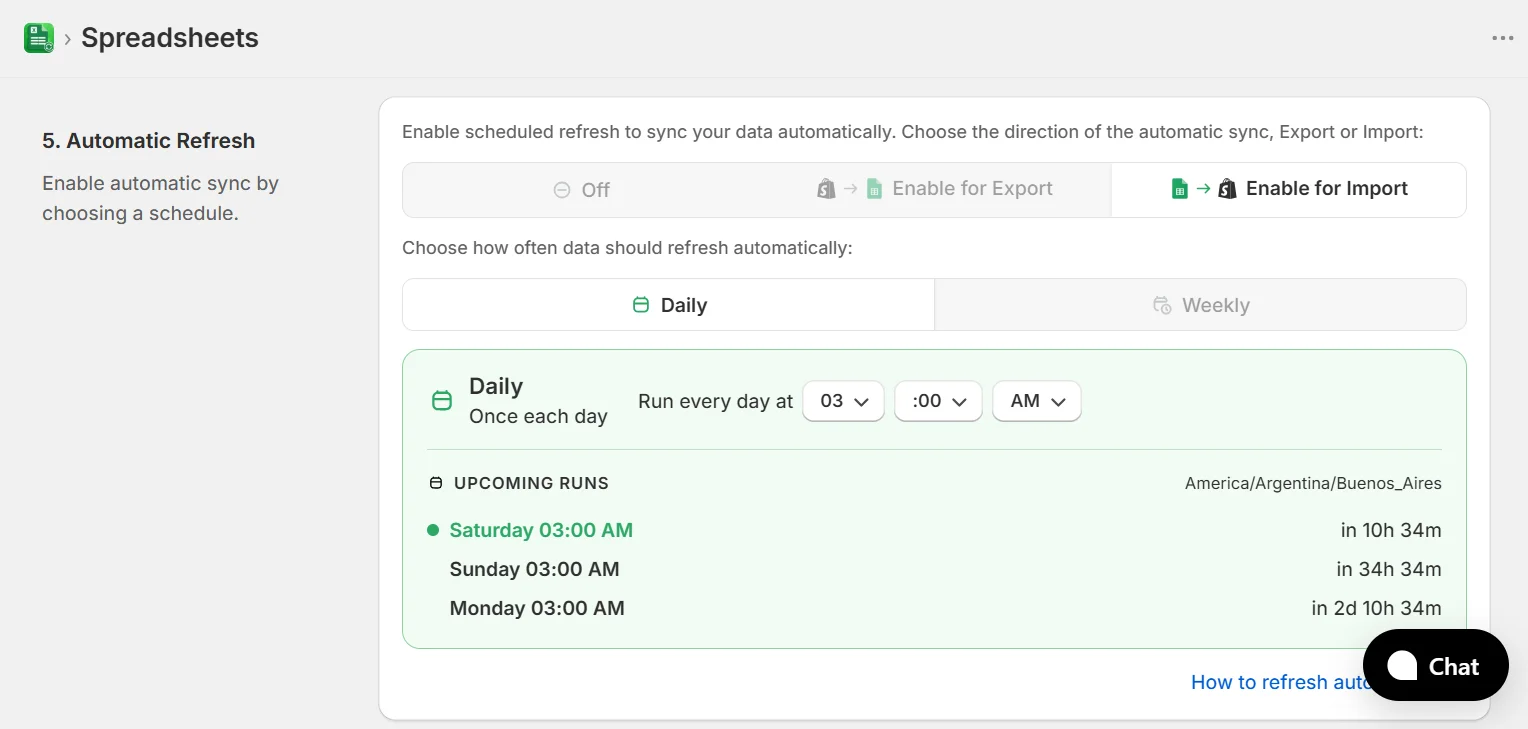
This workflow can also run automatically. Schedule an automatic refresh on Export to pull the latest orders and fulfillment data from Shopify into Google Sheets, or on Import to send your spreadsheet changes to Shopify automatically. Make sure an export is not scheduled while you are editing, because it can overwrite unsaved spreadsheet changes.
6. Validate and import
When your edits are ready, go back to eCommix and click Sync next to the spreadsheet. You can click Validate first to review the changes, then click Import to update Shopify. For the complete workflow, see How to Import data from Google Sheets.
(Optional) Install the Google Sheets Add-On
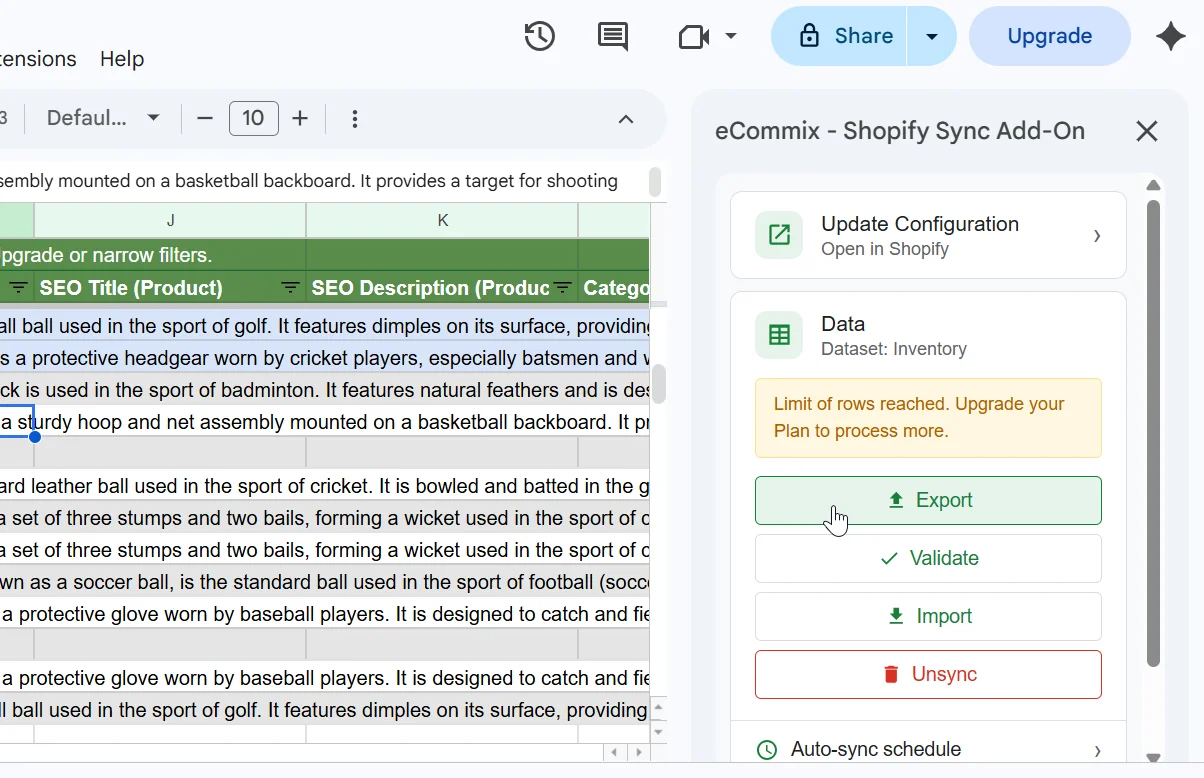
If you prefer working directly in your spreadsheet, install the eCommix Sheets Add-On. It lets you run export, validate, and import actions without going back to the Shopify app.