This tutorial assumes you already know what Two-Way Sync is and how to configure it. If not, please review the How Two-Way Sync Works tutorial first.
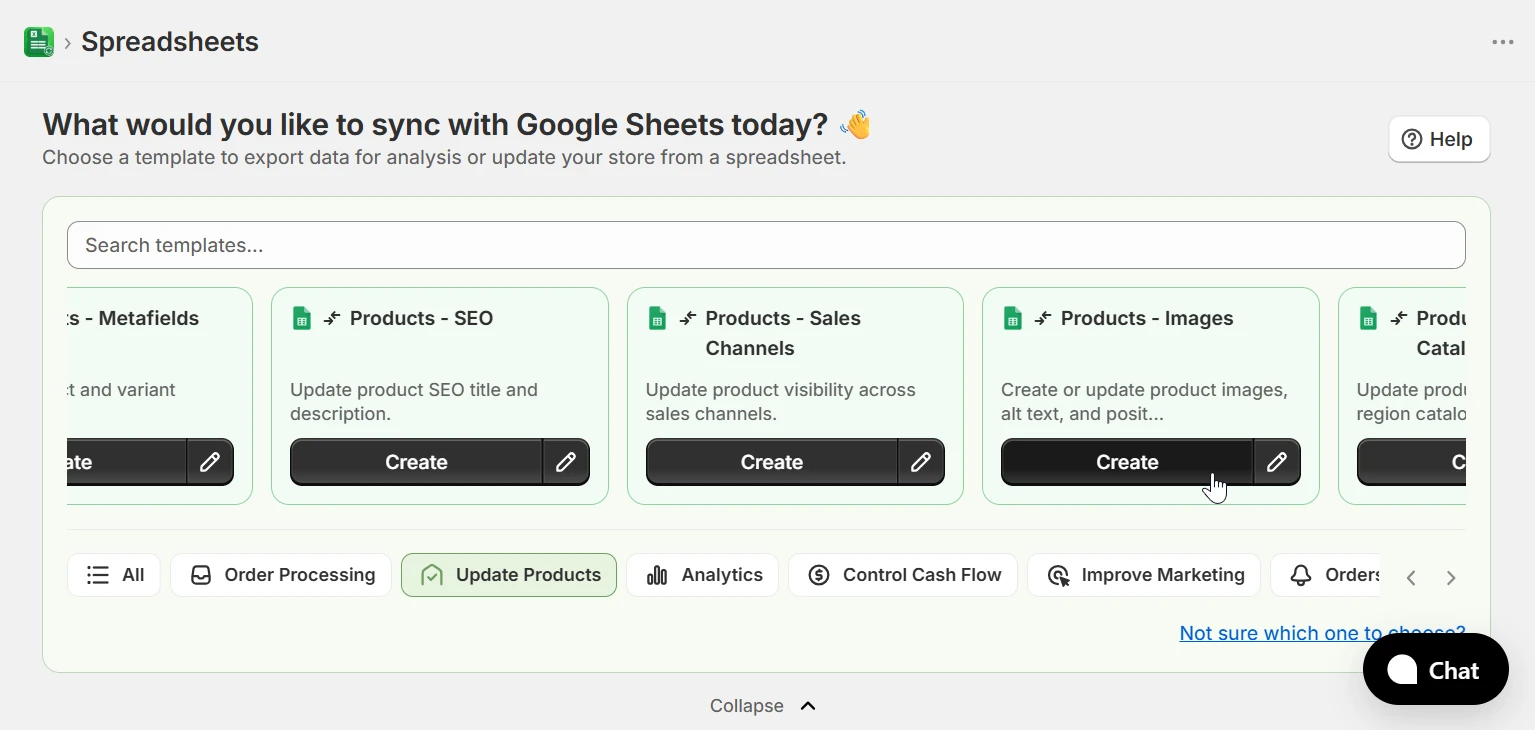
1. Choose the Product Images template
From the home page, select the Update Products category in the template filter bar and click Create on the Product Images template. If you are configuring a spreadsheet from scratch, click New Spreadsheet, select Two-Way Sync as the sync direction, and then choose the Product Images template.
2. Delete Images from Products
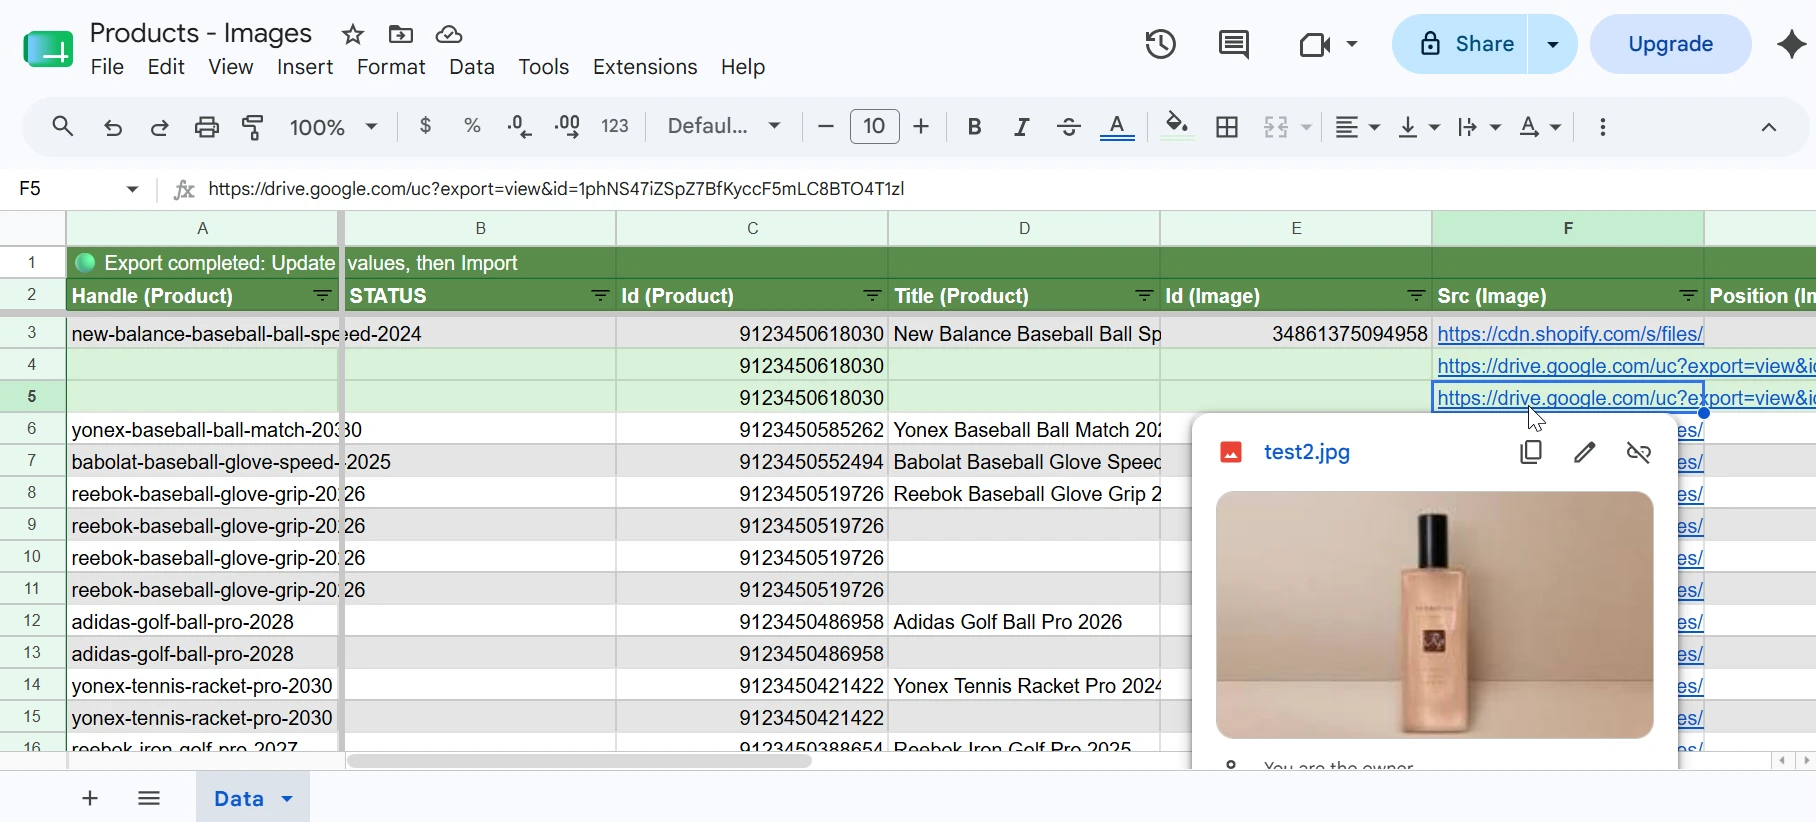
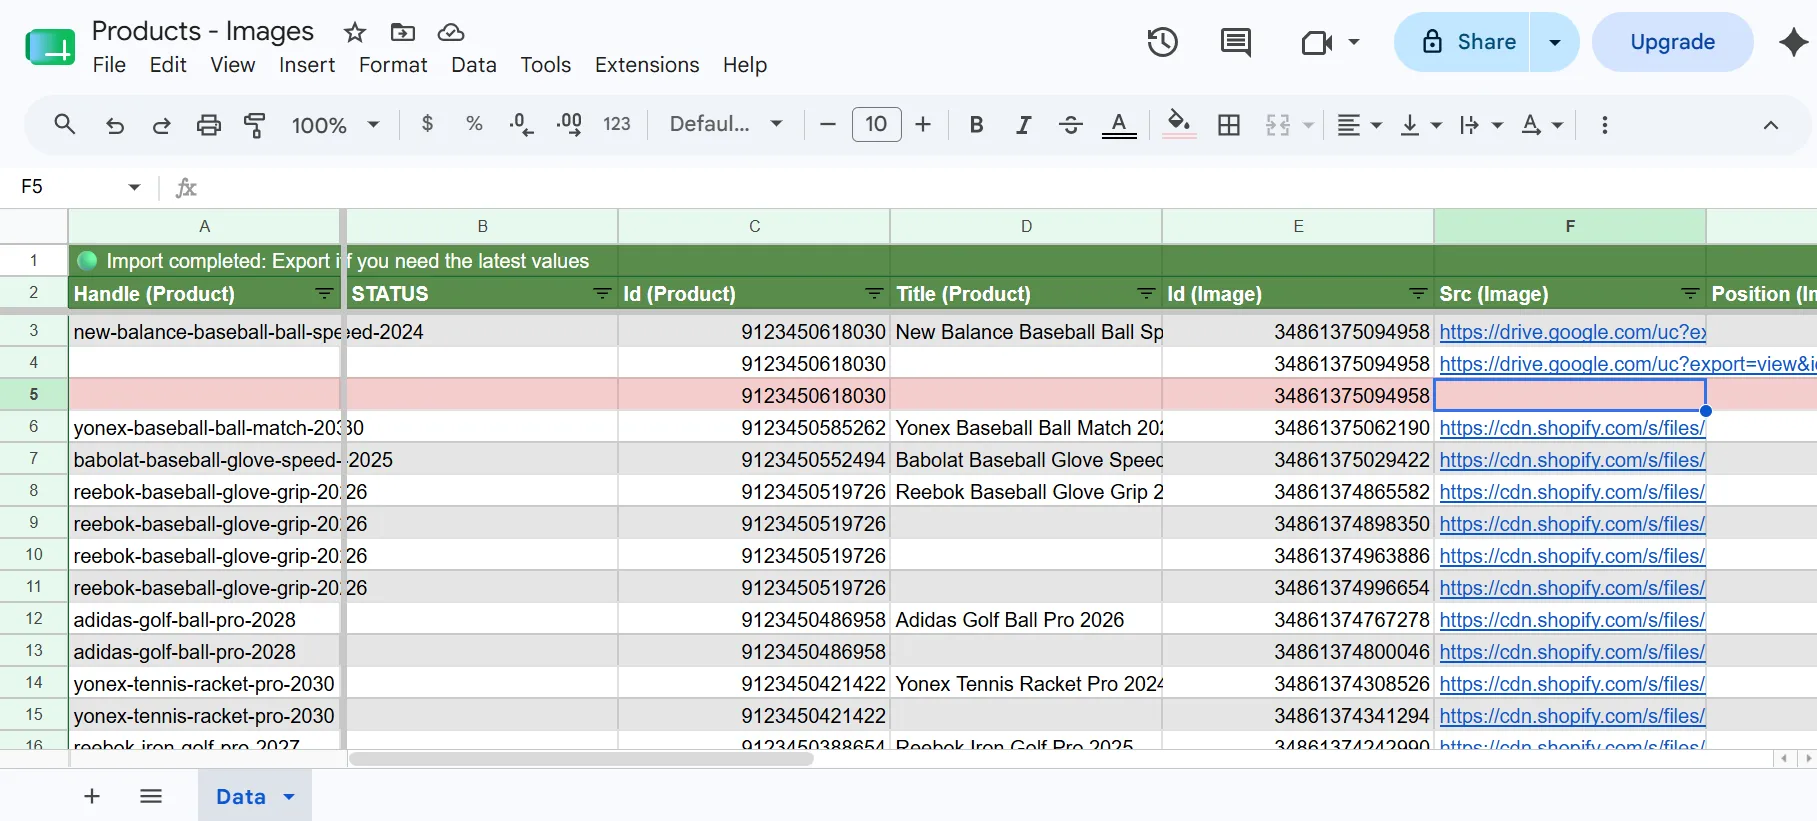
To delete an image, keep the Id (Image) and Id (Product) values but clear the Src (Image) cell completely; leave it blank. When eCommix sees an image ID with an empty src it treats the row as a delete and removes the image from Shopify. The following fields are required:
- Id (Product) — The product the image belongs to.
- Id (Image) — Must be present. Identifies which image to delete.
- Src (Image) — Must be empty. Clearing the src is what signals the delete operation.
In the example below, row 5 has both IDs filled in but Src (Image) cleared. After validation, that row turns light red; confirming the image will be removed from Shopify on import.
Once ready, go back to eCommix, click Sync, then Import to apply the changes. Not sure how? The How Two-Way Sync Works tutorial walks you through it.
To add new images instead, see the Creating Product Images from Google Sheets tutorial. To update existing image details, see Updating Product Images from Google Sheets.