This tutorial assumes you already know what Two-Way Sync is and how to configure it. If not, please review the How Two-Way Sync Works tutorial first.
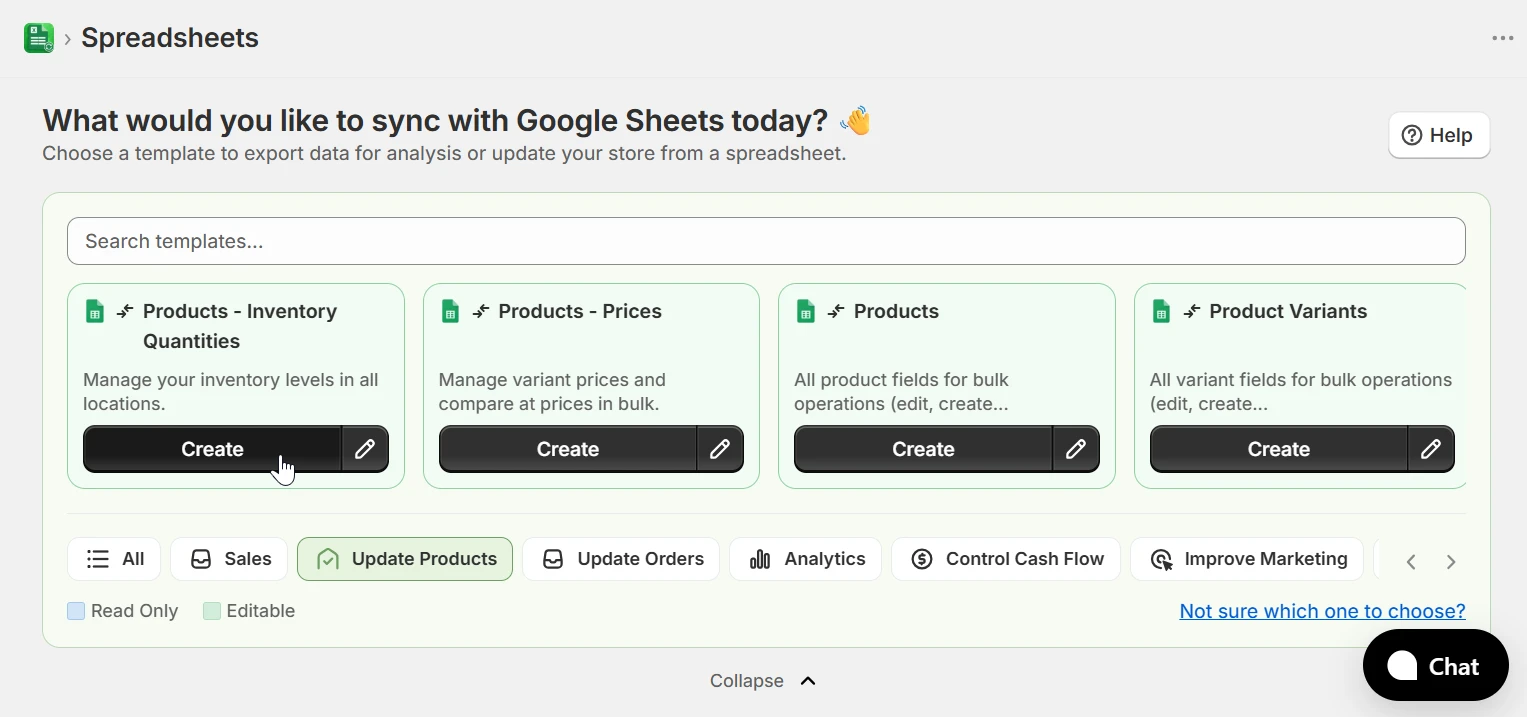
1. Choose the Products - Inventory Quantities template
From the home page, select the Update Products category in the template filter bar and click Create on the Products - Inventory Quantities template. If you are configuring a spreadsheet from scratch, click New Spreadsheet, select Two-Way Sync as the sync direction, and then choose the Products - Inventory Quantities template.
2. Understand the location columns
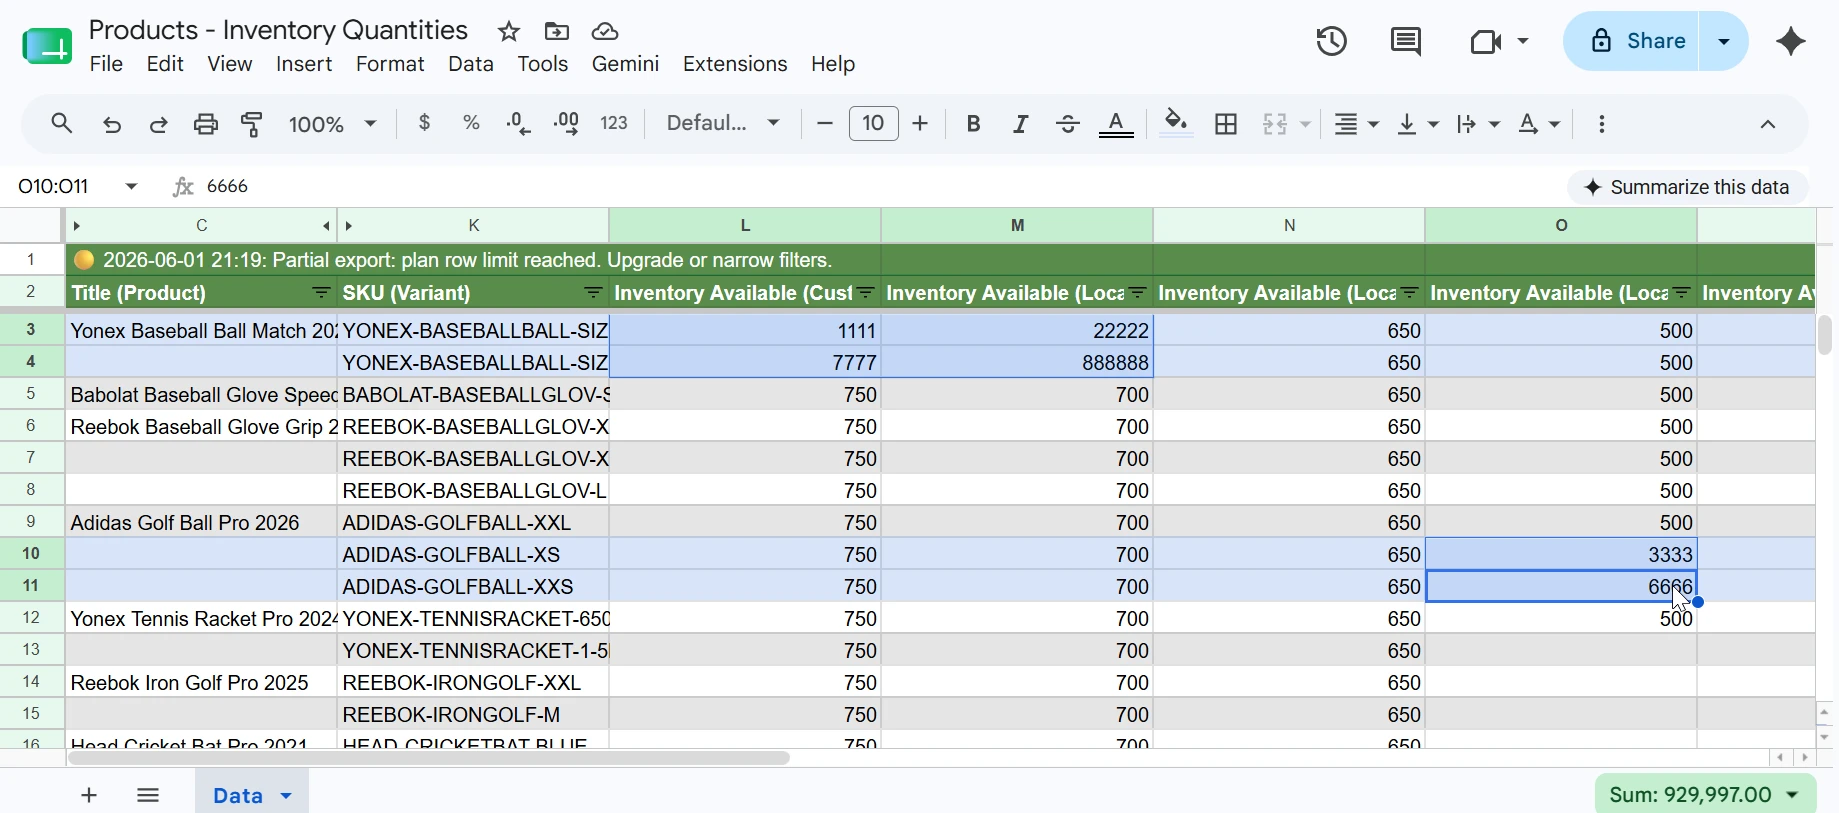
When you open the Format Data step, eCommix reads all the locations in your Shopify store and adds one column per location. Each column is named Inventory Available (Location Name); for example Inventory Available (Main Warehouse) or Inventory Available (Retail Store). Every location you have in Shopify gets its own column, so you can update quantities at all of them from a single sheet.
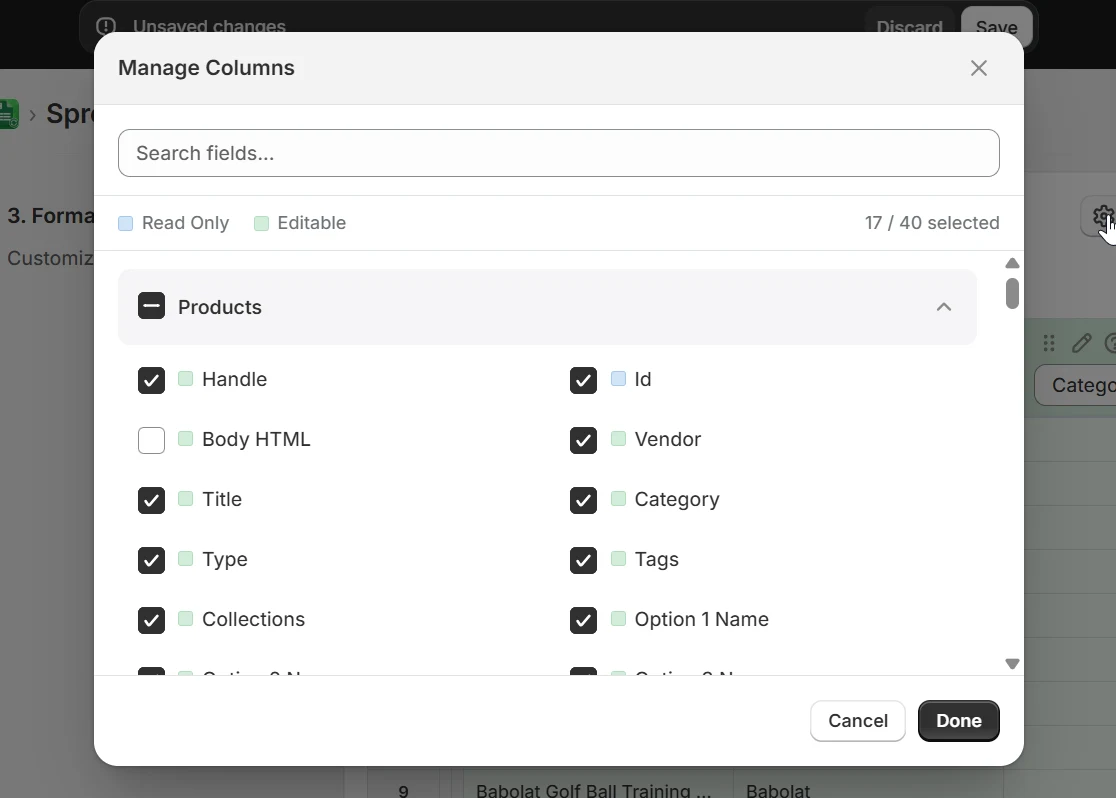
You can use Manage Columns to remove location columns you do not need to update, keeping only the locations that are relevant to you.
3. Update inventory quantities in the spreadsheet
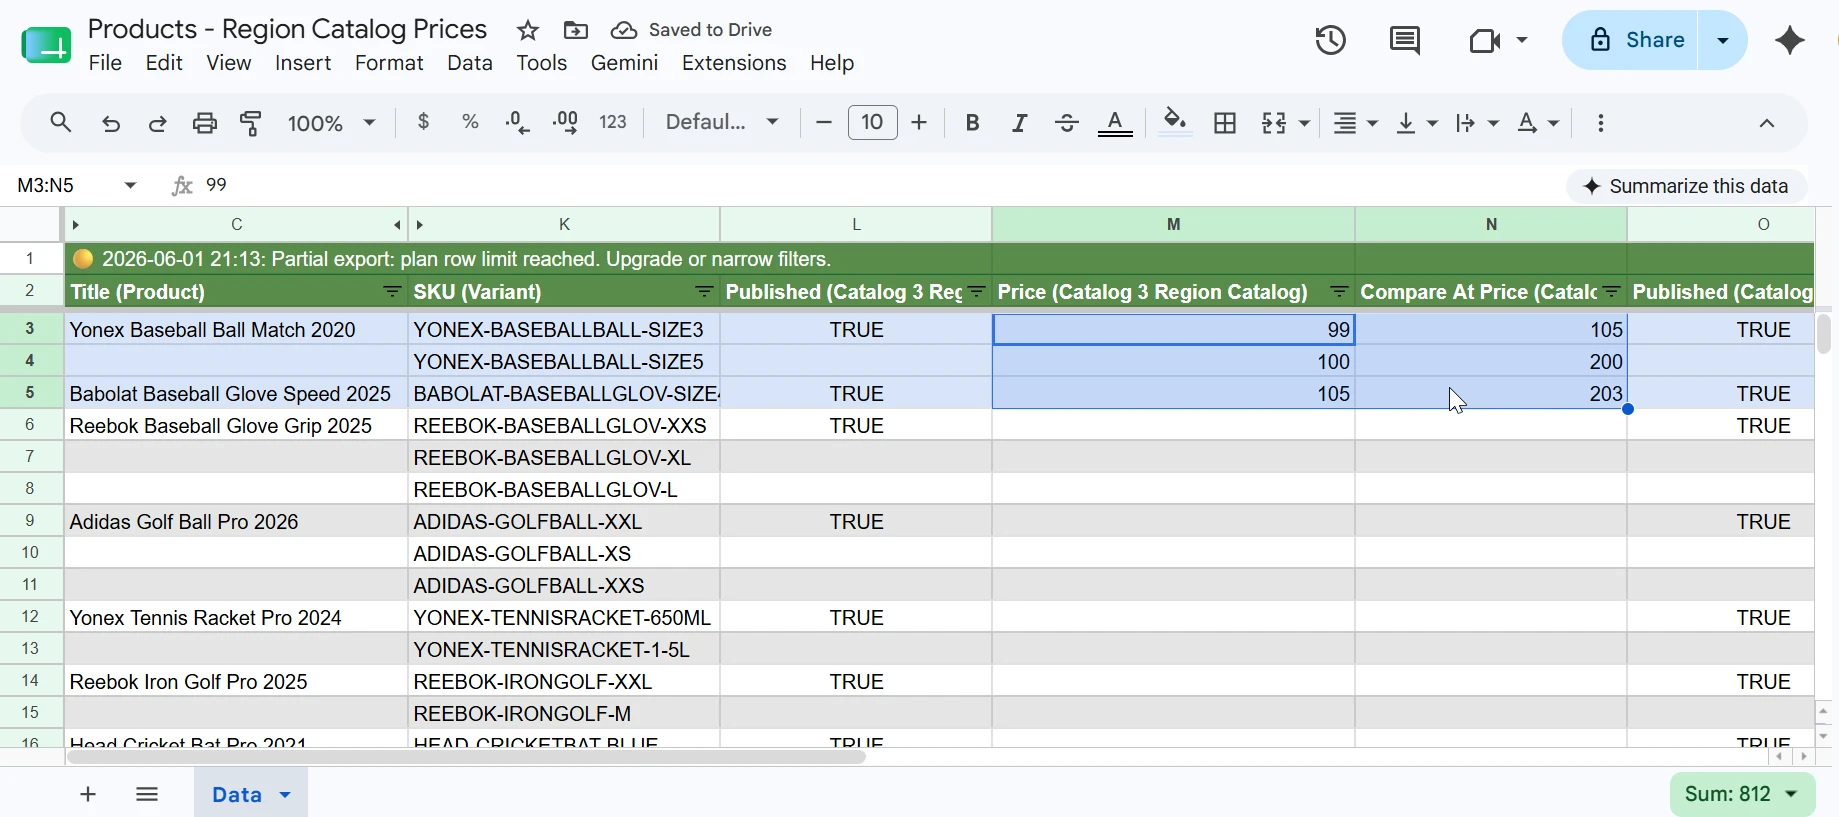
After the first export runs, you will see one row per product variant. Each row includes the variant identifiers and one Inventory Available column per location, showing the current quantity. The following fields are required and must not be modified:
- Id (Product) - The Shopify product ID. Exported automatically; do not modify it.
- Id (Variant) - The Shopify variant ID. Exported automatically; do not modify it.
The value you enter is an absolute quantity - it replaces the current stock level rather than adding to it. For example, if a variant currently has 5 units at a location and you type 12, the quantity at that location will be set to 12 after import. Only rows where you change at least one cell will be processed.
4. Validate and import
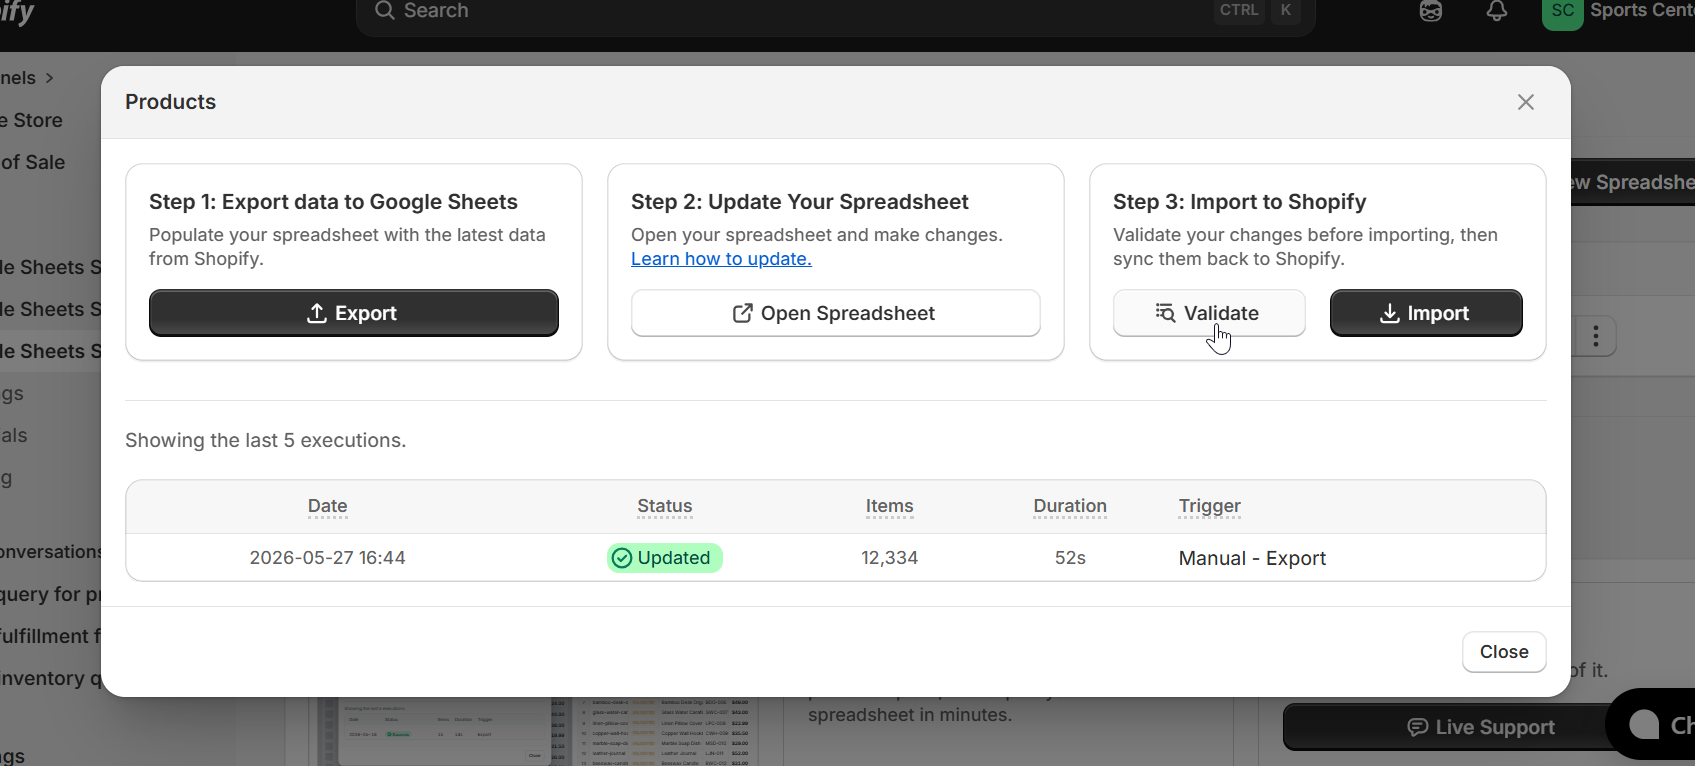
Once your quantities are set, go back to eCommix and click Sync next to your spreadsheet. In the modal, click Validate first to preview which rows will be updated before anything is sent to Shopify.
After validation, check the STATUS column in the sheet. Rows that will be updated show VALIDATED: Variant will be updated. Once satisfied, click Import to apply the changes to Shopify.
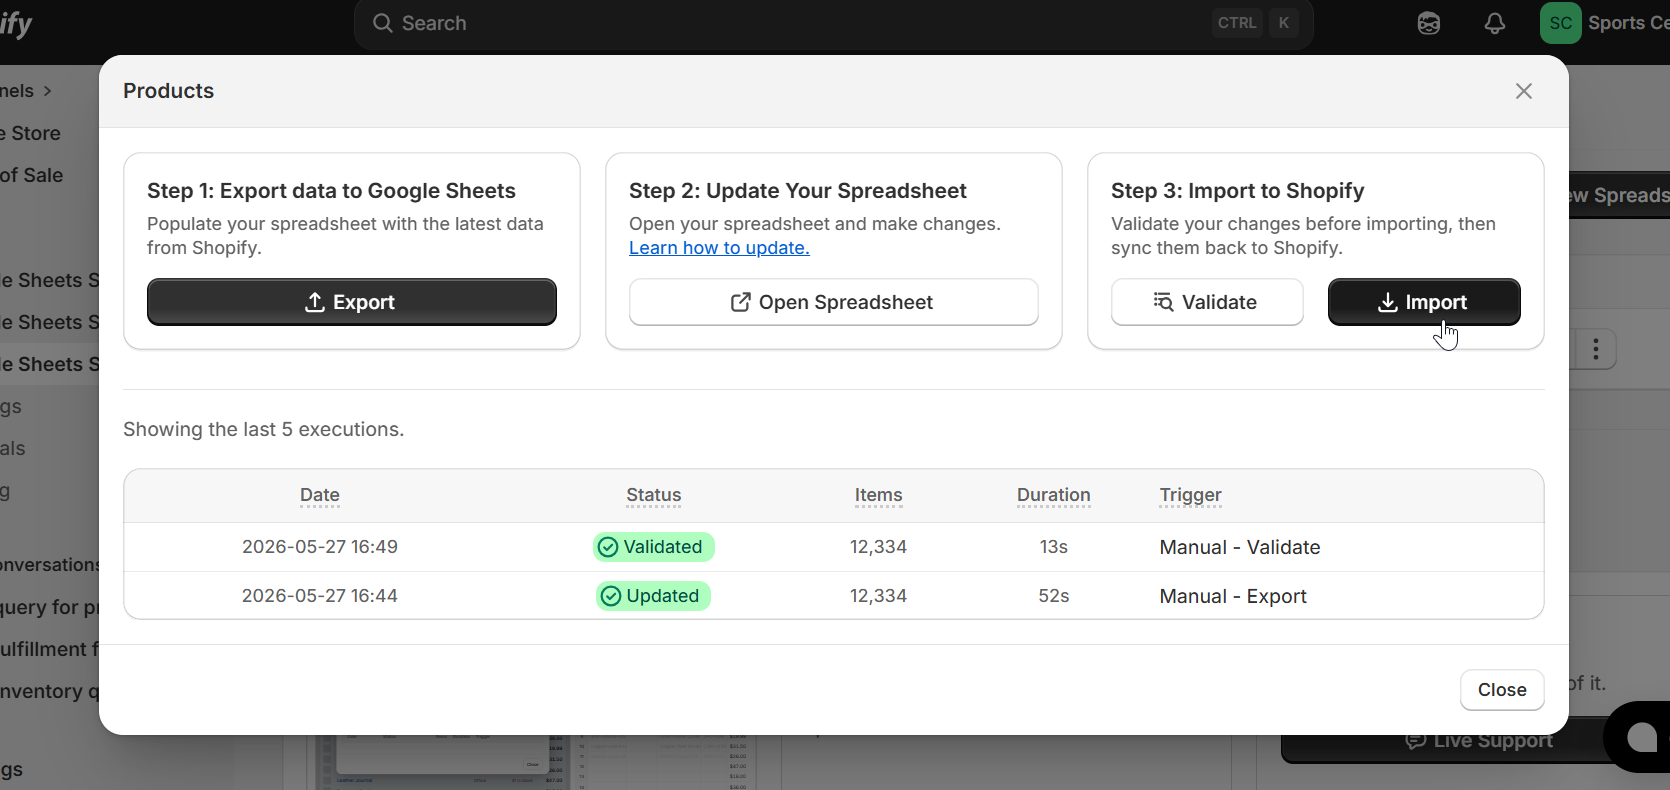
After the import finishes, the STATUS column updates to UPDATED for each row that was successfully saved. If you are not familiar with the Sync flow, the How Two-Way Sync Works tutorial walks you through it step by step.
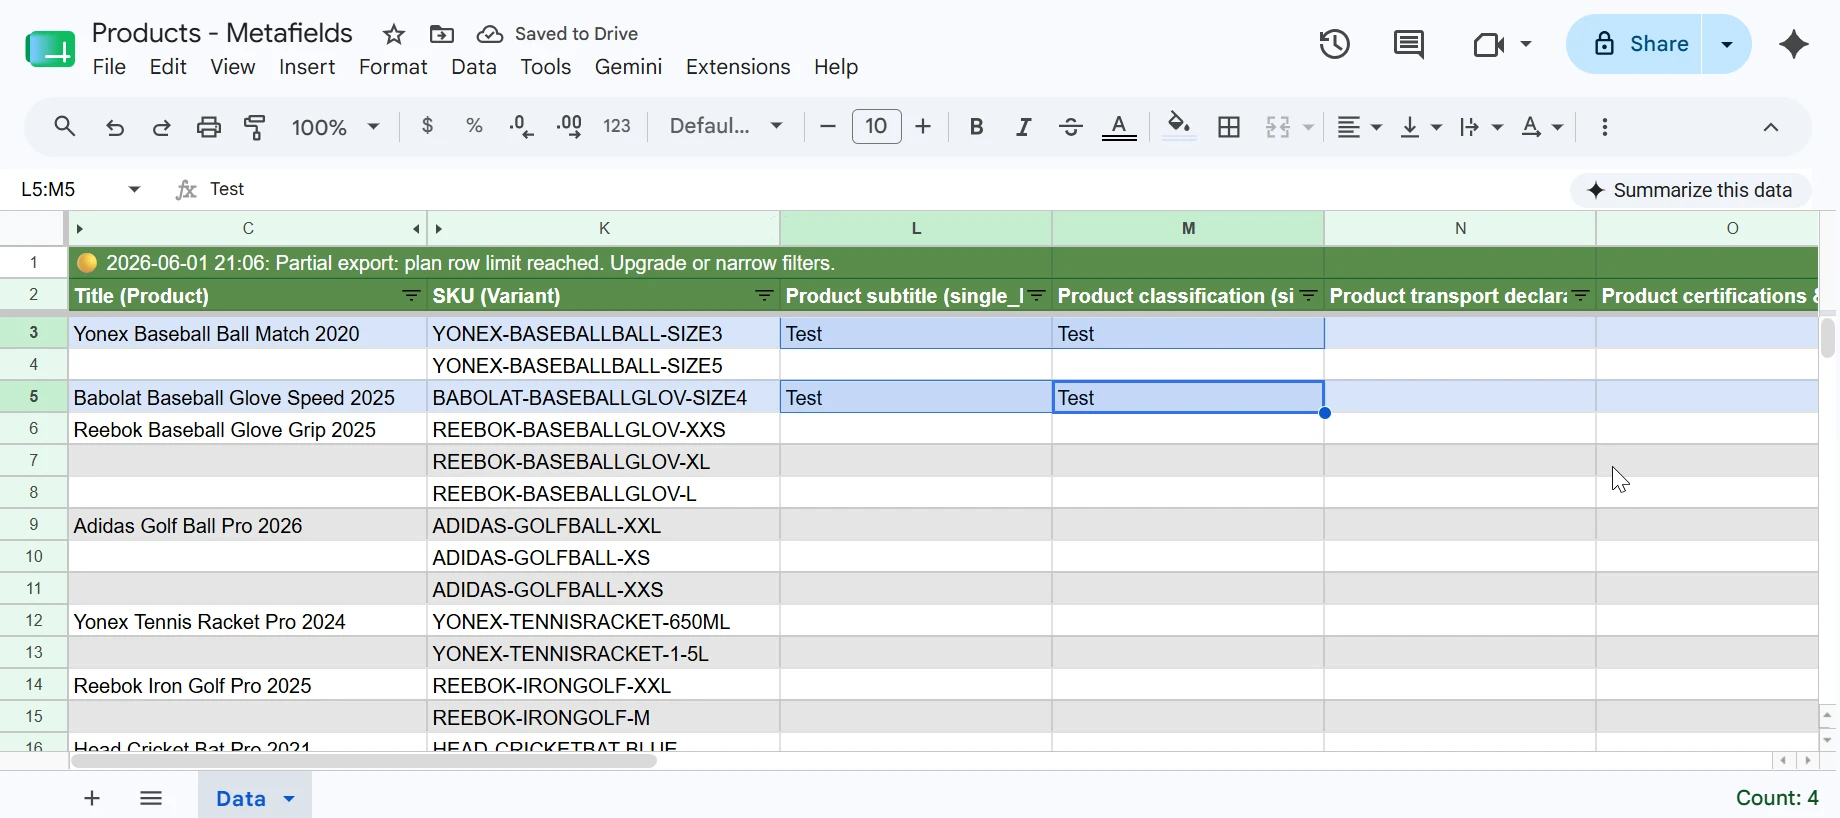
To update other variant-level fields such as price, SKU, or barcode, see the Updating Product Variants from Google Sheets tutorial. To update product metafields, see the Updating Product Metafields from Google Sheets tutorial.