This tutorial assumes you already know what Two-Way Sync is and how to configure it. If not, please review the How to Import data from Google Sheets tutorial first.
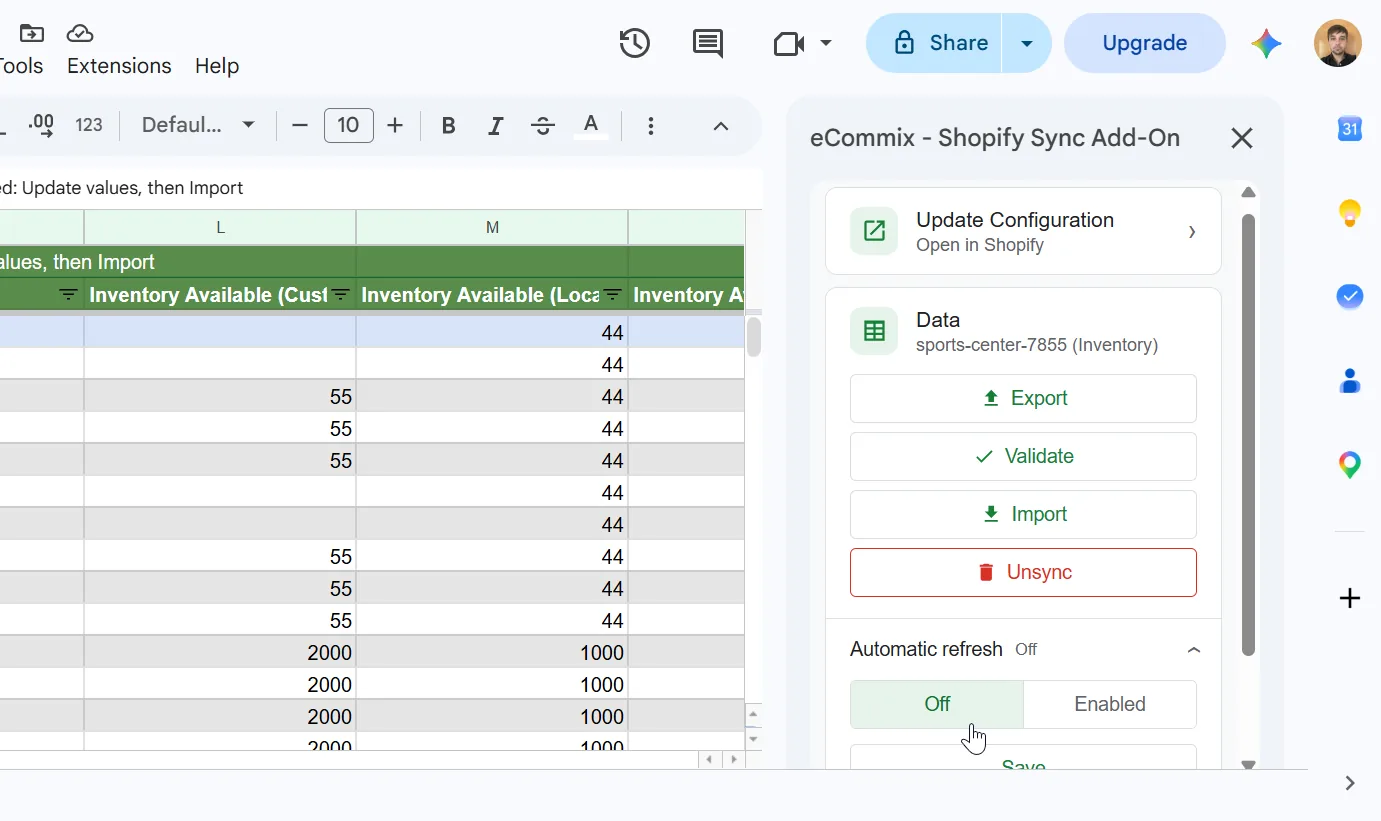
Info. Before making any changes, please make sure Automatic Refresh is disabled, or confirm that the next scheduled run will not happen while you are editing. You can check this in your spreadsheet configuration under Edit. If any changes are overwritten, you can always restore your work in Google Sheets by going to File > Version history > See version history.
If you have the eCommix Google Sheets Add-On installed, you can also turn off Automatic Refresh directly inside Google Sheets. Open the add-on, expand Automatic refresh, select Off, and click Save.
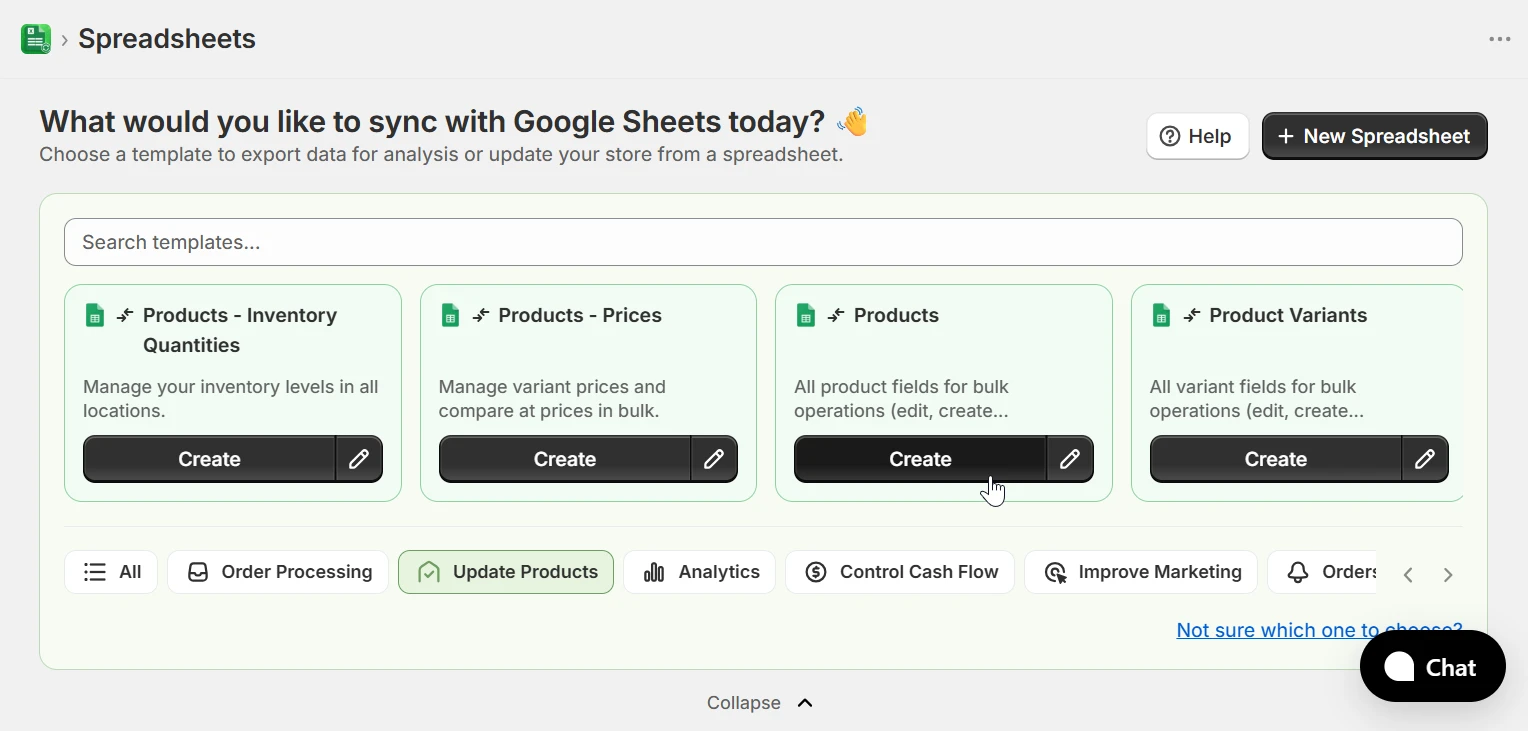
1. Choose the Products template
Use the Products template (Two-Way). To update an existing product, the row must include Id (Product).
2. Update Existing Products
To update an existing product, the row must have an Id (Product) value. eCommix uses the ID to locate the product in Shopify and applies only the columns that are present in the sheet. The following field is required:
- Id (Product) - The Shopify product ID. This is exported automatically when you sync a Products spreadsheet. Do not modify it.
Any other product field included in the sheet can be updated: title, body HTML, vendor, type, tags, collections, status, SEO fields, option names, template suffix, metafields, and more. Columns that are not present in the sheet are left unchanged. Note that Handle (Product) cannot be changed via update.
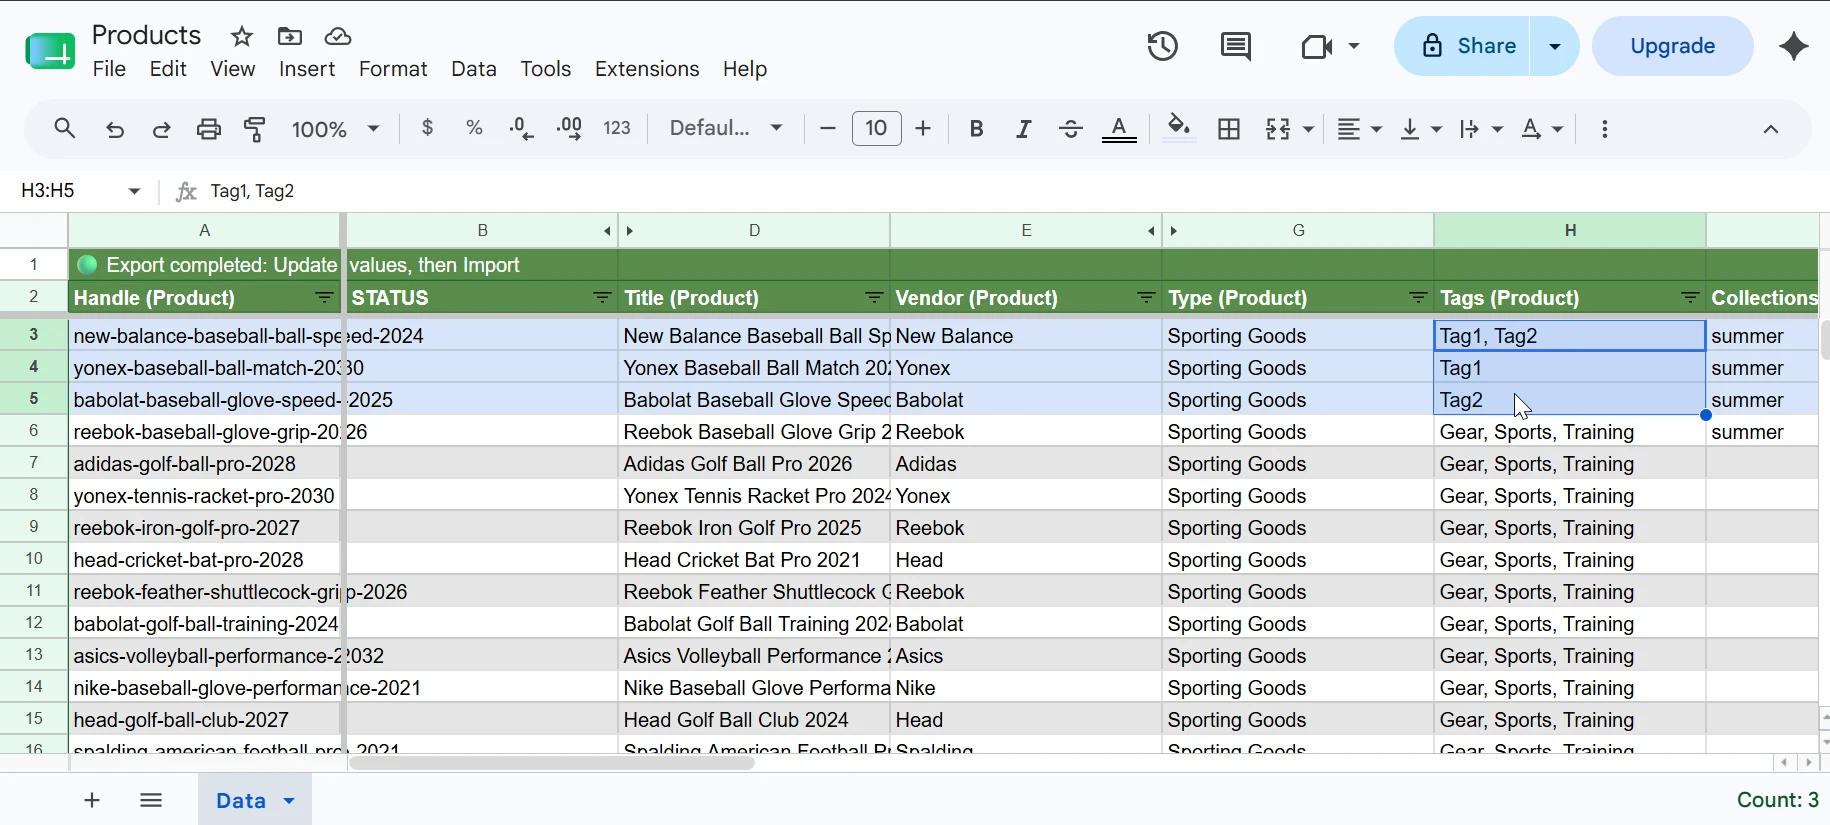
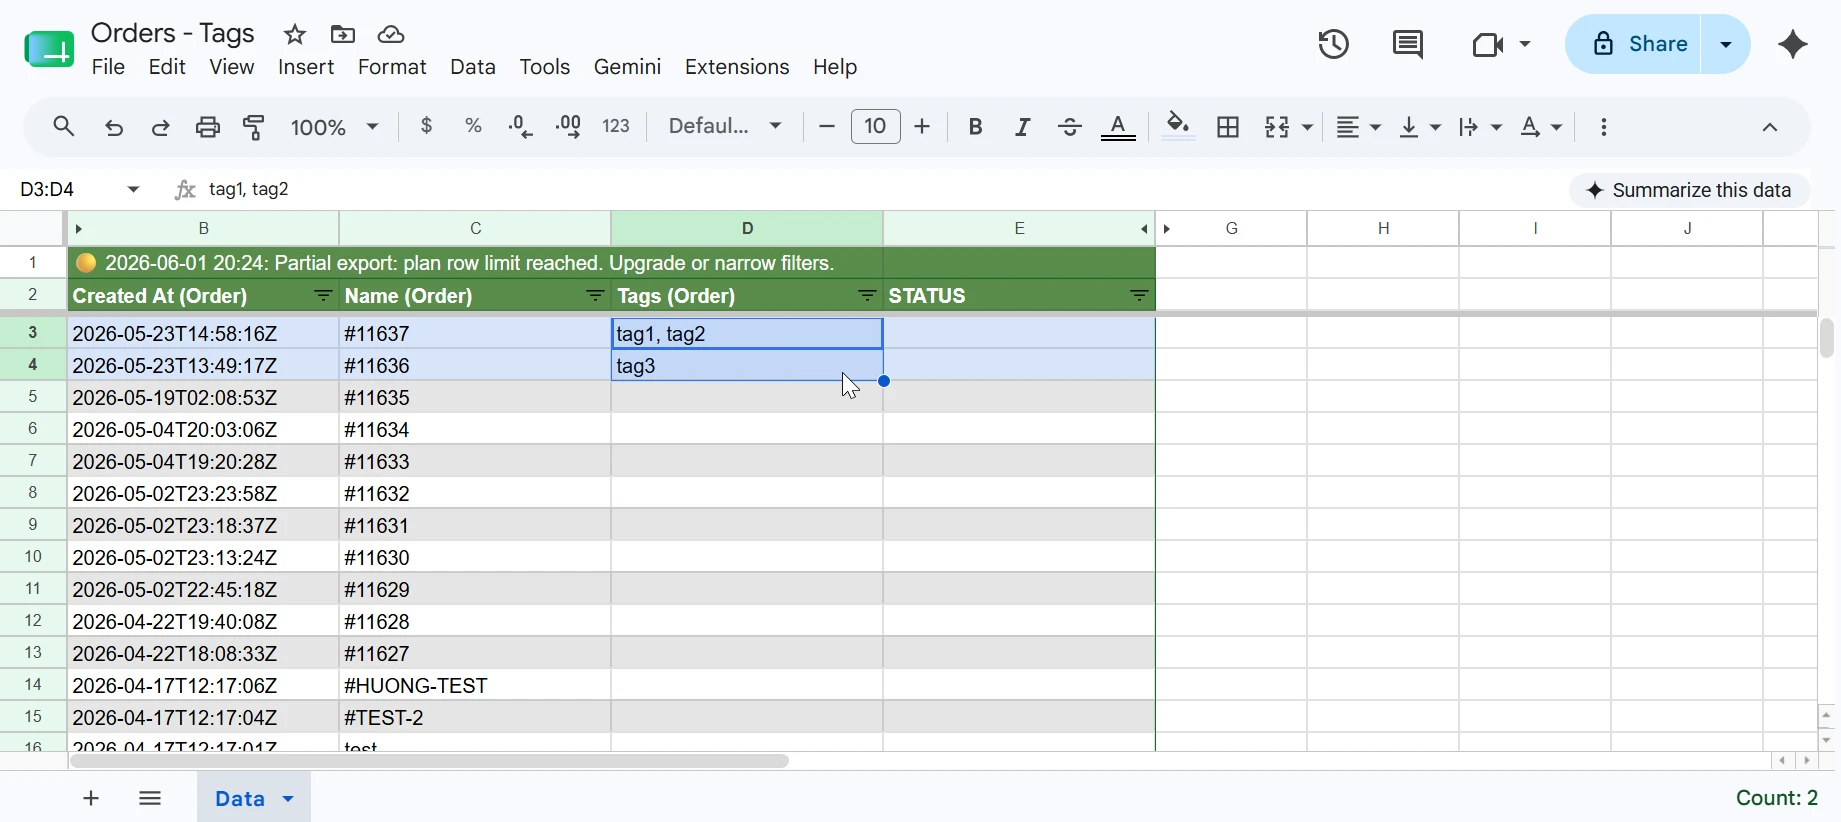
In this example, Tags (Product) was updated for the first three products; edited cells turn light blue to mark them as changed. Edit any fields you need, then go back to eCommix, click Sync, and hit Import to push the changes to Shopify. If you are not familiar with the Sync flow, the How to Import data from Google Sheets tutorial walks you through it step by step.
If you need to update variant-level fields like price, SKU, or weight instead, see the Updating Product Variants from Google Sheets tutorial. To update inventory quantities, prices, metafields, or region catalog prices in bulk, see the Updating Product Inventory Quantities, Updating Product Prices, Updating Product Metafields, and Updating Region Catalog Prices tutorials.
3. Applying Updates to Product-Level Rows Only
If your spreadsheet includes both products and variants, and you want to target only product-level fields - such as vendor, tags, or category - you can isolate those rows by adding the Top Row field to your sheet.

Once the column is in the sheet, use Google Sheets' built-in filter to show only the rows where Top Row is true. That way any edits you make apply exclusively to the product-level row and leave variant rows untouched.

(Optional) Install the Google Sheets Add-On
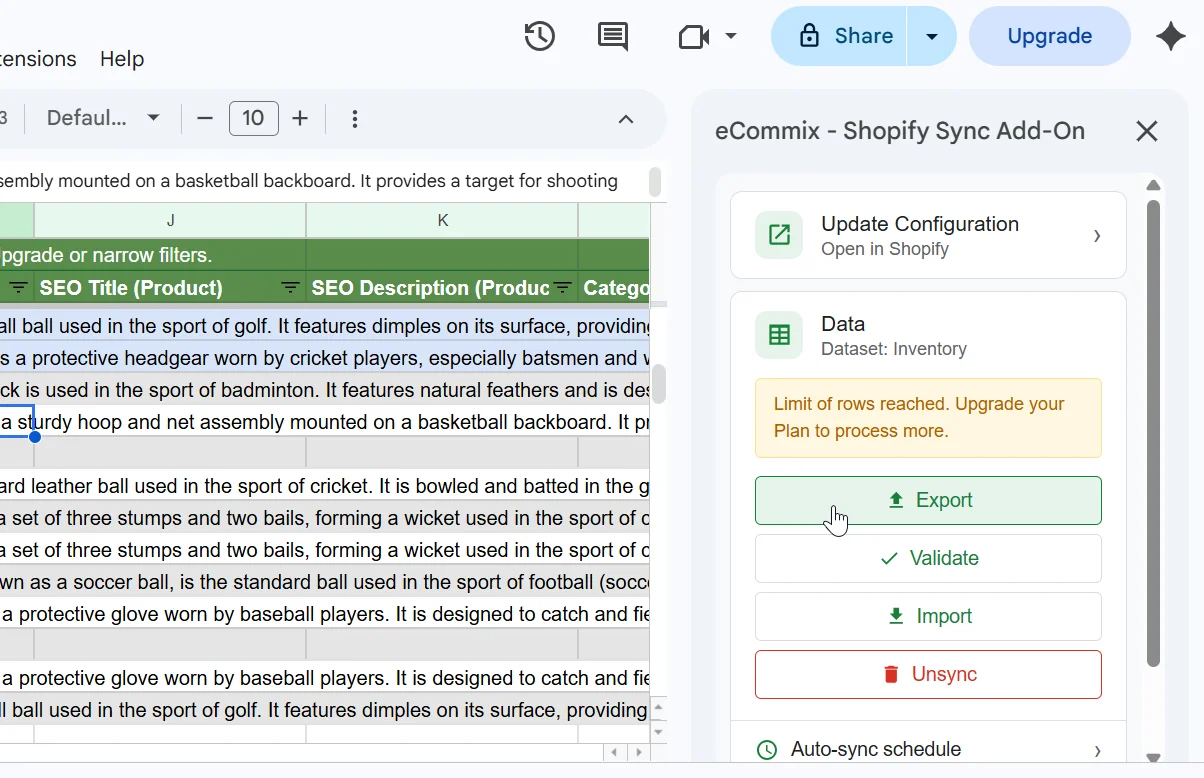
If you prefer working directly in your spreadsheet, install the eCommix Sheets Add-On. It lets you run export, validate, and import actions without going back to the Shopify app: Install the Sheets Add-On.