This tutorial assumes you already know what Two-Way Sync is and how to configure it. If not, please review the How to Bulk Update Shopify Data from Google Sheets tutorial first.
Info. Before making any changes, please make sure Automatic Refresh is disabled, or confirm that the next scheduled run will not happen while you are editing. You can check this in your spreadsheet configuration under Edit. If any changes are overwritten, you can always restore your work in Google Sheets by going to File > Version history > See version history.
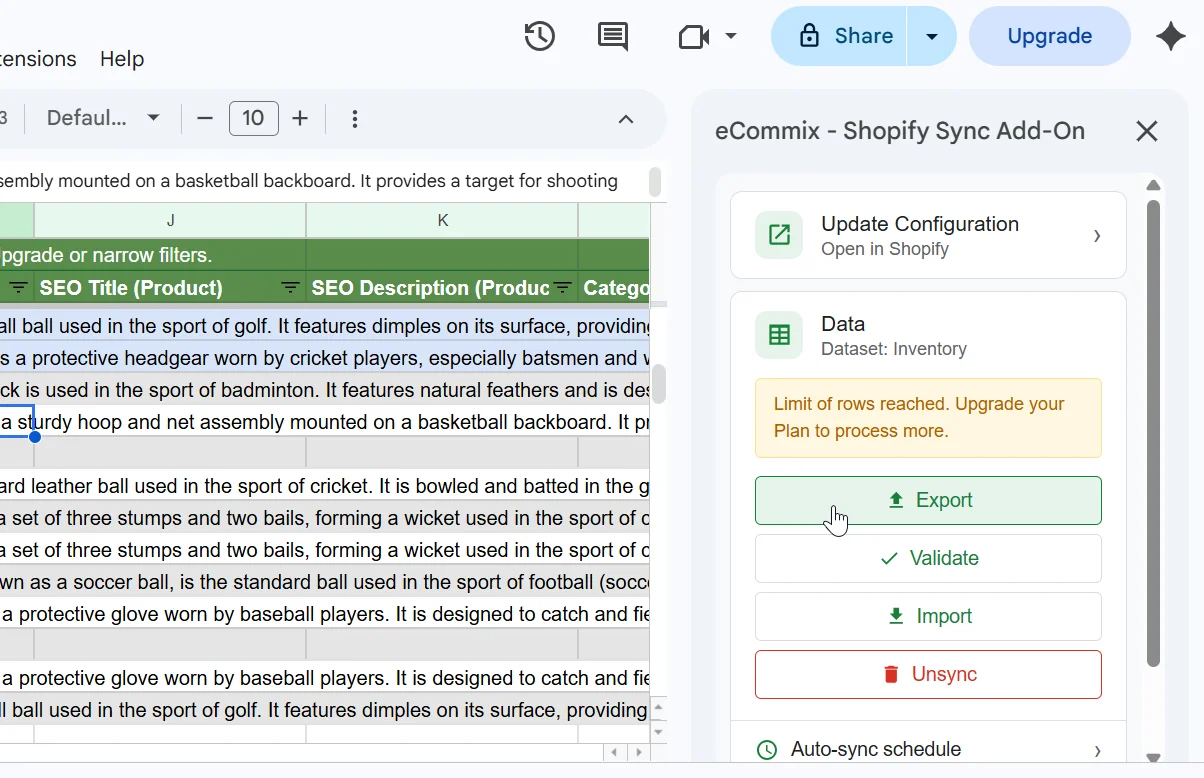
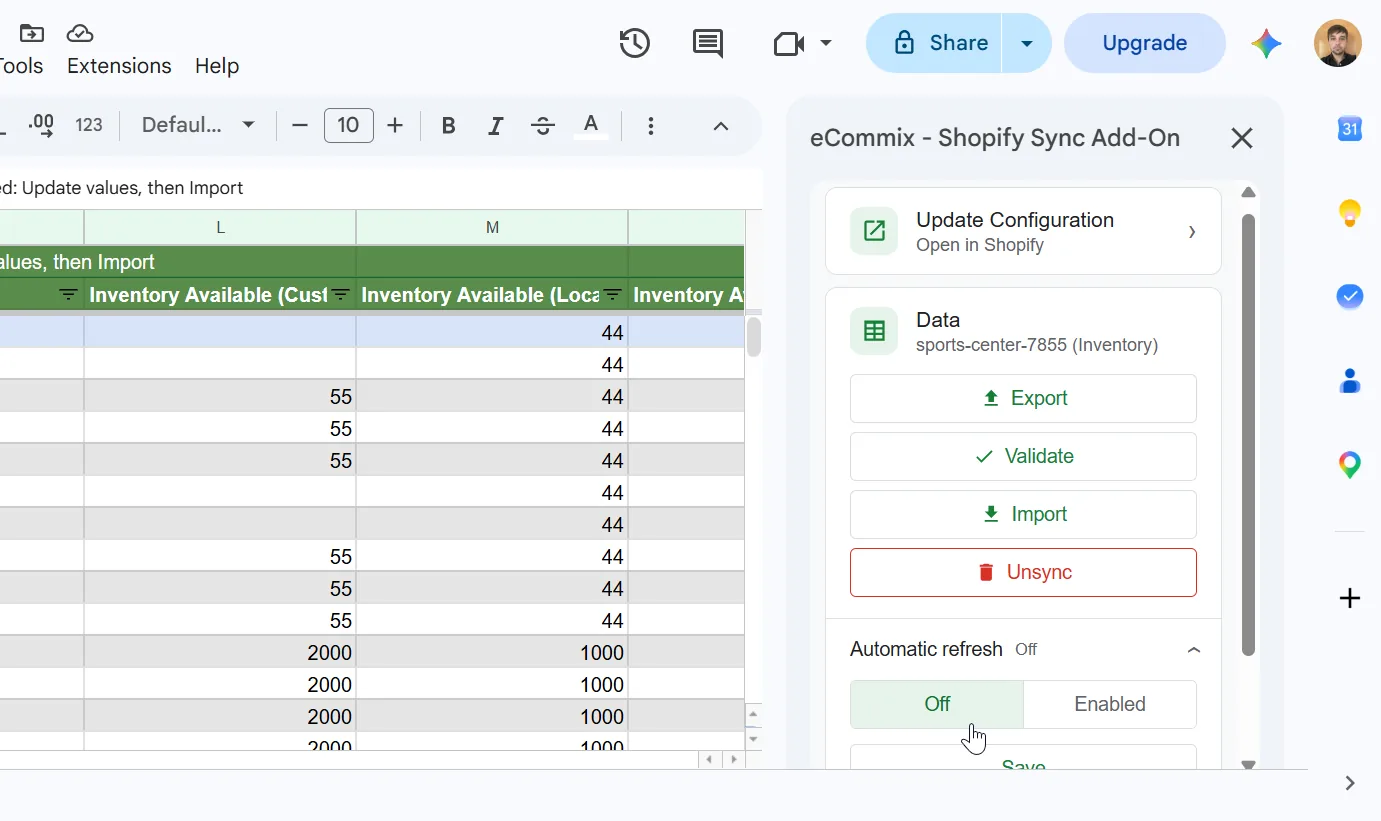
If you have the eCommix Google Sheets Add-On installed, you can also turn off Automatic Refresh directly inside Google Sheets. Open the add-on, expand Automatic refresh, select Off, and click Save.
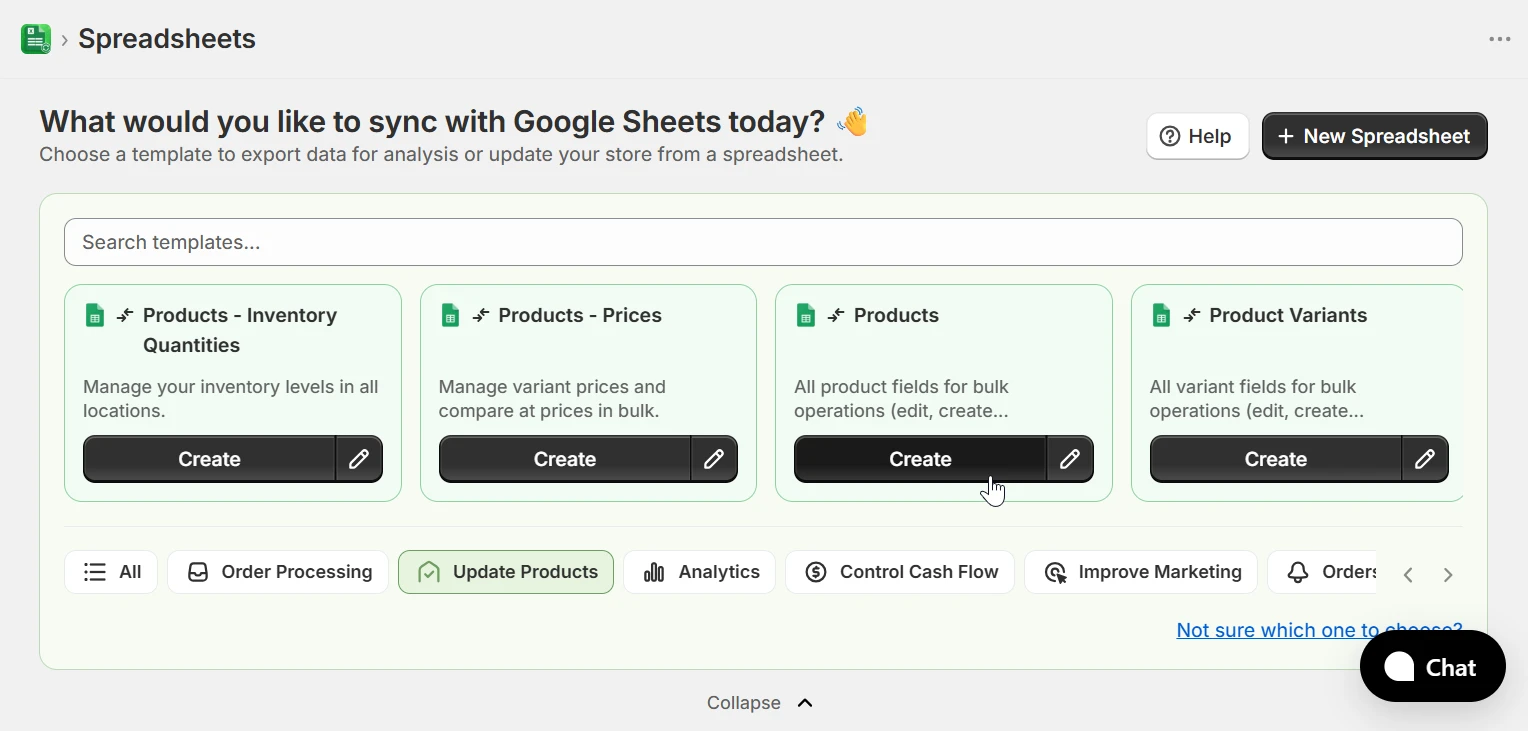
1. Choose the Products template
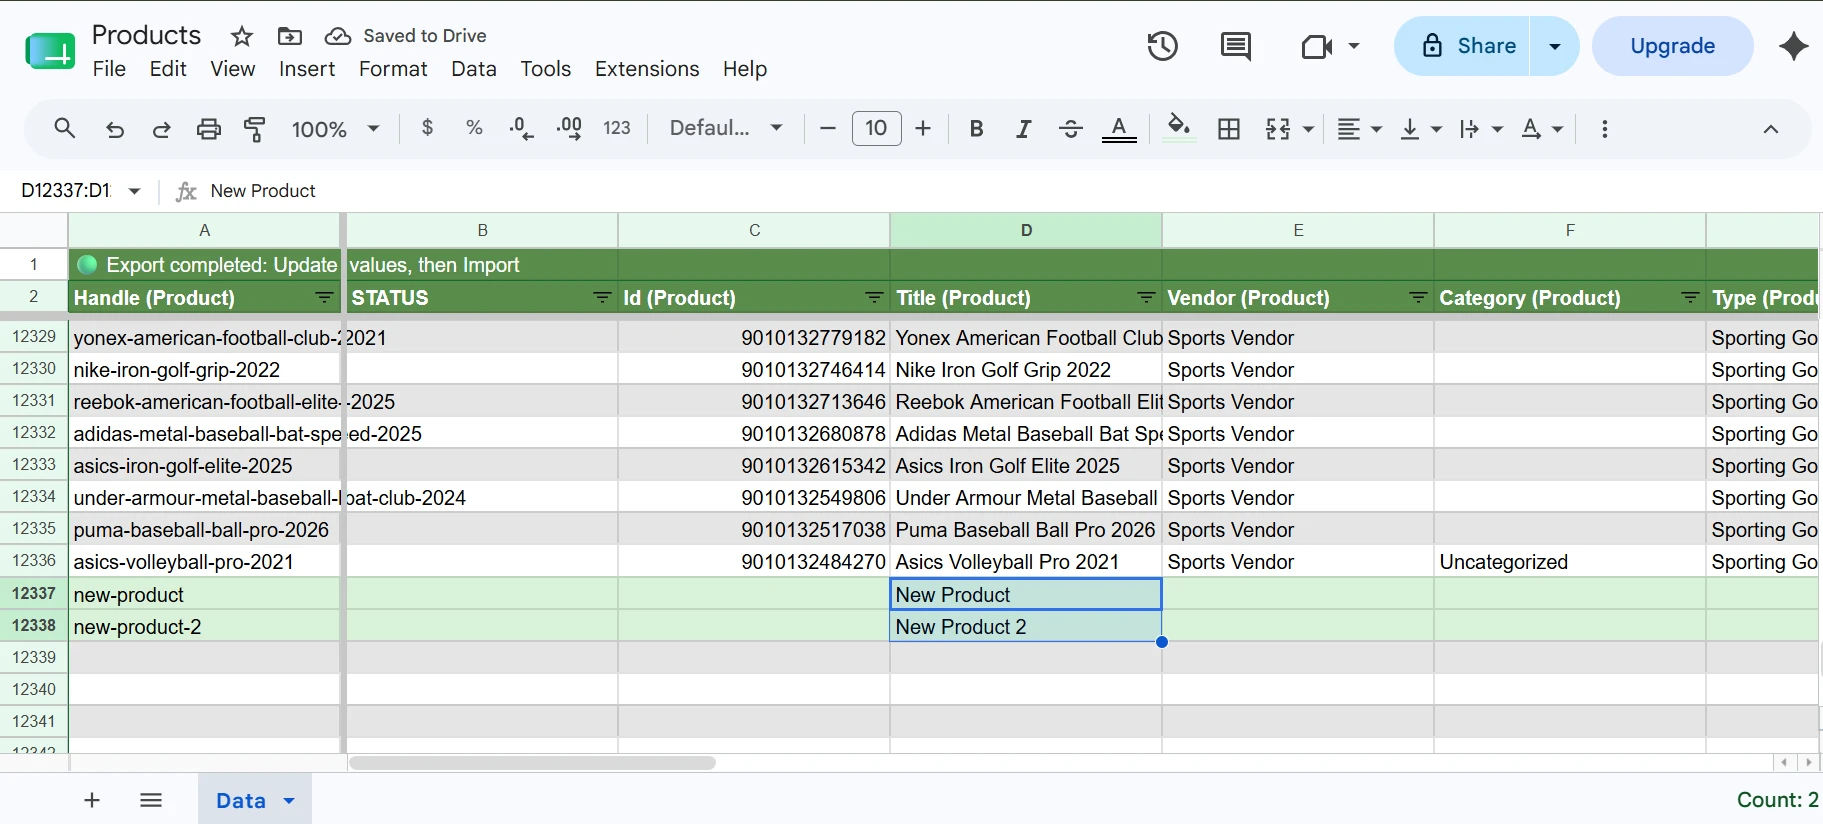
Use the Products template (Two-Way). To delete a product, keep Id (Product) but clear Title (Product) completely.
2. Delete Existing Products
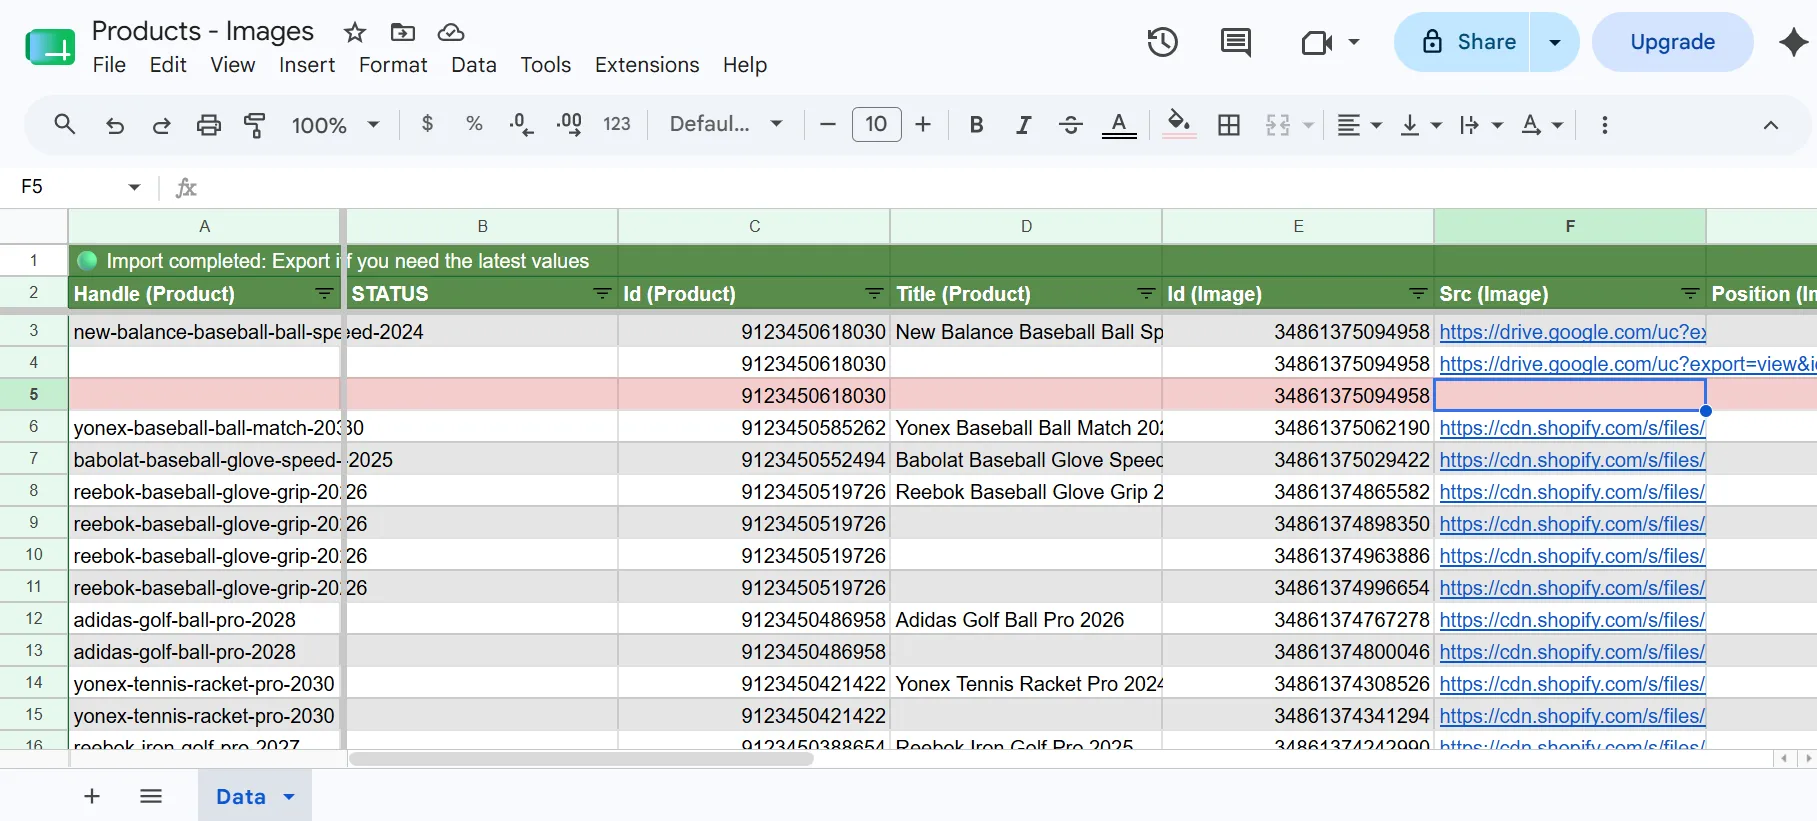
To delete a product, keep the Id (Product) value but clear the Title (Product) cell completely; leave it blank. When eCommix sees an ID with an empty title it treats the row as a delete. This permanently removes the product and all of its variants and images from Shopify.
- Id (Product) - Must be present. The ID identifies which product to delete.
- Title (Product) - Must be empty. Clearing the title is what signals the delete operation.
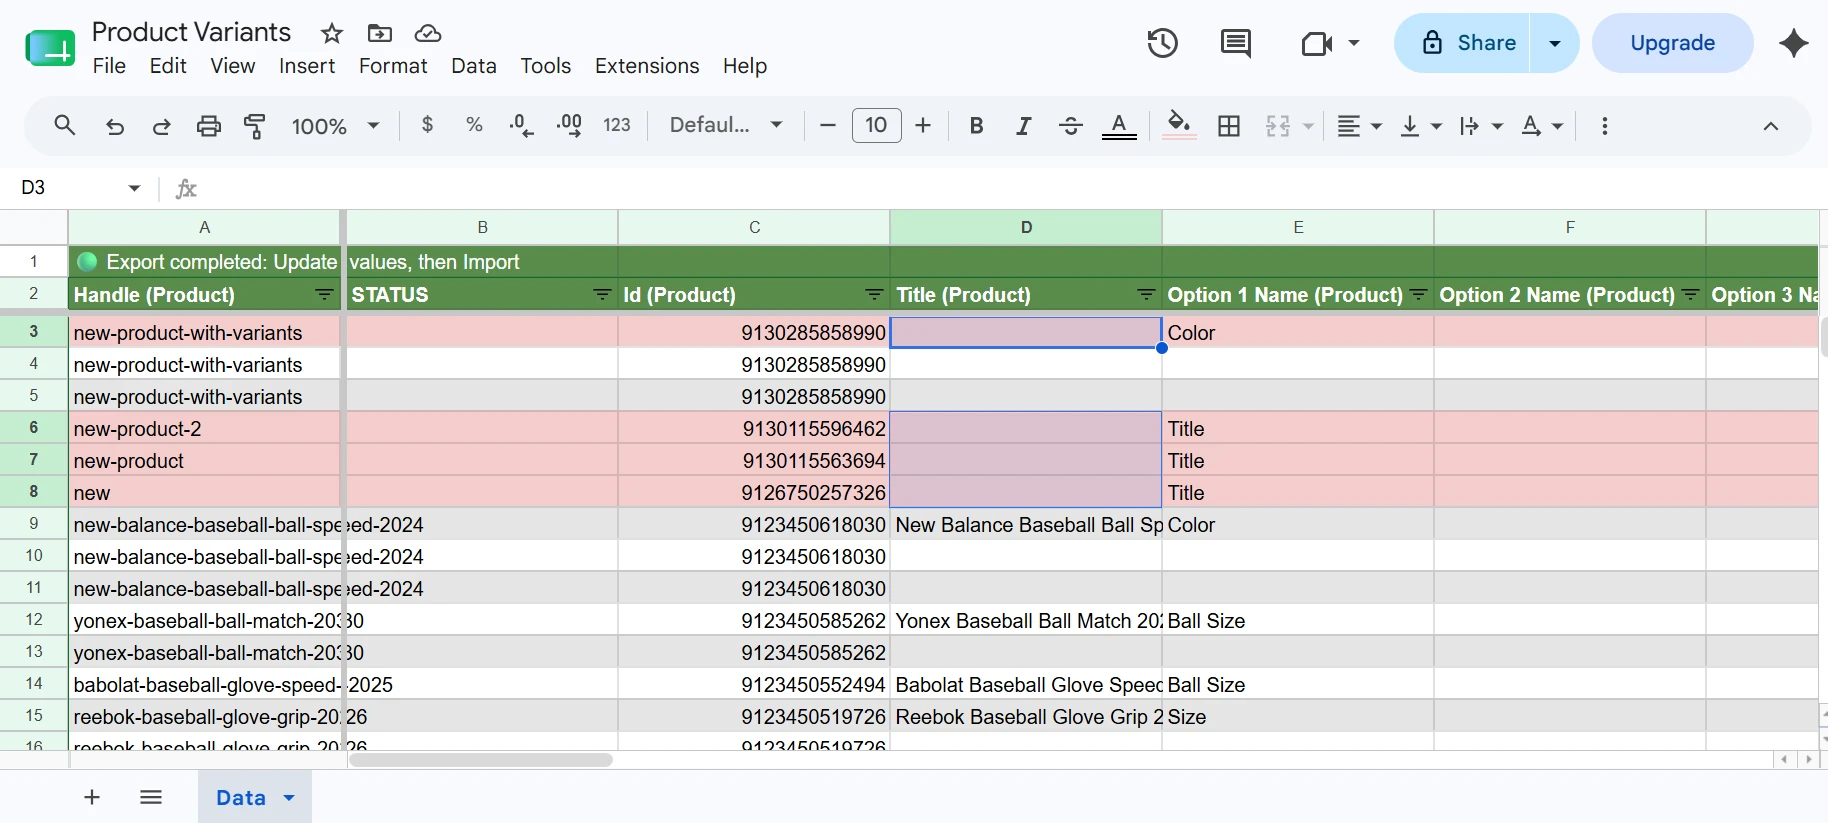
After validation, rows with a cleared title turn light red to indicate they will be permanently deleted from Shopify on import. Go back to eCommix, click Sync, then Validate to preview the changes, and Import to apply them. The full flow is covered in the How to Bulk Update Shopify Data from Google Sheets tutorial.
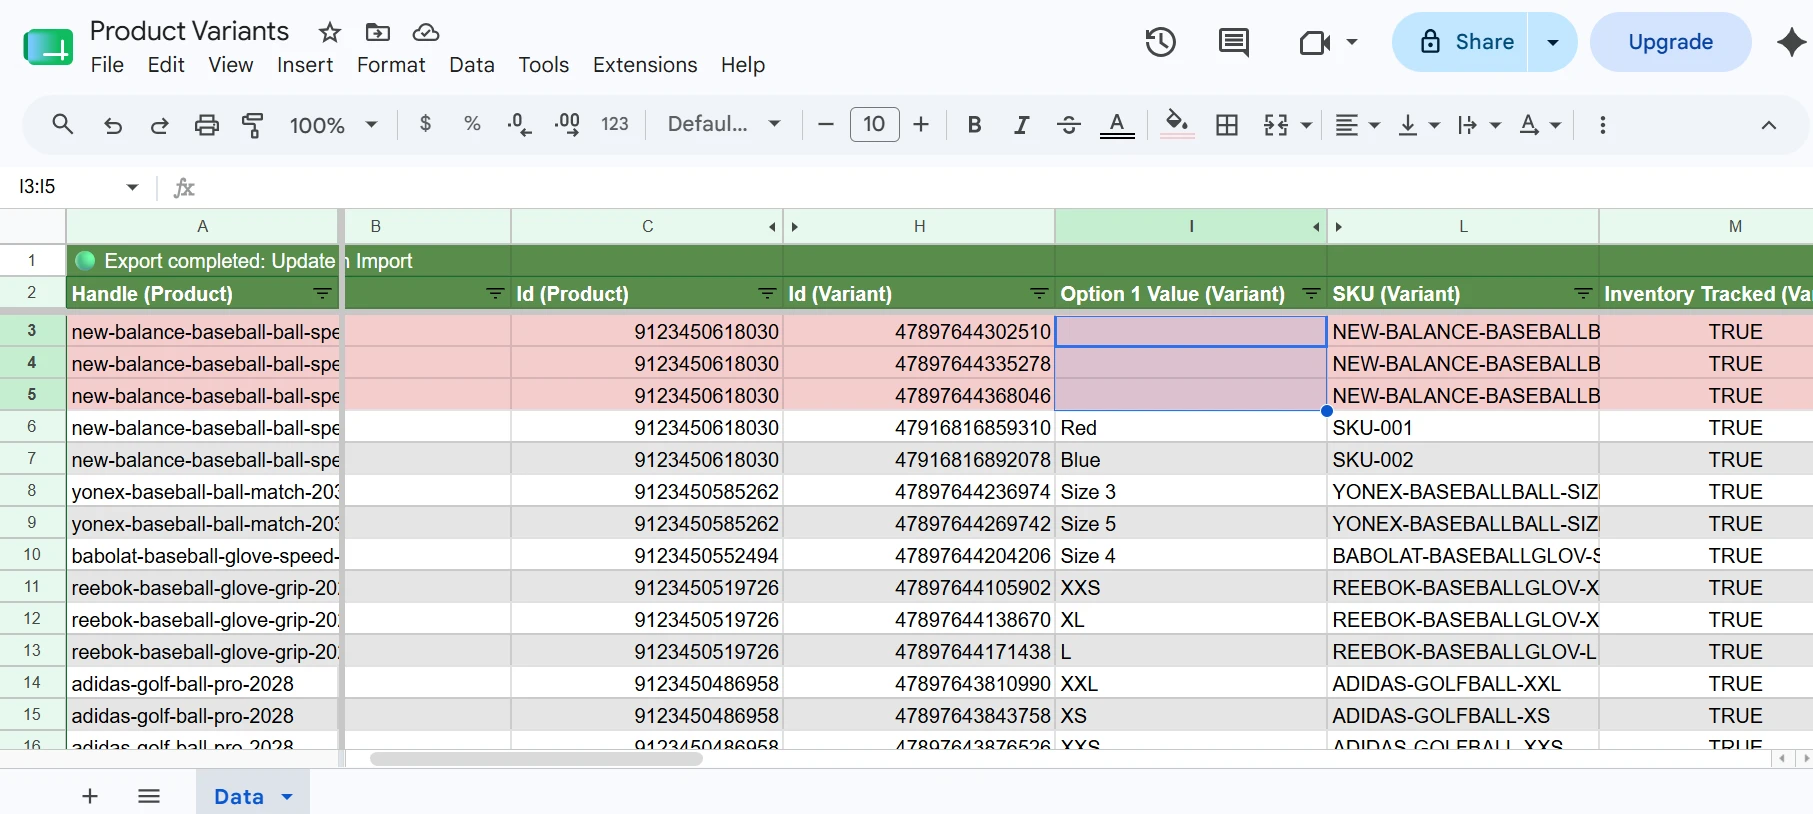
If you need to delete individual variants instead of the whole product, see the Deleting Product Variants from Google Sheets tutorial.
(Optional) Install the Google Sheets Add-On
If you prefer working directly in your spreadsheet, install the eCommix Sheets Add-On. It lets you run export, validate, and import actions without going back to the Shopify app: Install the Sheets Add-On.