This tutorial assumes you already know what Two-Way Sync is and how to configure it. If not, please review the How Two-Way Sync Works tutorial first.
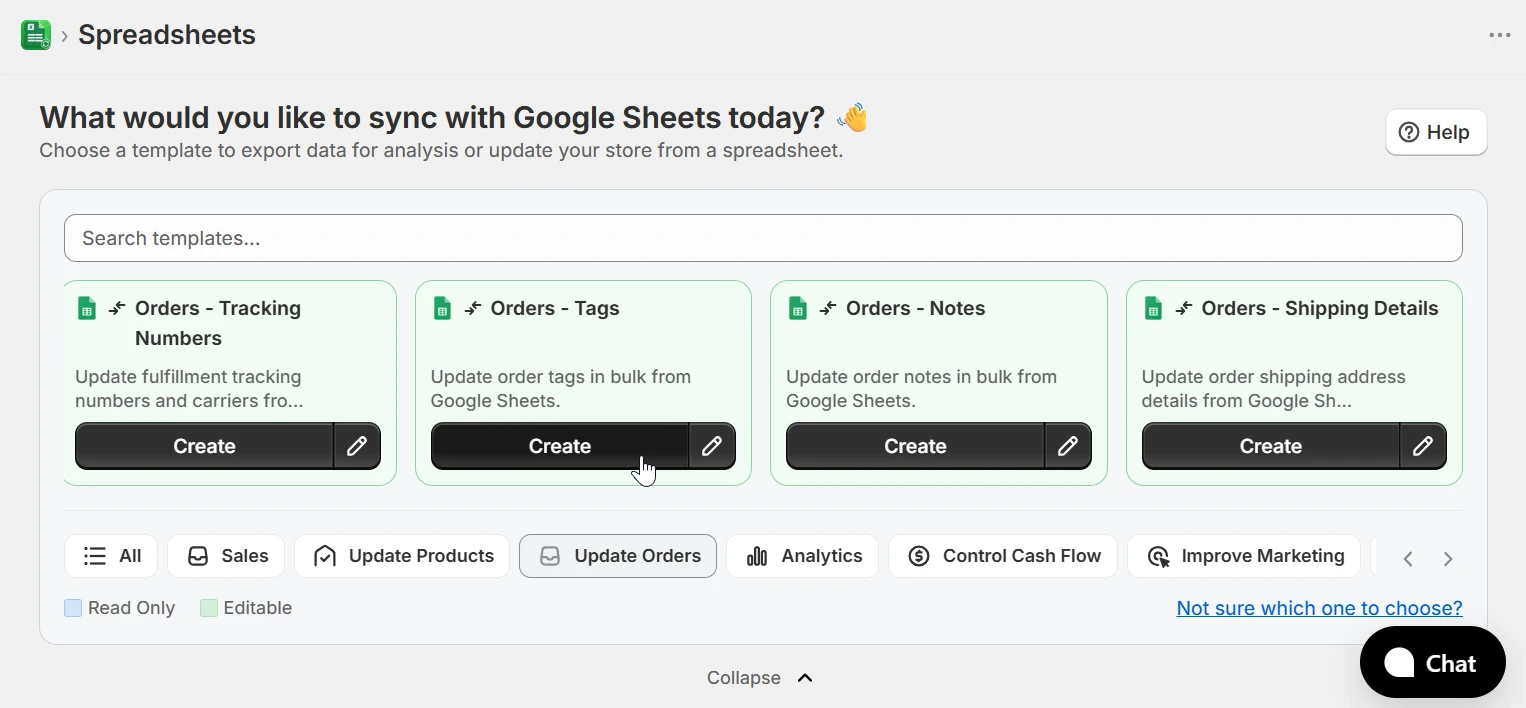
1. Choose the Orders - Tags template
From the home page, select the Orders category in the template filter bar and click Create on the Orders - Tags template. If you are configuring a spreadsheet from scratch, click New Spreadsheet, select Two-Way Sync as the sync direction, and then choose the Orders - Tags template.
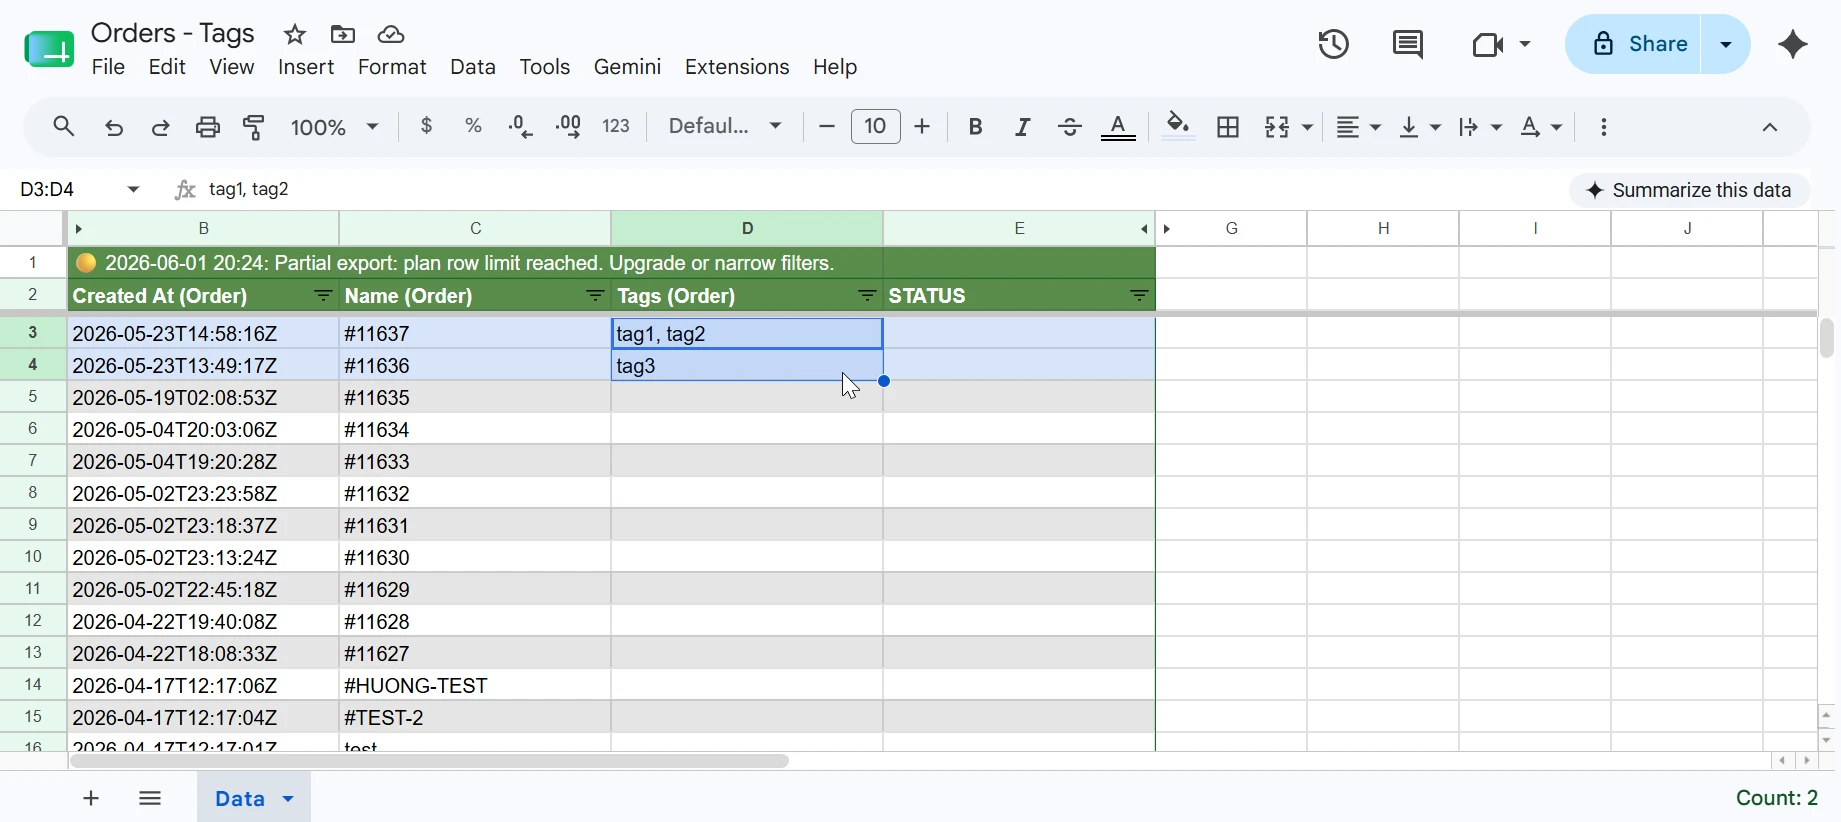
2. Update Order Tags
To update tags for an order, the row must include the order ID. eCommix uses that ID to find the order in Shopify and replaces its tags with whatever you have in the Tags (Order) column. The following field is required:
- Id (Order) - The Shopify order ID. This is exported automatically when you sync an Orders spreadsheet. Do not modify it.
Edit the Tags (Order) column for the orders you want to update. Tags are comma-separated; for example VIP, wholesale, priority. To remove all tags from an order, clear the cell completely.
Once your tags are ready, go back to eCommix, click Sync, and hit Import to push the changes to Shopify. If you are not familiar with the Sync flow, the How Two-Way Sync Works tutorial walks you through it step by step.
You can also update other order fields from Google Sheets. To update fulfillment tracking numbers, see the Updating Order Tracking Codes from Google Sheets tutorial.