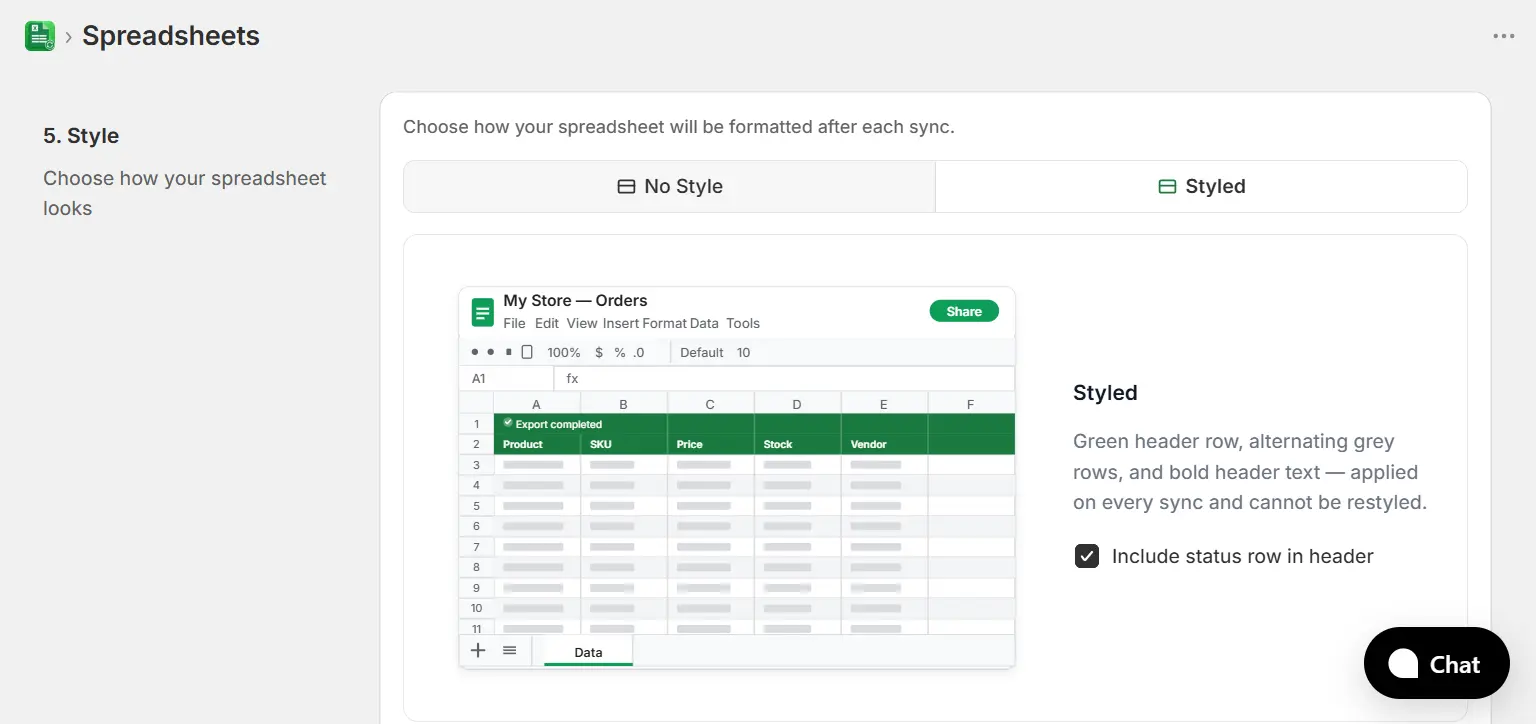
This guide walks through importing data from a Google Sheets spreadsheet you already have into Shopify using eCommix One-Way Import. This is the right sync direction when your data starts life in a spreadsheet - a supplier catalog, a price list, a stock count, or an export from another system - and you want to push it into your store.
One-Way Import is different from the other two sync directions:
- One-Way: Export pulls Shopify data into Google Sheets. See How to Export Shopify Data to Google Sheets.
- Two-Way exports your Shopify data into a sheet first, you edit it there, and your edits are pushed back. See How to Bulk Update Shopify Data from Google Sheets.
- One-Way: Import - this tutorial - never exports anything. It reads a spreadsheet you already built and writes it into Shopify.
Because eCommix does not create the sheet for you, there is no template step and no styling step: your spreadsheet's own columns are the starting point, and you tell eCommix what each one means.
1. Navigate to Configure Spreadsheet
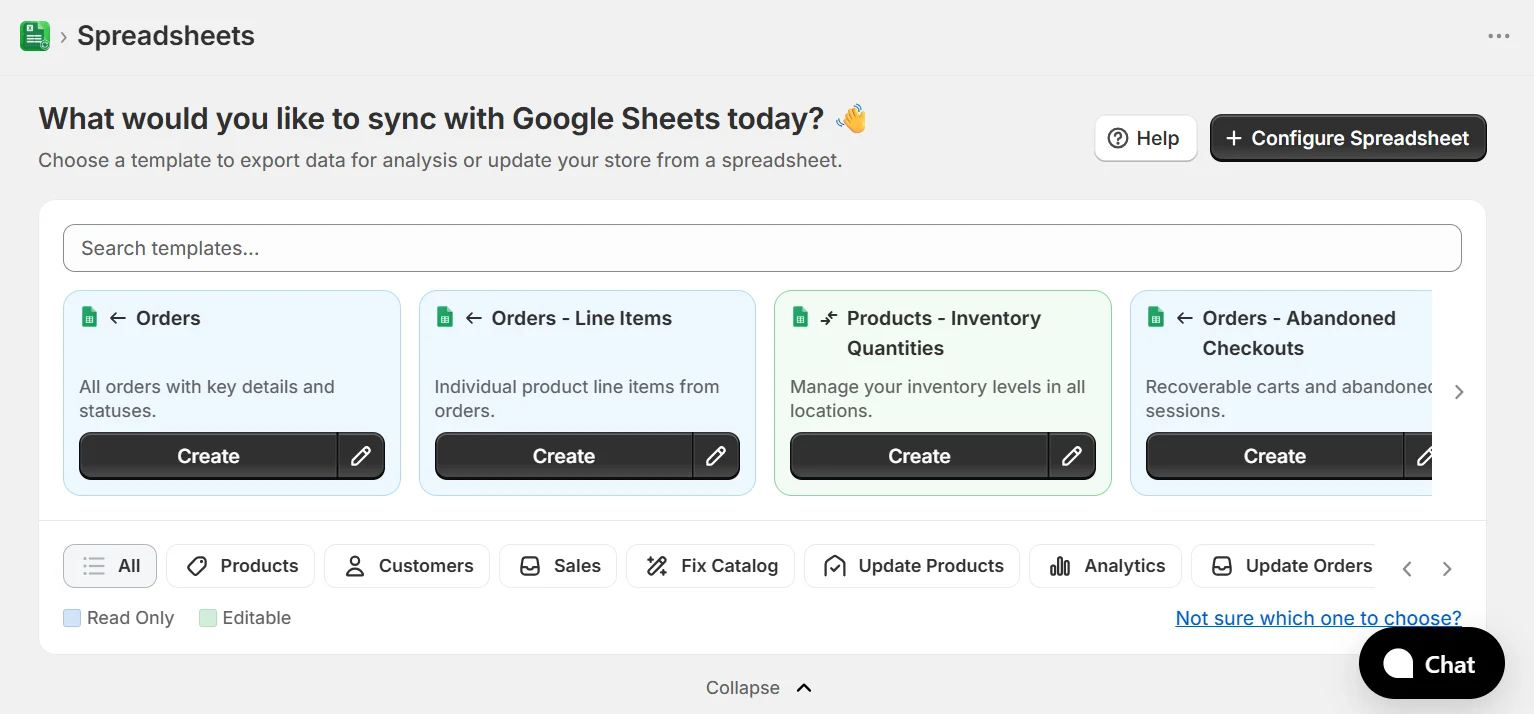
From the home page, click Configure Spreadsheet in the top right to open the configurator.
2. Choose sync direction
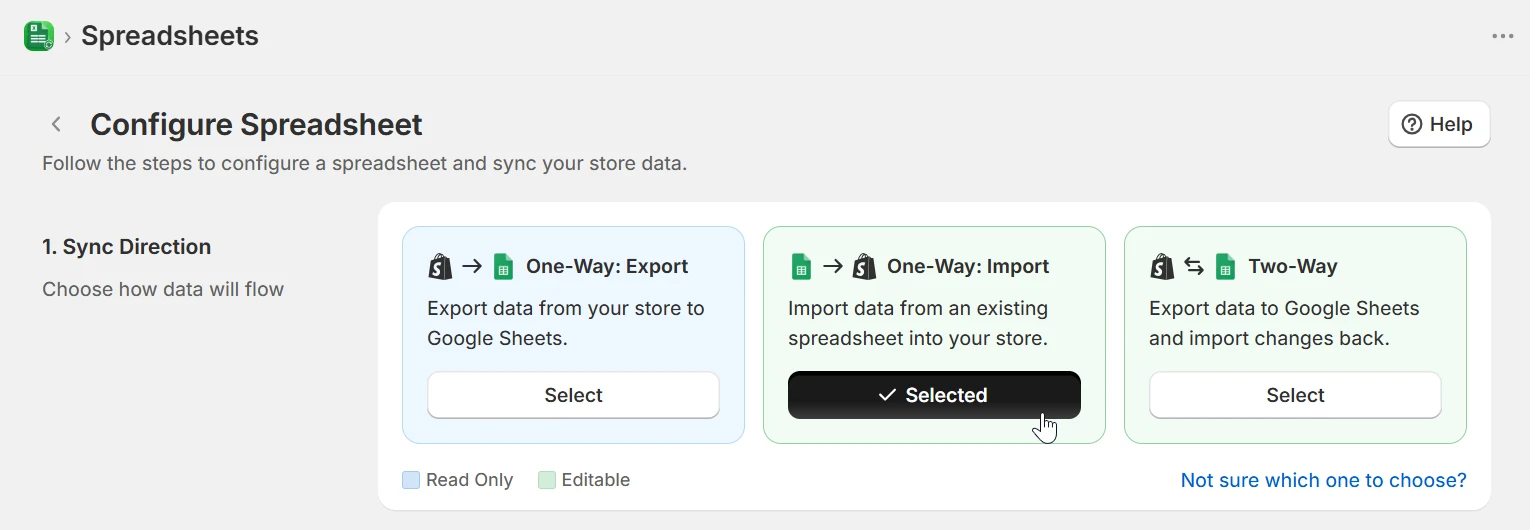
In the first step, select One-Way: Import. This means data flows in one direction only: from Google Sheets into your Shopify store. Nothing in your spreadsheet is overwritten by Shopify data.
3. Choose your Google Sheets source
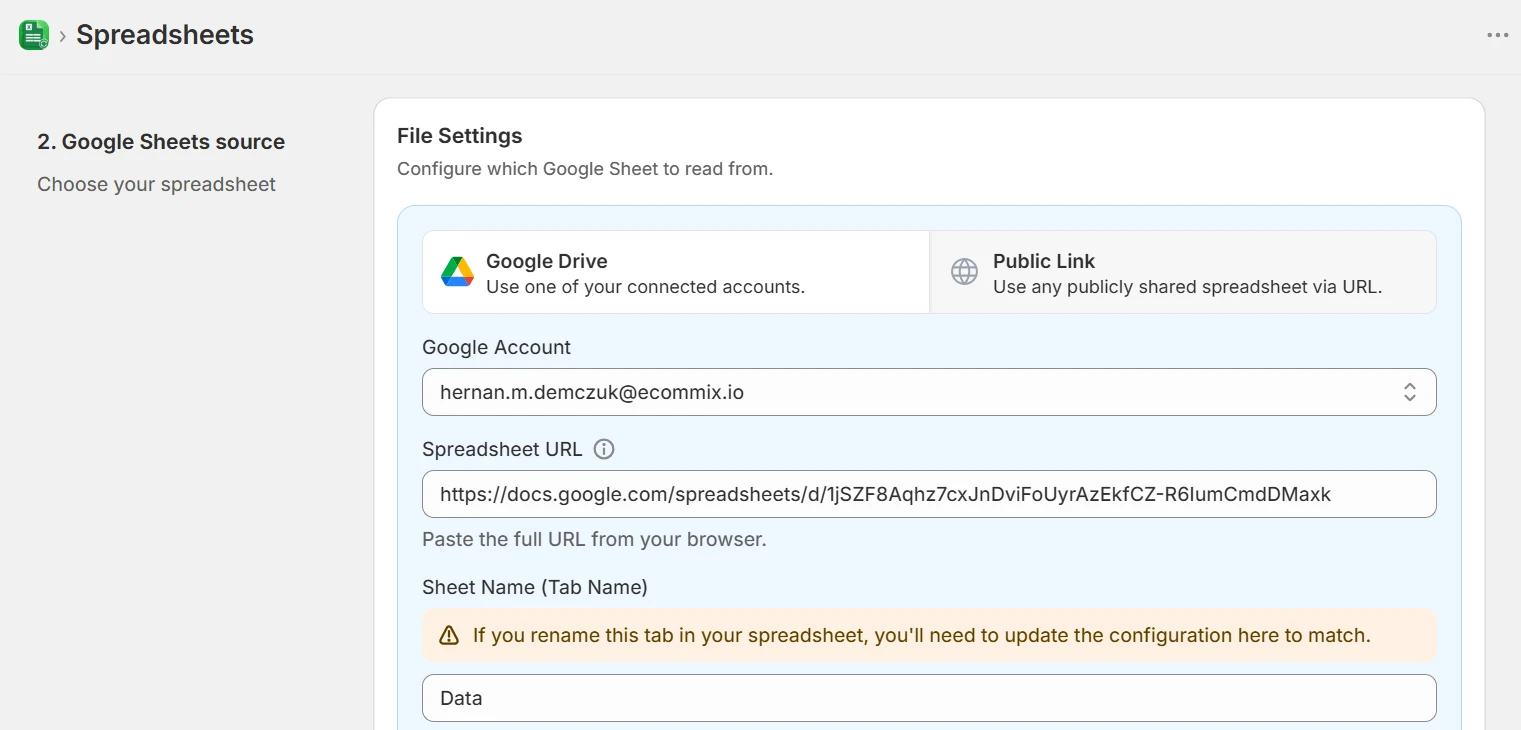
Next, tell eCommix which spreadsheet to read from. Unlike the export flows, this step comes before formatting your data - eCommix needs to see your columns before you can map them.
You can pick a spreadsheet from Google Drive using one of your connected Google Accounts, or choose Public Link and paste the full URL of a shared spreadsheet. For the Public Link option the spreadsheet must be shared with Anyone with the link and have Editor permissions, so eCommix can write status results back into the sheet.
You also need to set the Sheet Name (the tab inside the spreadsheet) to read from. In One-Way Import the tab must already exist - eCommix will not create it, since it is reading your data rather than writing a new export. Once you select a spreadsheet, eCommix reads its metadata and fills in the first tab name and the display name for you automatically.
Your sheet needs a header row, and it must be the very first row of the tab. eCommix reads row 1 as the column names and every row below it as data - this is not configurable, so there is no "start reading at row N" setting.
Warning. Anything sitting above your headers breaks the import: a title banner, a company logo row, a blank spacer row, or a merged summary cell. eCommix would read that first row as your column names and the real header row as a data row. If your source file has decorative rows on top, delete them so the header row lands in row 1 before you configure the spreadsheet.
If row 1 is empty, eCommix stops with
No headers found in supplier sheetrather than guessing where your data starts.
That header row is also what eCommix maps to Shopify fields in the next step, so give every column you intend to import a name. Two columns sharing the same header cannot be told apart, and only one of them will be mapped.
4. Format your data: map columns to Shopify fields
This is the heart of the import flow. eCommix reads your spreadsheet and shows a preview of your columns with the first 10 rows of real data, so you can see exactly what you are mapping.
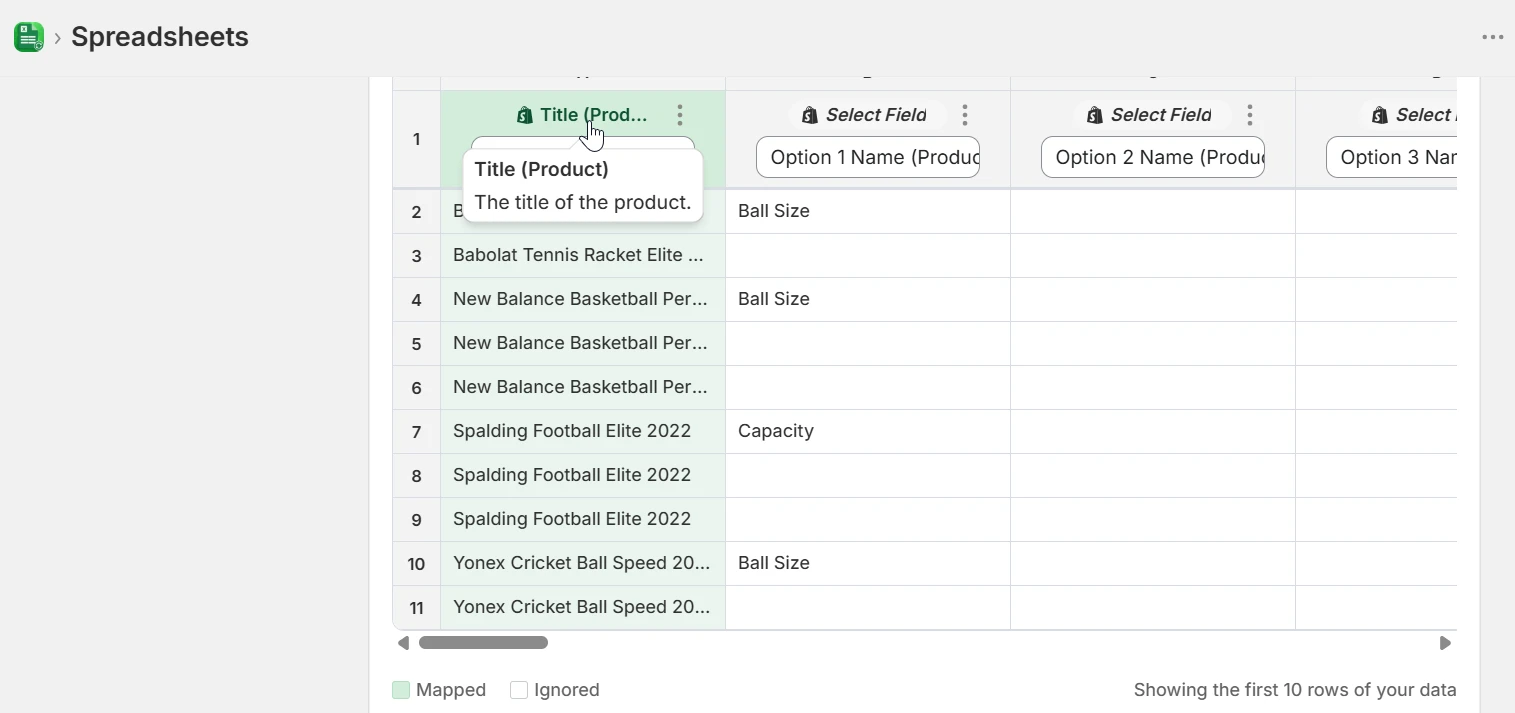
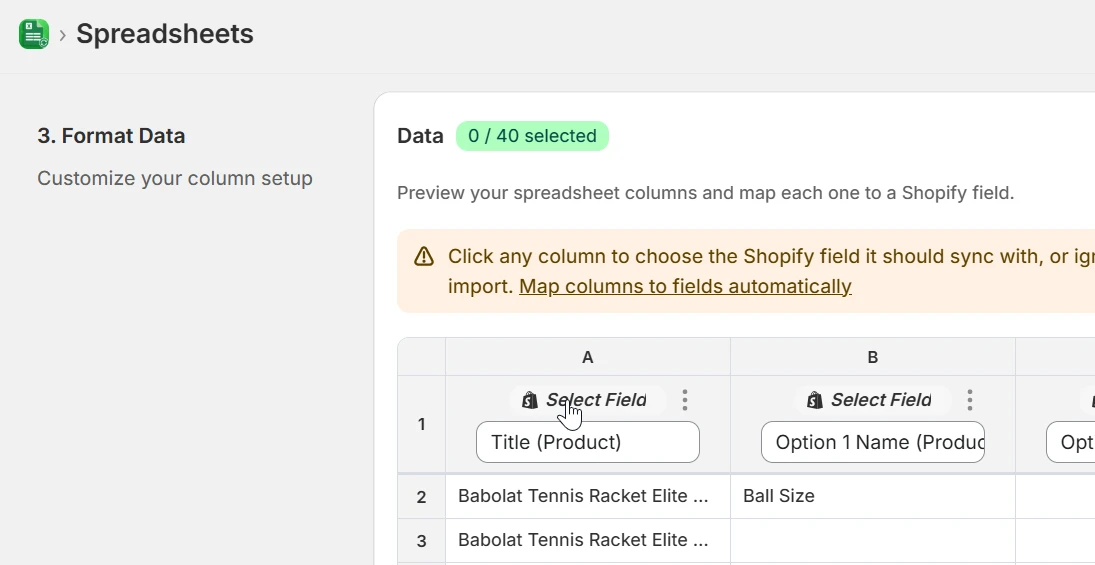
Click any column to choose the Shopify field it should sync with. Each column header carries a Select Field control; your own header name stays visible in the box below it, so you can always see which of your columns you are mapping.
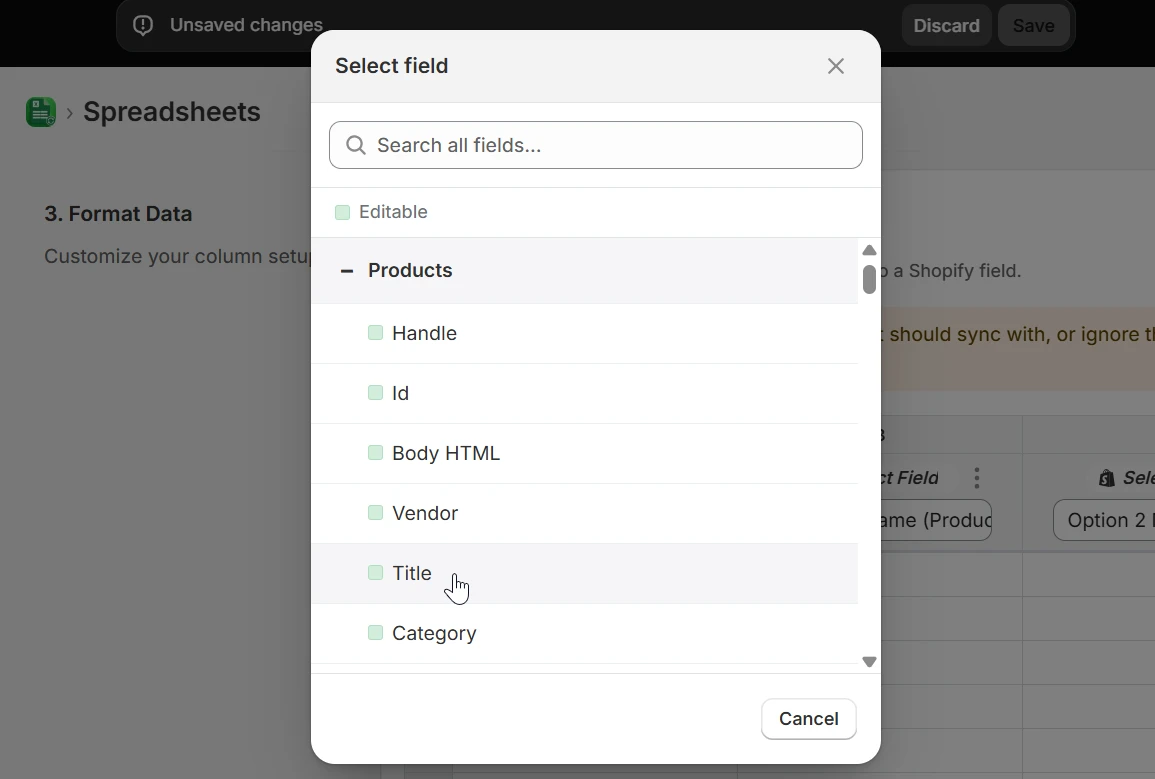
Fields are grouped by resource - Product, Variant, Inventory, Customer, metafields, and more - so you can search or browse to find the right one.
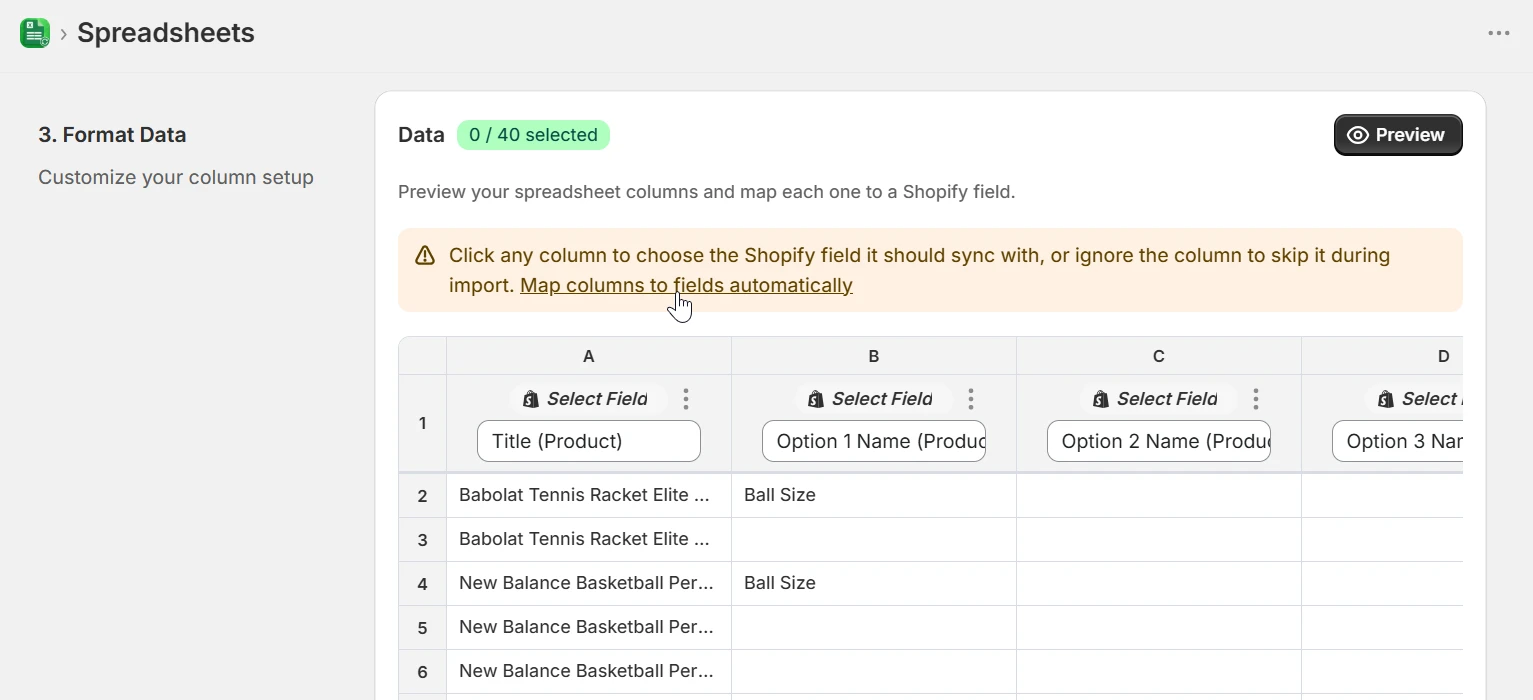
Rather than mapping every column by hand, click Map automatically. eCommix matches your header names against Shopify fields and fills in the mapping it can infer; you then only need to correct or fill the ones it could not work out.
Any column you do not want to import can be left unmapped, or explicitly set to Ignore Column from the column menu. Ignored columns are neither read nor written by eCommix, so notes, formulas, and working columns in your sheet are left completely untouched.
You need at least one mapped column to save the configuration. Remember to include whichever field identifies the record you are importing - for example a product handle or ID, or a variant SKU - so eCommix knows whether each row should create a new record or update an existing one.
Info. If you later rename or reorder the headers in your spreadsheet, eCommix will notice that the headers used for mapping have changed and ask you to review the mapping again before importing. Click Preview in the Format Data step to refresh it.
5. Set a refresh schedule
Set a schedule if you want the import to run automatically. Switch automatic refresh On and build the cadence from the sentence at the top: Import every a number, a unit of minutes, hours, day, or week, and the exact time it should land on - for instance Import every 01 hours at :00 past the hour.
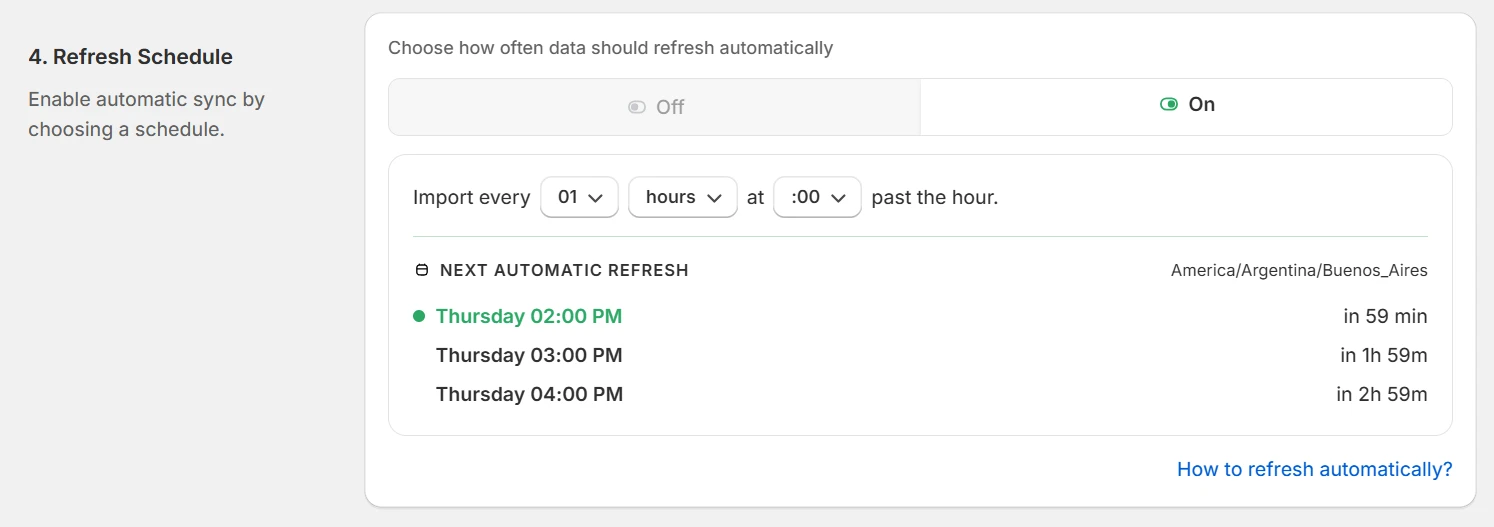
Under Next automatic refresh eCommix lists the next few run times so you can confirm the schedule does what you meant before saving. Those times are shown in your store's timezone, named on the right of that panel.
Warning. A scheduled run imports into Shopify without asking - it is the one path where your store changes with no one clicking Import. Only switch this on once a manual validate and import have given you the results you expect.
If you would rather stay in control of exactly when data reaches your store, leave automatic refresh Off and run the import manually from the Sync modal.
6. Save your spreadsheet
Once every step is configured, click Save in the top bar to save the configuration.
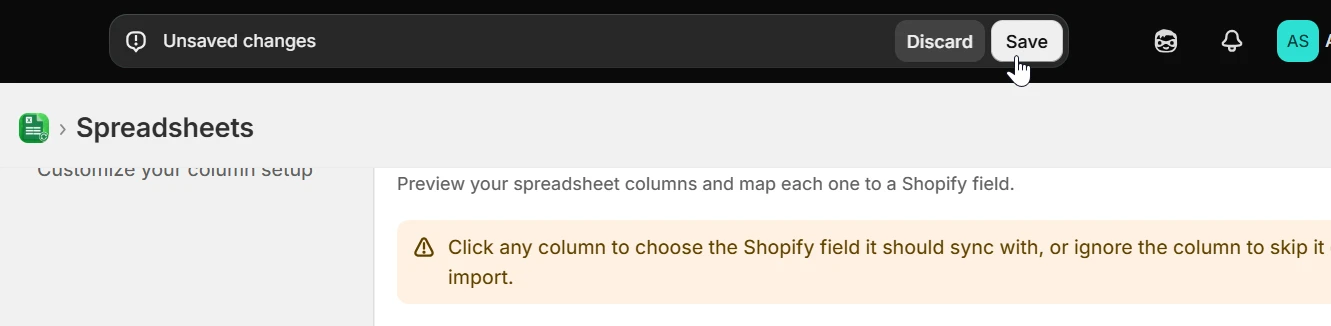
Info. Saving never writes anything to Shopify. Save stores the configuration - the source spreadsheet, the tab, and your column mapping - and nothing more. Your store is only ever modified when you click Import, or when a schedule you set up runs the import for you.
This means you can save a half-finished mapping, come back to it, and adjust it as often as you like without any risk to your store data.
When you save a brand new import spreadsheet, eCommix does kick off a Validate run for you and opens the Sync modal so you can watch it. That is the read-only check described in the next step - it inspects your sheet and reports what would happen, without touching your store. Editing an existing configuration starts nothing at all: the config changed, but the sheet data did not, so eCommix leaves it to you to decide when to re-run.
7. Validate before importing
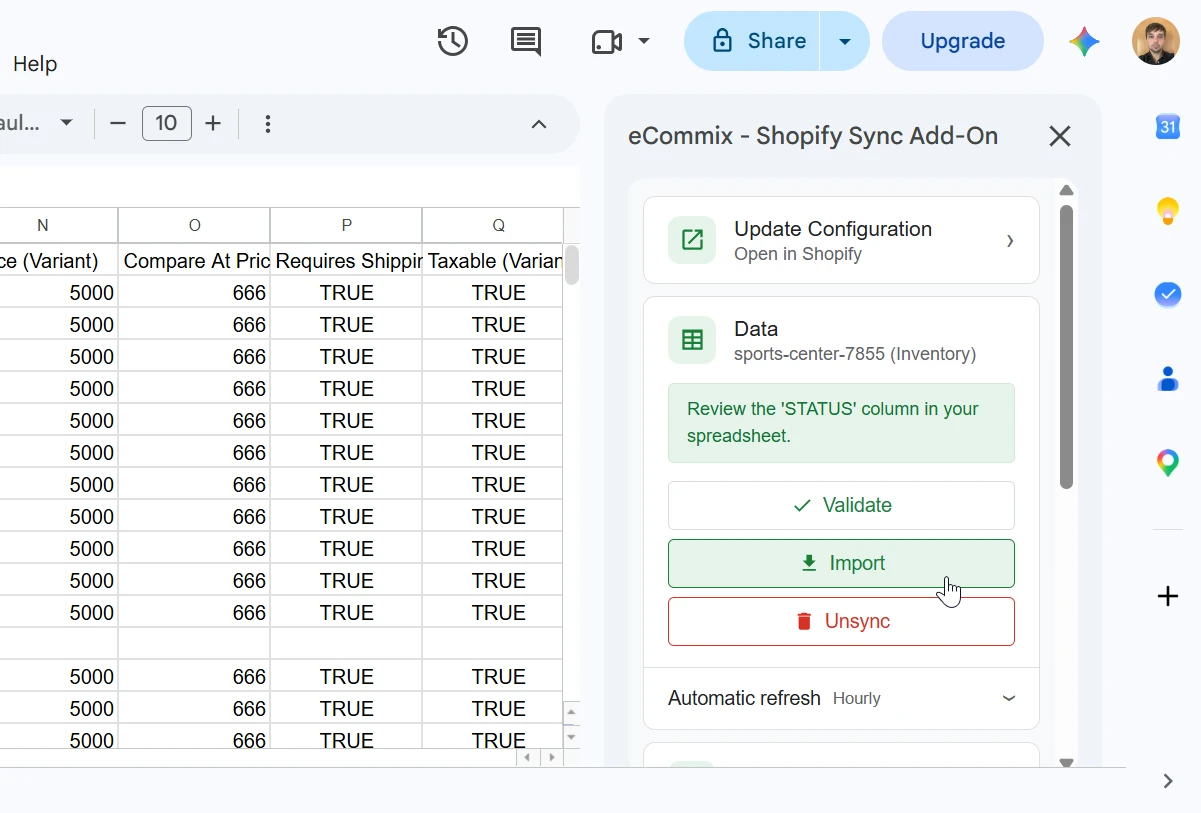
Go to the main page and click the Sync button next to your spreadsheet, then click Validate first. Validation reads your sheet and checks every row against Shopify without changing anything in your store - it is a safe, read-only step that shows exactly what the import would do.
Both validate and import require the tab to be within your plan's row limit, and both write results into a SYNC STATUS column in your sheet. See What One-Way Import will and will not do for the limits and where that column lands.
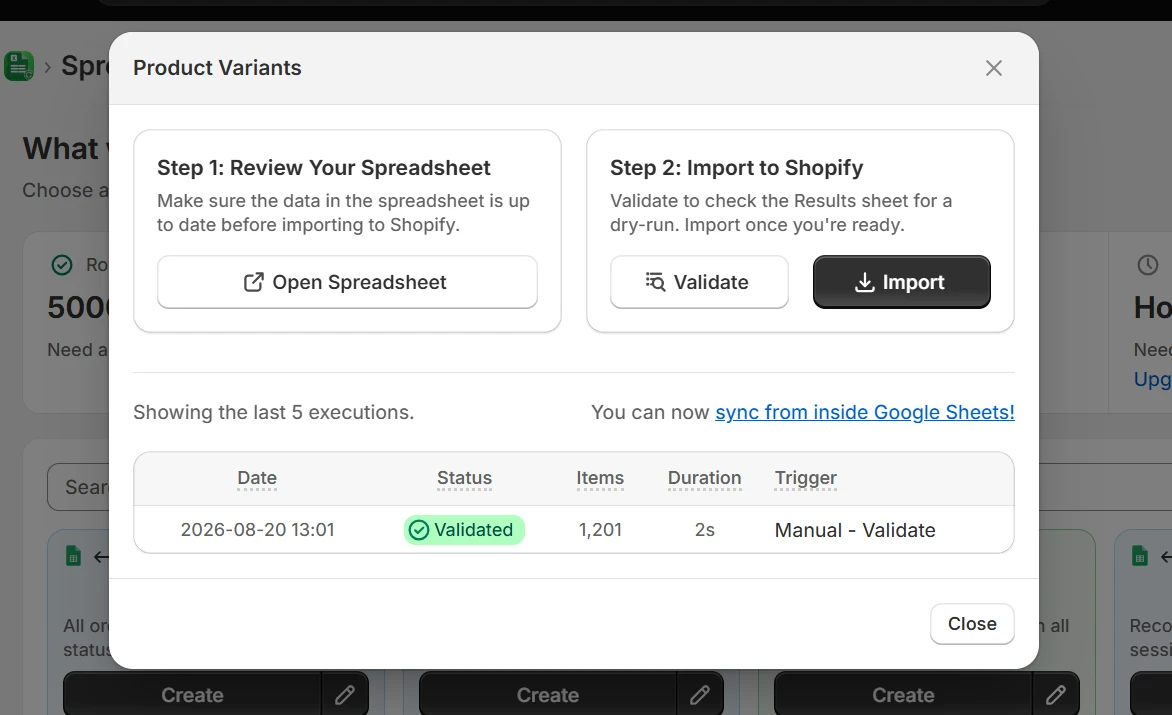
When validation finishes, open the Google Sheet and check the SYNC STATUS column that eCommix writes back. Each row shows what will happen - for example that a product will be created or updated - along with any errors to fix, such as a missing required value or an identifier that does not match anything in your store.
8. Import into Shopify
Once the validation results look right, go back to eCommix and click Import. eCommix reads the spreadsheet and writes the data into your Shopify store.
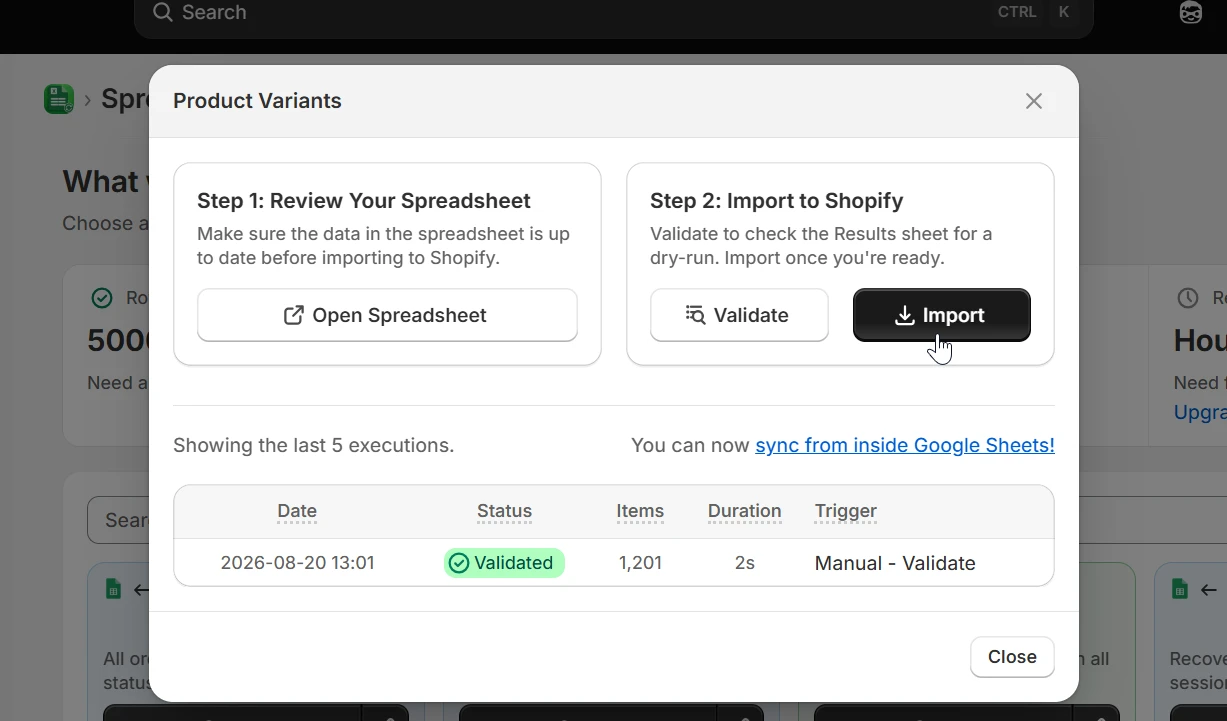
After the import finishes, the SYNC STATUS column updates again - rows saved successfully in Shopify show CREATED or UPDATED, so you can confirm at a glance which rows are live in your store and follow up on any that reported an error.
PRO TIP: You can also run validate and import directly from Google Sheets using the eCommix Sheets Add-On, without switching back to the app: Install the Sheets Add-On.
What One-Way Import will and will not do
Three limits are worth knowing before your first run, because each one is a rule of the sync direction rather than something you configure.
It only creates and updates - it never deletes
Every row results in a record being created or updated. Nothing else. One-Way Import has no delete operation at all:
- Removing a row from your spreadsheet does not delete anything in Shopify. The record simply stops being touched.
- Clearing a mapped cell does not clear the field in Shopify. A blank cell means "no value supplied" and is skipped for that row.
- Blanking a Src (Image) cell does not remove the image; the row reports a warning and moves on.
So a sheet is never treated as the full, authoritative picture of your catalog - it is a list of changes to apply. To delete a product, variant, or image, do it in the Shopify admin.
It writes a SYNC STATUS column back into your sheet
One-Way Import only reads your data, with a single exception: it always writes a SYNC STATUS column, on both validate and import runs. There is no way to turn this off, so plan for it.
Where the column lands:
- If your sheet already has a column headed
SYNC STATUS(orSTATUS, its name before October 2026), eCommix reuses it and overwrites its contents, so repeated runs do not pile up extra columns. A column of your own namedStatus- such as the product status column in a Shopify CSV export - is never touched. - Otherwise it is appended immediately after your last column - if your headers end at column
H, SYNC STATUS is written to columnI. - If the tab has been trimmed to exactly your data columns, eCommix widens the grid first so there is room.
Warning. Do not keep notes, formulas, or a second table in the cells immediately to the right of your data - they will be overwritten by the SYNC STATUS column. If you need a working column there, give it a header and leave it unmapped, so it counts as one of your columns and SYNC STATUS is appended after it instead.
Because SYNC STATUS is keyed to position, avoid inserting or deleting columns between runs while you are reading results.
Your sheet has to fit your plan's row limit
Validate and import both refuse to run when the tab holds more rows than your plan allows. The check counts rows with real content, ignoring blank rows and the control columns eCommix manages itself, and it runs before anything is written - so an over-limit sheet fails cleanly and changes nothing in your store.
| Plan | Rows with content per import |
|---|---|
| Free | 5 |
| Bronze | 200 |
| Silver | 1,000 |
| Gold | Unlimited |
On the legacy plans the limits are 200 rows (Starter), 500 (Professional), and 5,000 (Enterprise). The same limit applies to a single run, not to your catalog as a whole - you can import far more than this in several runs.
When a sheet is over the limit, the run stops with a message naming your plan and its limit, and asking you to filter the spreadsheet down. To import a larger catalog, either upgrade your plan or split the work: keep the rows you want in this run on the mapped tab and move the rest to another tab, then import in batches.
Info. Trailing empty rows do not count, so a sheet with 150 filled rows and thousands of blank ones below is fine. What counts is rows containing your data - a row is "empty" only when every column outside the eCommix control columns is blank.
Mapping compared to Two-Way Sync
If you have used Two-Way Sync, the mapping model here will feel familiar: the same Shopify fields, the same column meanings, the same one-row-per-variant layout, and the same grouping of variant rows under a shared product. What changes is how a row is matched to an existing record.
| Two-Way Sync | One-Way Import | |
|---|---|---|
| Where the sheet comes from | eCommix exports it for you from a template | You bring your own spreadsheet |
| Column names | Fixed by the template | Anything - you map them yourself |
| Matches records by | Id only | Id, Handle, Title, SKU, or Barcode |
| Row with no Id | Creates a new record | Looks the record up by the other identifiers first; creates only if none match |
| Deletes | Supported | Never |
The practical difference is what happens to a row with no ID. In Two-Way Sync an empty ID column is the instruction to create, because the sheet came from your store and every existing record already carries its ID. In One-Way Import your sheet was never exported from Shopify, so it usually has no IDs at all - which is exactly why eCommix can also resolve a row by Handle (Product), Title (Product), SKU (Variant), or Barcode (Variant). A supplier price list keyed only on SKU updates the right variants without you ever fetching an ID.
Two consequences follow from that:
- Re-running an import is safe by default. The second run resolves the same handles or SKUs, finds the records it created the first time, and updates them instead of creating duplicates.
- Your identifier needs to be unique. SKU and barcode lookups search the whole store, and titles are not unique in Shopify. Map Handle (Product) or an ID when you can; see Importing Product Fields from Google Sheets for the full resolution order and the safeguards on title matching.
Field reference by resource
Once you are comfortable with the flow above, these guides cover exactly which Shopify fields you can map each of your spreadsheet columns to, and the format each one expects in the cell:
- Importing Product Fields from Google Sheets - product-level columns: handle, title, description, vendor, category, tags, collections, status, and SEO.
- Importing Product Variant Fields from Google Sheets - variant-level columns: option values, SKU, barcode, price, weight, and inventory behaviour.
- Importing Product Images from Google Sheets - image URL columns, alt text, several images per product, and variant images.
FAQ
Do I need to use an eCommix template to import a spreadsheet?
No. One-Way Import skips template selection entirely; it works from your spreadsheet's own header row. You map each of your columns to the Shopify field it corresponds to, so a sheet built by a supplier or exported from another system can be imported as-is.
Will importing overwrite my spreadsheet?
Your data columns are only read, never rewritten. The one thing eCommix writes back is the SYNC STATUS column, so you can see the result of each row after validating or importing. It reuses an existing SYNC STATUS column (or a legacy STATUS one) if your sheet has one, and otherwise appends it directly after your last column - so keep that neighbouring column free of anything you want to keep.
What happens to columns I do not map?
They are neither read nor written, so notes, formulas, and internal working columns stay exactly as they are - with one caveat: a working column sitting immediately to the right of your data can be overwritten by the SYNC STATUS column. Give it a header so it counts as one of your columns, and SYNC STATUS will be appended after it.
Does saving my configuration import anything into Shopify?
No. Saving only stores the configuration. Your store is written to when you click Import, or when a schedule you set runs the import for you. Saving a brand new import spreadsheet does start a Validate run, but validation is read-only - it reports what would happen without changing anything.
Can One-Way Import delete products or clear fields?
No. It only creates and updates. Deleting a row from your sheet does not delete anything in Shopify, and clearing a mapped cell does not clear the field - a blank cell is treated as "no value supplied" and skipped. Deletions belong in the Shopify admin.
Why did my import stop with a plan limit message?
The tab holds more rows with content than your plan allows. The check runs before anything is written, so nothing reached your store. Either upgrade your plan, or split the work across runs - keep this batch on the mapped tab and move the rest elsewhere. Blank trailing rows do not count towards the limit.
Can my headers start below row 1?
No. Row 1 of the tab is always read as the header row, and every row beneath it as data. Delete any title banners, logos, or spacer rows above your headers before configuring the spreadsheet, otherwise eCommix will read that decorative row as your column names.
How do I know a row will not break my store before importing?
Run Validate first. It checks every row against Shopify without writing anything, and reports the outcome per row in the SYNC STATUS column, so you can fix problems in the sheet before any data reaches your store.
Should I use One-Way Import or Two-Way Sync?
Use One-Way Import when the data originates in a spreadsheet you already have. Use Two-Way Sync when you want to start from your existing Shopify data, edit it in Google Sheets, and push the edits back - see How to Bulk Update Shopify Data from Google Sheets.
The mapping model is nearly identical between the two. The difference that matters day to day is matching: Two-Way keys on the Id column, so a row with an empty Id creates a new record, while One-Way Import can also match on Handle, Title, SKU, or Barcode - which is what lets a supplier sheet with no Shopify IDs update your existing catalog. One-Way Import also never deletes.
For an overview of loading a supplier or vendor spreadsheet into Shopify, see Import a Supplier Spreadsheet to Shopify.